Run Repository Creation Utility (RCU) for Oracle Identity Management components
Installing Oracle Fusion Applications > Setting up Identity and Access Management Node > Run Repository Creation Utility (RCU) for Oracle Identity Management components
Previous: Install Oracle 11g Database (Identity management database)
Pro Oracle Fusion Applications – Installation and Administration
Now you can buy the first and only comprehensive book on Oracle Fusion Applications Installation and Administration which covers end to end information on introduction, planning, installation and troubleshooting guides for implementing Fusion Applications on premise. Buy it now from any of the following stores.
http://www.amazon.com/Pro-Oracle-Fusion-Applications-Administration/dp/1484209842
http://www.barnesandnoble.com/w/pro-oracle-fusion-applications-tushar-thakker/1121094340
RCU for Oracle Identity Management components is only available for Linux and Windows platforms and the Fusion Application setup ships with Linux only RCU for Identity Management components.
So we will use Linux RCU only in this step.
Let’s create a directory to extract the RCU files.
[fusion@idmhost ~]$ mkdir /app/fusion/provisioning/fmw_rcu
[fusion@idmhost ~]$ cd /app/fusion/provisioning/fmw_rcu
Unzip the RCU which ships with the installation.
[fusion@idmhost fmw_rcu]$ unzip /stage/installers/fmw_rcu/linux/rcuHome.zip
Run the RCU now.
[fusion@idmhost ~]$ cd /app/fusion/provisioning/fmw_rcu/bin
[fusion@idmhost bin]$ ./rcu &
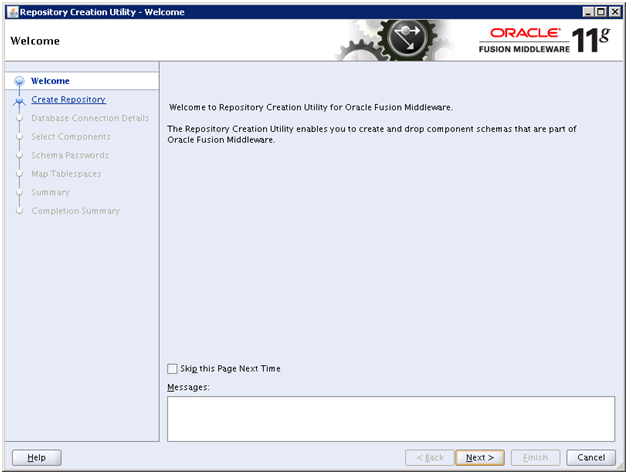
Click Next
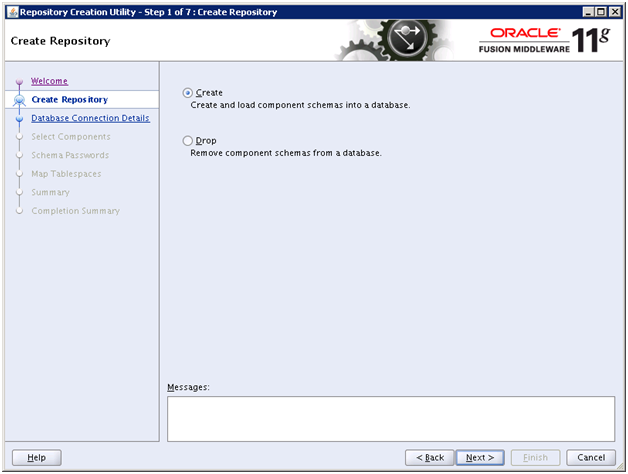
Select Create and click Next
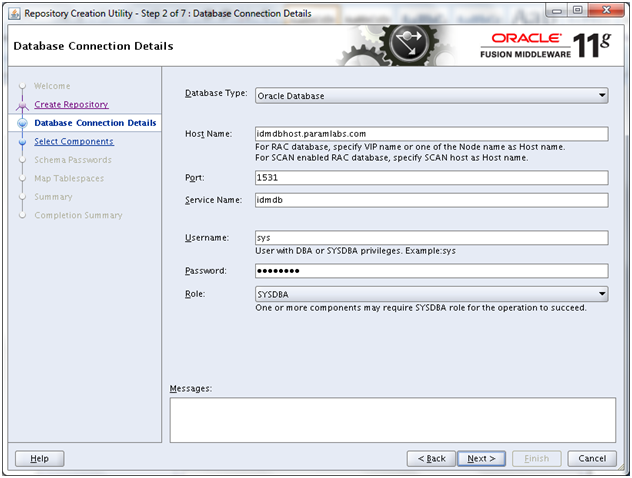
Enter details of our existing database and click Next
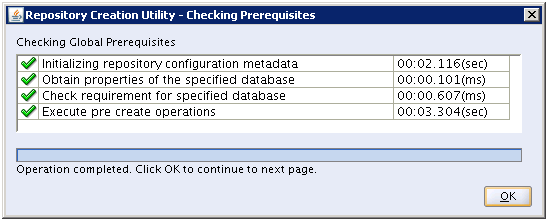
Once prerequisites check completes, click OK
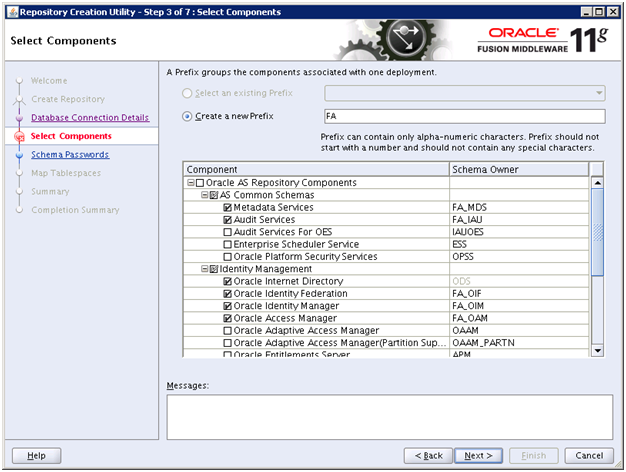
Mention the prefix as “FA”. Till 11.1.6, Oracle was advising to use EDG or ISA prefix but we followed “FA” and 11.1.7 onwards they have made it mandatory to use “FA” only.
Select following components.
– Oracle Internet Directory
– Oracle Identity Federation
– Oracle Identity Manager
– Oracle Access Manager
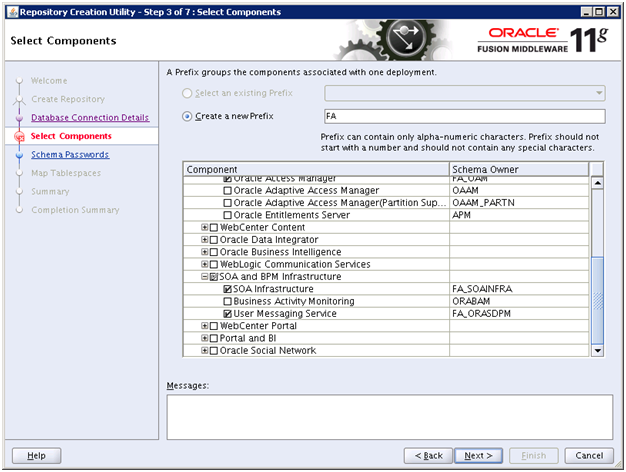
Please note that following components will be automatically selected when you select above.
– Metadata Services
– Audit Services
– SOA Infrastructure
– User Messaging Service
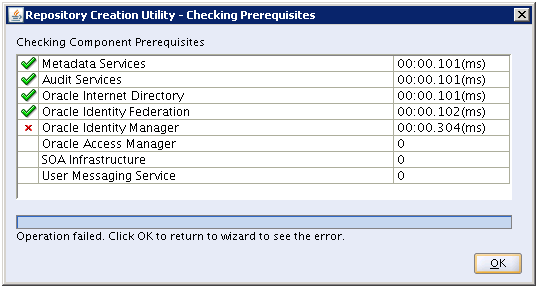
The prerequisite checks might fail. Click OK to see the error message.
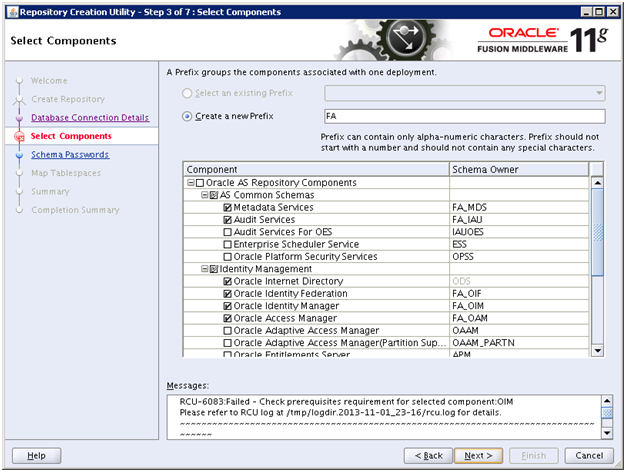
The error message is following.
Error: XATRANS Views are not installed on this Database. This is required by the OIM Schema
Action: Install view XAVIEWS as SYS user on this Database.
Refer to the Oracle Database Release Documentation for installation details.
RCU-6092:Component Selection validation failed.
To fix this, please run the following SQL to create XA views.
[fusion@idmhost bin]$ cd /app/database/product/11.2.0/dbhome_1/rdbms/admin/
[fusion@idmhost admin]$ sqlplus / as sysdba
SQL> @xaview.sql
DROP VIEW v$xatrans$
*
ERROR at line 1:
ORA-00942: table or view does not exist
DROP VIEW v$pending_xatrans$
*
ERROR at line 1:
ORA-00942: table or view does not exist
View created.
View created.
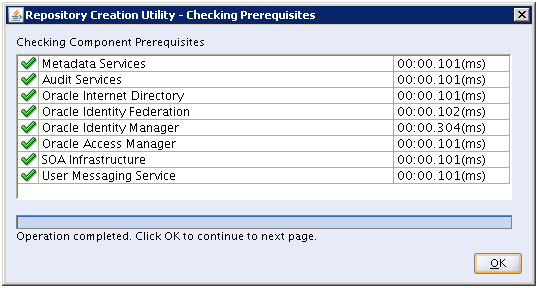
Now the prerequisites check should complete successfully.
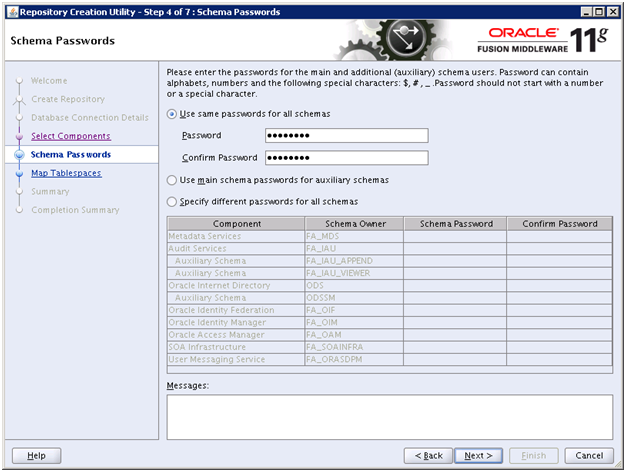
We have specified same password everywhere. Ie.e “Oracle123”. Click Next
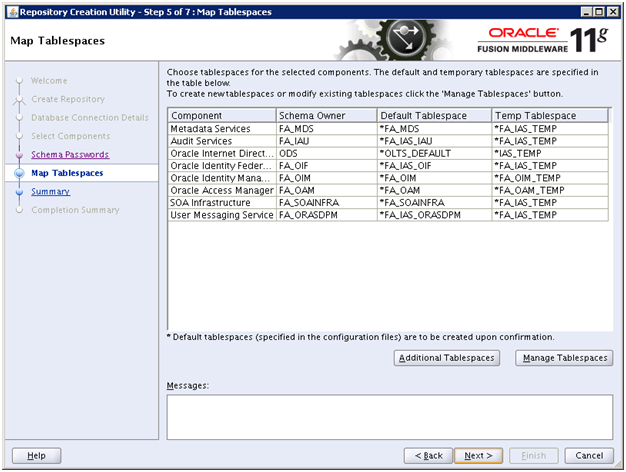
Click Next
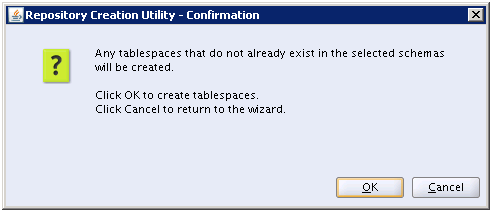
Click OK
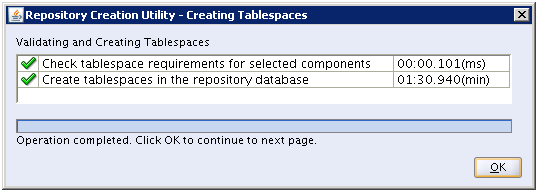
Once tablespaces are created, click OK
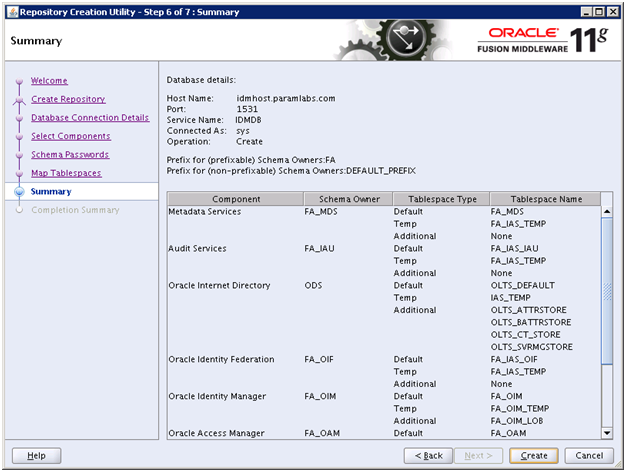
Review the summary and click “Create” to start creating the schemas.
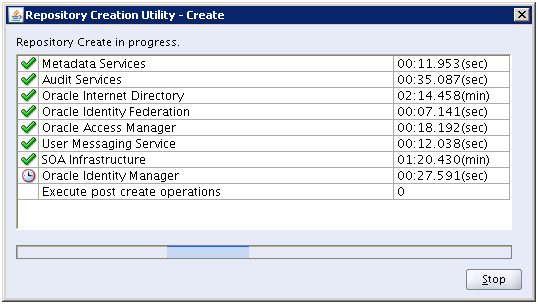
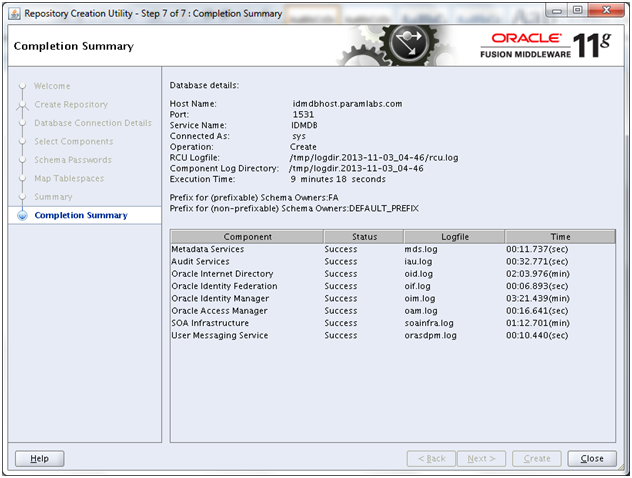
Once RCU finishes, review the summary and click Close
Next: Install Identity Management Provisioning Wizard
Installing Oracle Fusion Applications – steps
A. Setting up Identity and Access Management Node
1. Install Fusion Applications Provisioning Framework
2. Install Oracle 11g Database (Identity management database)
3. Run Repository Creation Utility (RCU) for Oracle Identity Management components
4. Install Identity Management Provisioning Wizard
5. Create IDM provisioning Response File
6. Provision Identity Management
7. Perform Post-Provisioning Configuration
B. Setting up Fusion Applications Node
1. Install Fusion Applications Provisioning Framework
2. Install Oracle 11g Database (Fusion Apps Database)
3. Run Oracle Fusion Applications Repository Creation Utility (Applications RCU)
Awesome! saved me lot of stress