Previous: Create new Response File
Note: If you are using VMWare, it is advisable to keep the staging directory path to be short to avoid any file path going more than 255 characters.
[root@fahost ~]# umount /mnt/hgfs
[root@fahost ~]# mkdir /stage
[root@fahost ~]# mount -t vmhgfs .host:/stage /stage
Since we have copied required Webgate libraries on node 1, we must copy them on node 2 as well.
[fusion@fahost bin]$ mkdir /app/fusion/oam_lib/
[fusion@fahost bin]$ cd /app/fusion/oam_lib/
[fusion@fahost oam_lib]$ scp fusion@fmwhost:/app/fusion/oam_lib/* .
[fusion@fahost oam_lib]$ ls -ltr
total 1024
-rwxr-xr-x 1 fusion dba 58400 Apr 6 15:01 libgcc_s.so.1
-rwxr-xr-x 1 fusion dba 976312 Apr 6 15:01 libstdc++.so.6
[fusion@fahost oam_lib]$ cp -pr /app/fusion/oam_lib/* /stage/installers/webgate/
Following file is also required for provisioning phase in addition to above.
[fusion@fahost oam_lib]$ cp -p /usr/lib64/libstdc++.so.5 /app/fusion/oam_lib/
[fusion@fahost oam_lib]$ cp -p /usr/lib64/libstdc++.so.5 / stage/installers/webgate/
Make sure that the IDM infrastructure is started on Node 1. (only if not already started)
1. Source profile
more ~/.bash_profile
ORACLE_HOME=/app/fusion/database/product/11.2.0/dbhome_1
export ORACLE_HOME
ORACLE_SID=fusiondb
export ORACLE_SID
JAVA_HOME=/app/fusion/jdk6
export JAVA_HOME
PATH=$PATH:$ORACLE_HOME/bin
export PATH
2. Start Listener
lsnrctl start LISTENER_FUSIONDB
3. Start Database
sqlplus / as sysdba
SQL> startup
4. Start OID
/app/fusion/admin/oid1/bin/opmnctl startall
5. Start Web
/app/fusion/admin/web1/bin/opmnctl startall
6. Start Weblogic Admin Server for IDMDomain
cd /app/fusion/admin/IDMDomain/aserver/IDMDomain/bin/
nohup ./startWebLogic.sh &
(Wait till you see RUNNING in nohup.out log file)
7. Start Node Manager
cd /app/fusion/fmw/wlserver_10.3/server/bin/
nohup ./startNodeManager.sh &
(Wait till you see “started on port 5556″ in nohup.out log file)
8. Start OAM managed server for IDMDomain (since we cannot login to console without OAM)
cd /app/fusion/admin/IDMDomain/aserver/IDMDomain/bin/
nohup ./startManagedWebLogic.sh wls_oam1 &
(Wait till you see RUNNING in nohup.out log file)
9. Start remaining managed servers
Either from command prompt
cd /app/fusion/admin/IDMDomain/aserver/IDMDomain/bin/
nohup ./startManagedWebLogic.sh wls_ods1 &
nohup ./startManagedWebLogic.sh wls_oim1 &
nohup ./startManagedWebLogic.sh wls_soa1 &
(Wait till you see RUNNING in nohup.out log file for each of them. You can start them in in parallel, just make sure all start fine)
Or by logging into Weblogic Console->Servers->Control screen.
10. ONLY In case if restarting from postconfigure phase, do the following on Node 2 (FA node)
For 11.1.4 and earlier versions
cd /app/fusion/fusionapps/wlserver_10.3/common/nodemanager/ad002aph01
nohup ./startNodeManagerWrapper.sh &
For 11.1.5 onwards releases
cd /app/fusion/instance/nodemanager/ad002aph01
nohup ./startNodeManagerWrapper.sh &
-bash-3.2$ /app/fusion/instance/CommonDomain_webtier/bin/opmnctl startall
Start Fusion Applications Provisioning
Launch the installer from <provisioning_repository>/bin
It is important to start it with “-ignoreSysPrereqs true” switch as mentioned in the release notes.
[fusion@fahost bin]$ ./provisioningWizard.sh -ignoreSysPrereqs true &
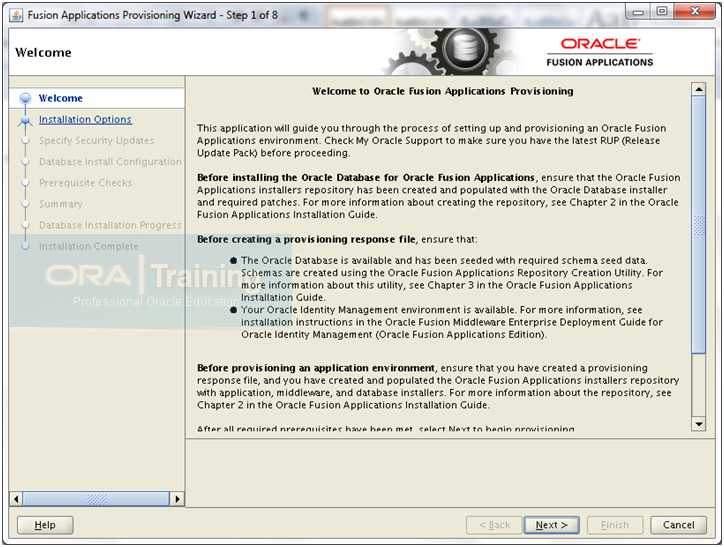
Click Next
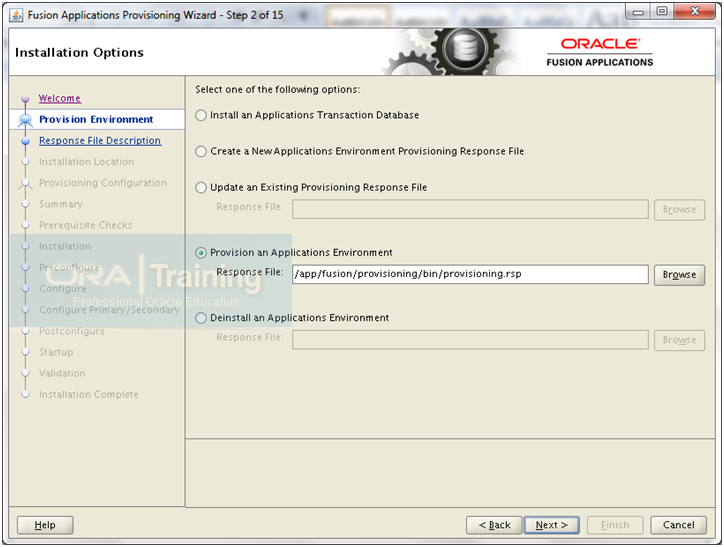
Select “Provision an Applications Environment” and browse for the response file created in last step. Click Next

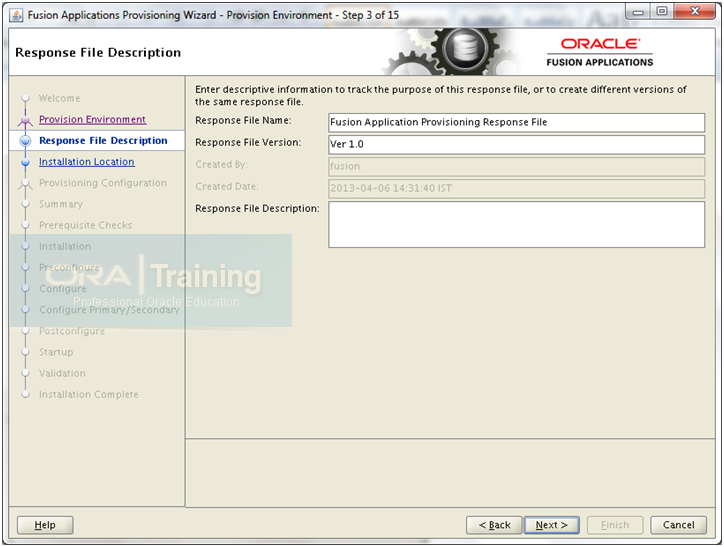
Review and click Next
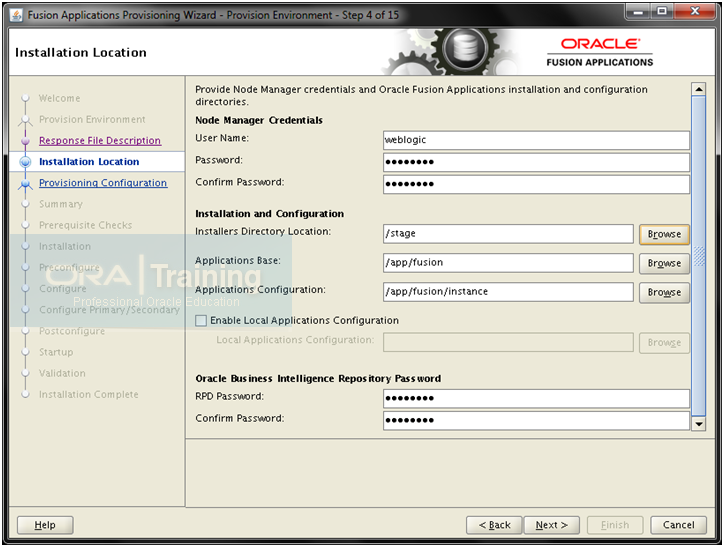
Validate the information and click Next
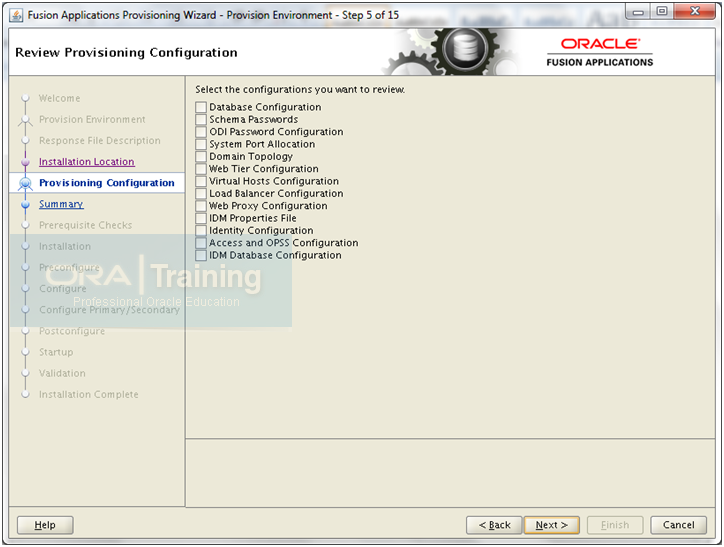
In case if you want to revisit some of the section in the Response File then you can do so here. Click Next
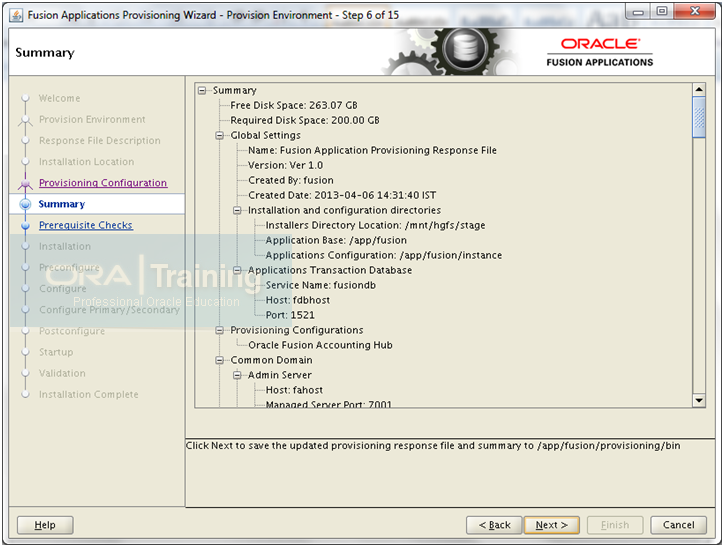
Review the summary and click Next to begin. Good luck J
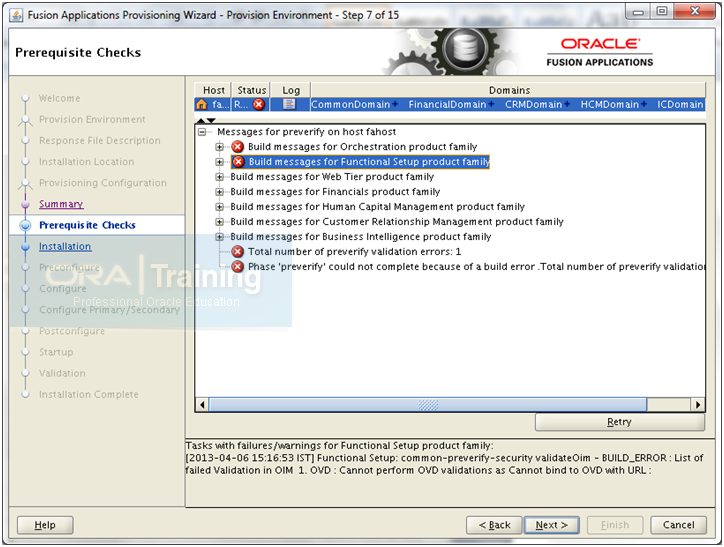
You can ignore following error since we are not using OVD. Also since we have used “ignoreSysPrereqs true” you will see Next button. Click Next to continue.
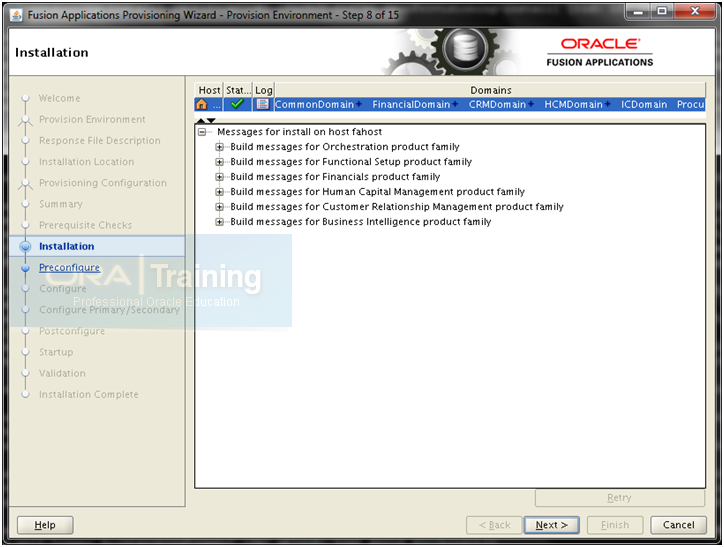
Once the Installation phase finishes, click Next
Note: If you are using longer path for stage directory on Linux then install phase may fail with errors. This is due to more than 255 characters path for certain patch files. Check following link for solution for the same.
http://www.oratraining.com/blog/2013/04/solution-for-atgpf-build-failure-during-install-phase-with-oui-67073utilsession-failed-null-error/
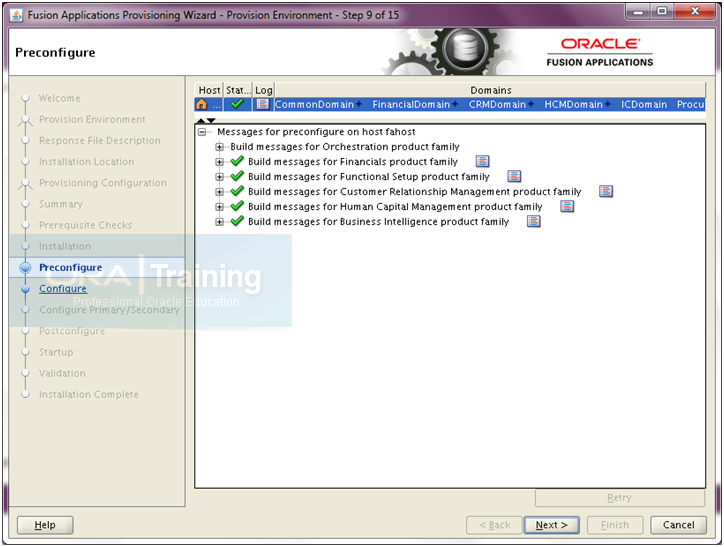
Once Preconfigure phase completes, click Next
Important Notes:
You may see a lag between 100% completion of the phase and “Next” button being enabled. This is the time where the status changes from COMPLETED to ENDED. Here it takes backup of the instance directory at /app/fusion/provisioning/restart so that it can cleanup and restore from next step if it fails.
The installation logs are being created at/app/fusion/logs/provisioning/plan<timestamp>/<hostname> directory. This is the most useful place to troubleshoot.
The status flags like STARTED, COMPLETED, FAILED, ENDED are stored in/app/fusion/provisioning/phaseguards directory. Please be careful while removing, renaming or creating flag files here since it will change the current status of the provisioning.
And for status of each domain within the particular phase, the flag files are written at/app/fusion/provisioning/phaseguards/pf directory
Good thing in new Fusion applications setup is that when you retry it only performs the actions for failed products but those actions of completed products are not repeated. This saves a lot of time compared to our last installation of 11.1.1.5
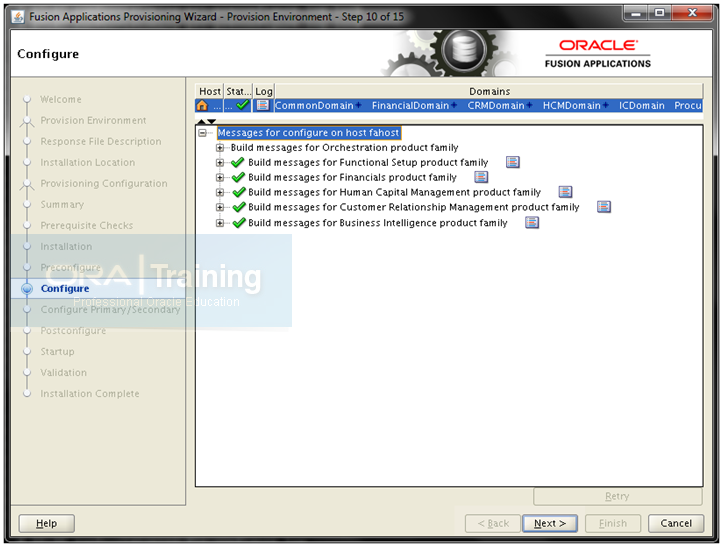
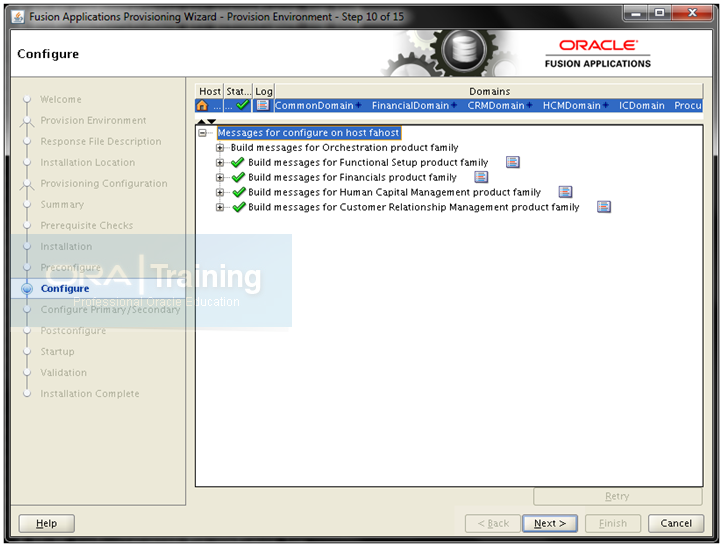
Once configure completes, click Next
Note: If configure fails with following error then do this workaround.
“Caused by: java.lang.RuntimeException: IO Error: Connection reset”
Workaround:
SQLNET.INBOUND_CONNECT_TIMEOUT = 0 in at $ORACLE_HOME/network/admin/sqlnet.ora on node 1 (or DB node)
LSNRCTL> set inbound_connect_timeout =0 on DB node
INBOUND_CONNECT_TIMEOUT_LISTENER_FUSIONDB = 0 in $ORACLE_HOME/network/admin/listener.ora on DB node
You can remove this once provisioning is complete.
Note: The name of next phase has changed to “Configure Primary/Secondary” instead of “Configure Secondary” as in 11.1.1.5 release since it was misleading.
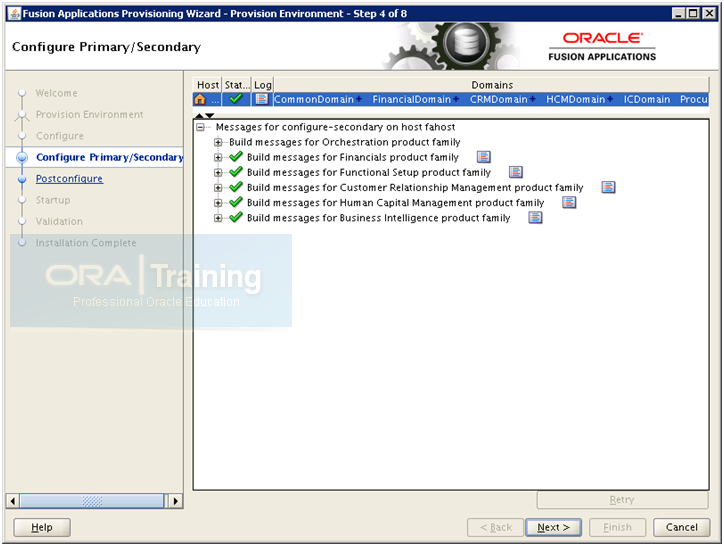
Click Next once Configure Primary/Secondary phase completes.
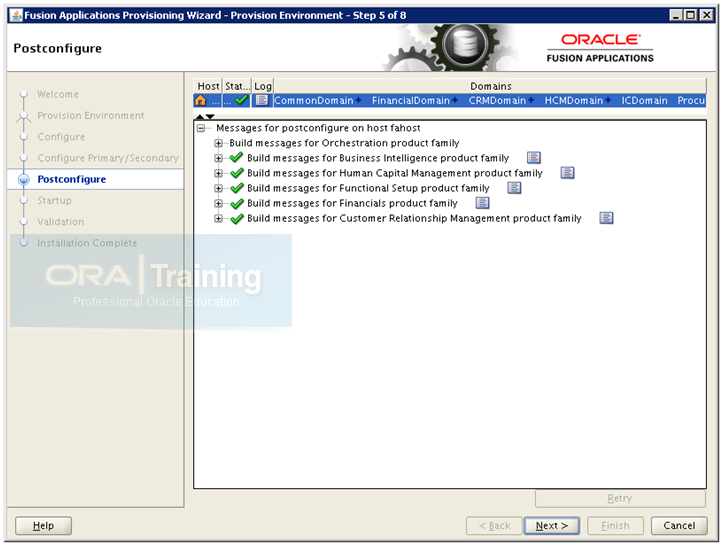
Post configure is the most important and most error-prone part of Fusion Applications provisioning. Most of the people don’t get such a clean screen like above in first attempt (neither did I earlier). Don’t worry pr panic if you get errors, rest assured that if you have followed all earlier steps correctly, they are mostly random errors due to out of memory, network etc. make sure that you have sufficient free memory on node while running this. Also make sure that all components in IDM node (odi is optional at this phase) are up and running.
Validate that you are able to login to all IDM components before running this phase. Login to EM console to see the status: http://<fmwhost>:7777/em
Even if postconfigure has completed on some products and failed on others, when you click on retry, it will restore the failed products only and skip the phase for completed products.
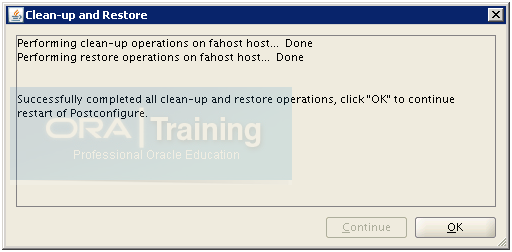
You will see following screen when you click on Retry if any phase has errored out. Once you press OK it will restart the same phase only for failed product families.
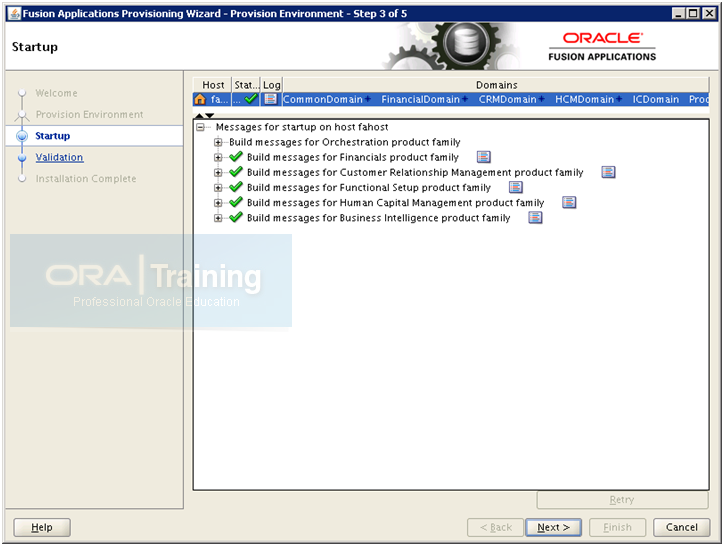
Be patient when startup brings up all required managed servers. please note that if some components fail to startup and if you retry, it will do startup phase for all domains again including those have completed successfully. Make sure sufficient memory is available during this point.
Click Next once completed.
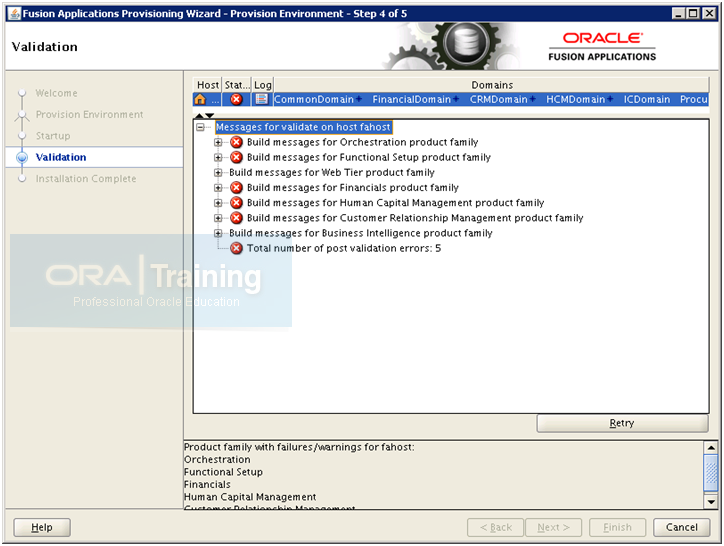
Validation phase has known bug and you will see following error for each domain validation.
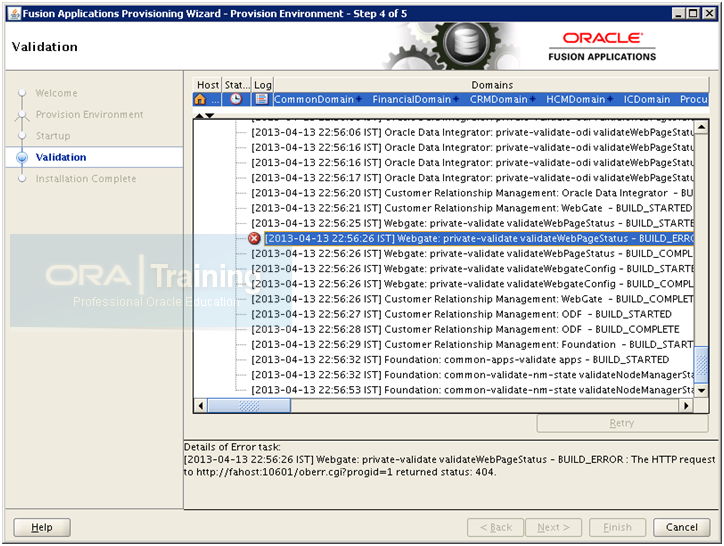
During the Validate phase, you will encounter WebGate validation errors and the error messages in the provisioning log are as follows:
Webgate: private-validate validateWegPageStatus – BUILD_ERROR: The HTTP request to http://<host>:<port>/oberr.cgi?progid=1 returned status: 404
[runProvisioning-validate] [NOTIFICATION] [] [runProvisioning-validate] [tid: 11] [ecid: 0000JgMcCTD9lZOLIih8if1GeQ7k000002,0] [logStatus] STATE=BUILD_ERROR!TIMESTAMP=<> PST!TARGET=private-validate!CATEGORY=BUILD_ERROR!DOMAIN=CommonDomain!HOSTNAME=<host>!PRODUCTFAMILY=fs!PRODUCT=WebGate!TASK=validate WebPageStatus!TASKID=fs.WebGate.BUILD_ERROR.private-validate.validate WebPageStatus!MESSAGE=The HTTP request to http://<host>:<port>/oberr.cgi?progid=1 returned status: 404.!DETAIL=The HTTP request to http://<host>:<port>/oberr.cgi?progid=1 returned status: 404.!BUILDFILE=<framework_location>/provisioning/provisioning-build/webgate-build.xml!LINENUMBER=992!
These WebGate web page validation errors can be ignored. If there are any other validation errors you must resolve them before proceeding to the Summary phase. After resolving all validation errors, if the Next button on the Provisioning Wizard is not enabled, perform these steps from the command line to enable it:
-
cd <APPLICATIONS_CONFIG>/phaseguards (for example /app/fusion/provisioning/phaseguards)
-
rm validate-<host>-FAILED.grd.
-
touch validate-<host>-COMPLETED.grd.
-
touch validate-<host>-ENDED.grd (this last part is not mentioned in Oracle documents but this is required)
-
The Next button should be enabled on the Provisioning Wizard.
WARNING:
Deleting and creating files in the phase guard directory should be used as a workaround to resolve validation phase issues ONLY if none of the other options work. In any other case, you should never modify or make changes to the phase guard files.
[fusion@fahost]$ cd /app/fusion/provisioning/phaseguards
[fusion@fahost phaseguards]$ rm validate-fahost-FAILED.grd
[fusion@fahost phaseguards]$ touch validate-fahost-COMPLETED.grd
[fusion@fahost phaseguards]$ touch validate-fahost-ENDED.grd
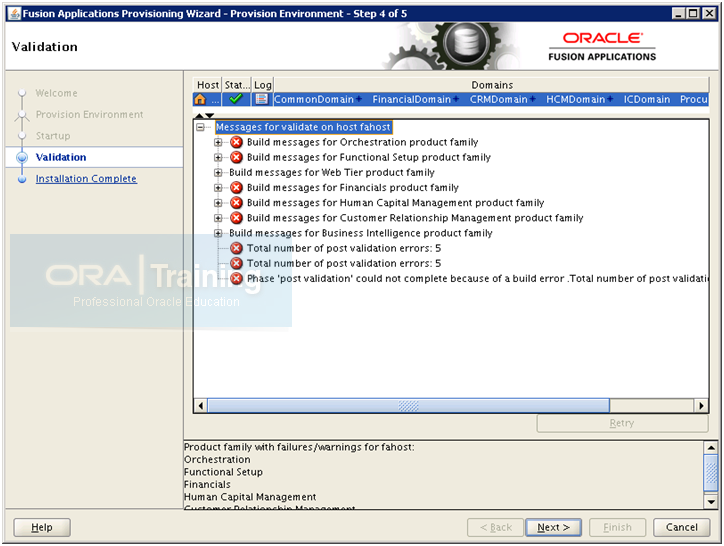
Now you can see the Next button enabled. Click Next to go to post-installation summary.
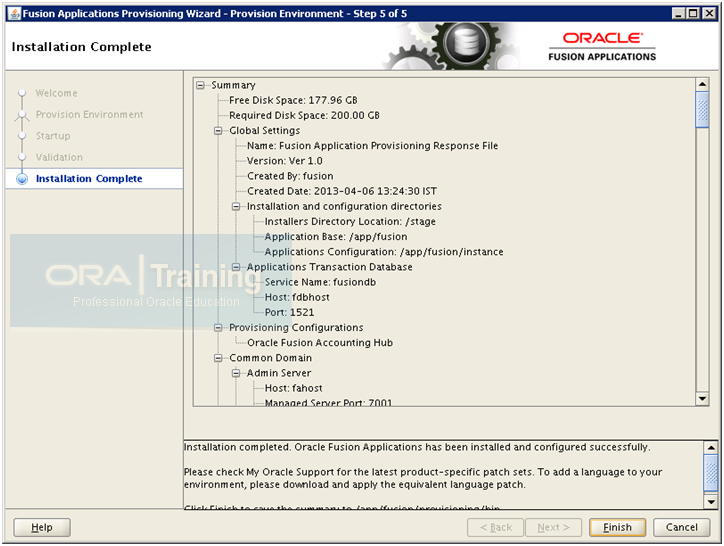
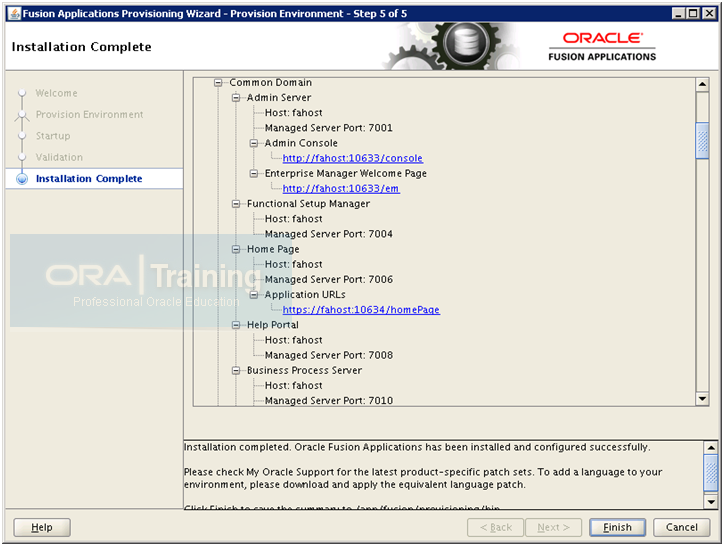
Summary:
ComonDomain
Admin Console: http://fahost:10633/console
EM Welcome page: http://fahost:10633/em
Homepage – Application URL: https://fahost:10634/homePage
CRM Domain
Admin Console: http://fahost:10635/console
EM: http://fahost:10635/em
Financial Domain
Admin Console: http://fahost:10623/console
EM: http://fahost:10623/em
HCM Domain
Admin Console: http://fahost:10639/console
EM: http://fahost:10639/em
BI Domain
Admin Console: http://fahost:10641/console
OIM
HTTP URL: http://fmwhost.paramlabs.com:7777
HTTPS URL: https://fmwhost.paramlabs.com:7777
Login to homepage URL with weblogic_fa user.
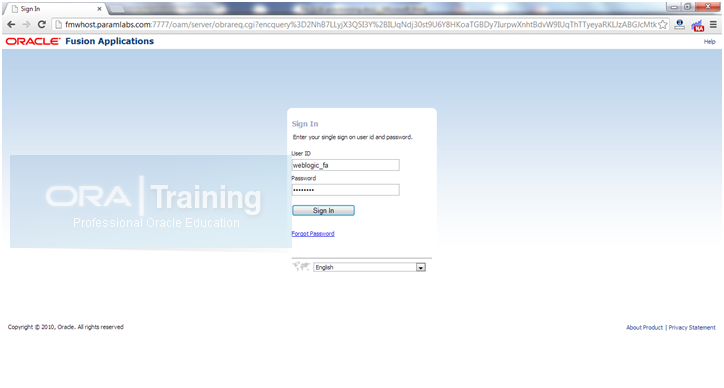
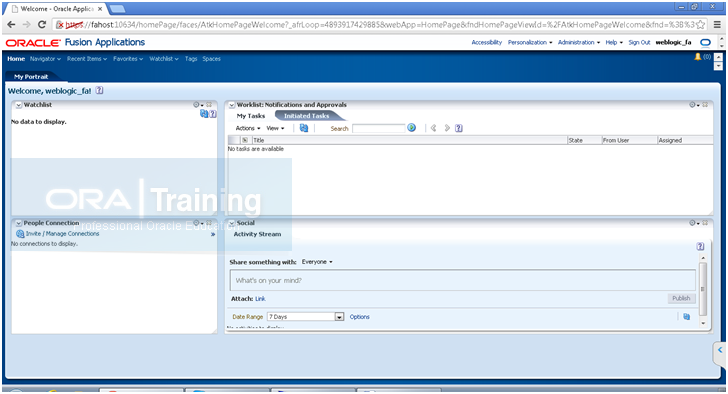
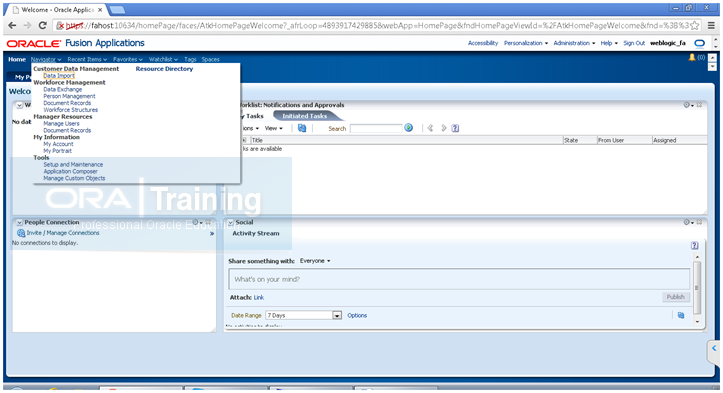
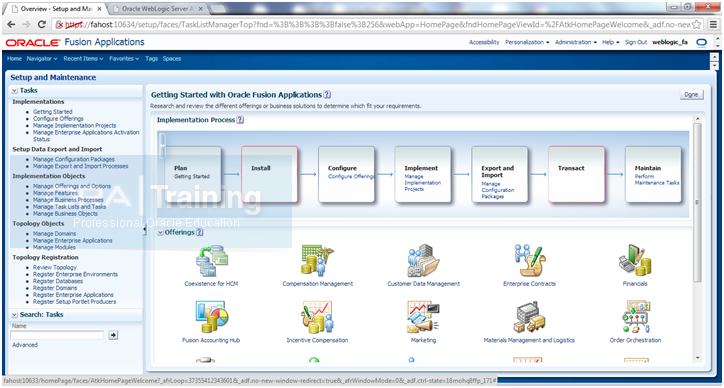
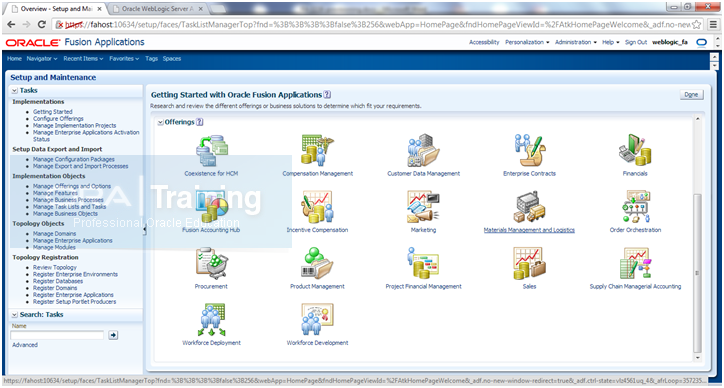
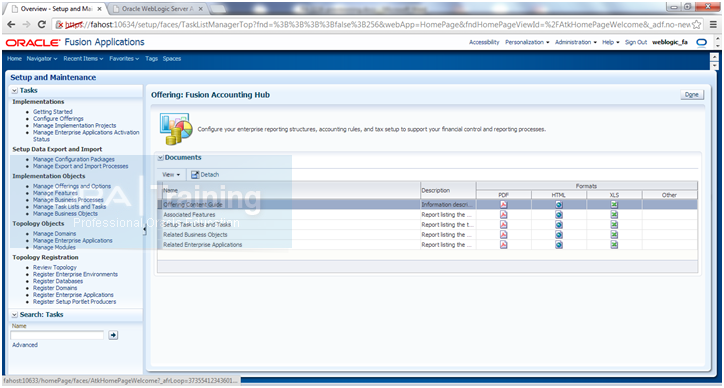
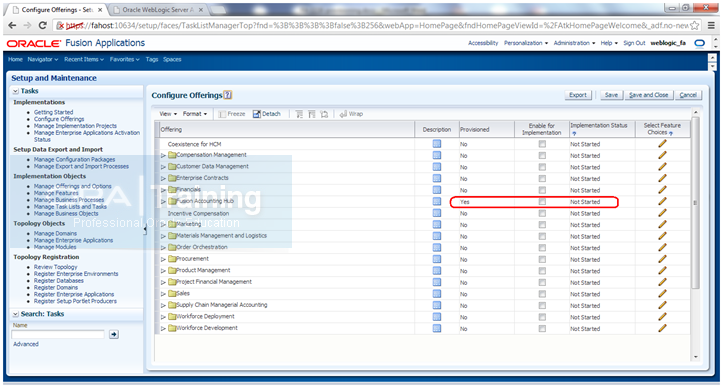
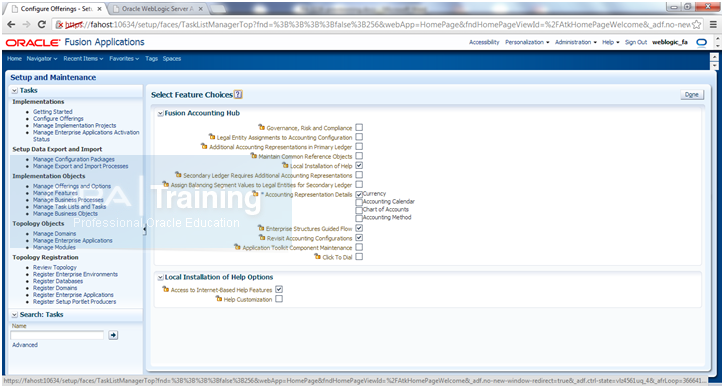
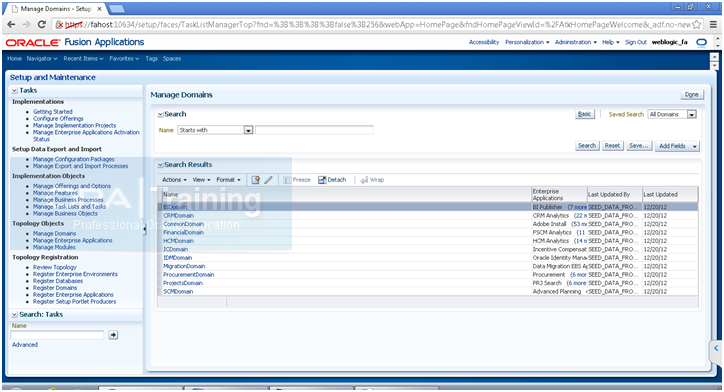
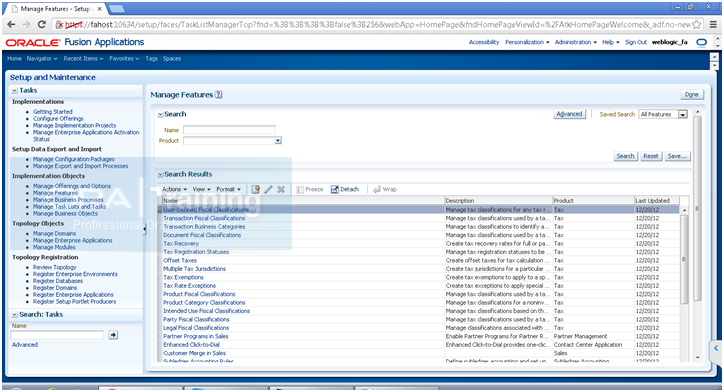
You can see that “Fusion Accounting Hub” is showing up as “Provisioned” but implementation is “Not Started” yet. This is the next step after installing Fusion Applications and not part of this guide.
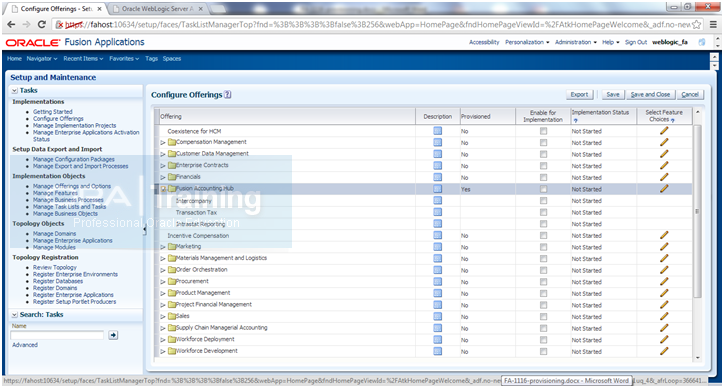
Lot more coming soon..
Happy learning !
Tushar Thakker


Recent Comments