Oracle Fusion Applications Installation: Install Oracle Identity and Access Management Components

Previous: Run Repository Creation Utility (RCU) for Oracle Identity Management components

JDK installation

Installation of JDK is very simple. Just unzip the jdk6.zip file located at <repository_location>/installers/jdk to any location where we want to extract the JDK files.

We will extract the files at /app/fusion and it will create /app/fusion/jdk6 directory. So we can setJAVA_HOME to /app/fusion/jdk6

[fusion@fmwhost fusion]$ cd /app/fusion/

[fusion@fmwhost fusion]$ unzip /mnt/hgfs/setup/installers/jdk/jdk6.zip

Install Web tier 11.1.1.6.0 (HTTP server 2.0)

Start runInstaller script from <REPOSITORY_LOCATION>/installers/Webiter/Disk1

(Please note that we do not need to upgrade it as we did in earlier installation since this is already at the required version level)

Make sure following 2 variables are not set.

[fusion@fmwhost ~]$ env | grep LD_ASSUME_KERNEL

[fusion@fmwhost ~]$ env | grep ORACLE_INSTANCE

[fusion@fmwhost fusion]$ cd /mnt/hgfs/setup/installers/webtier/Disk1/

[fusion@fmwhost Disk1]$ ./runInstaller
Click Next

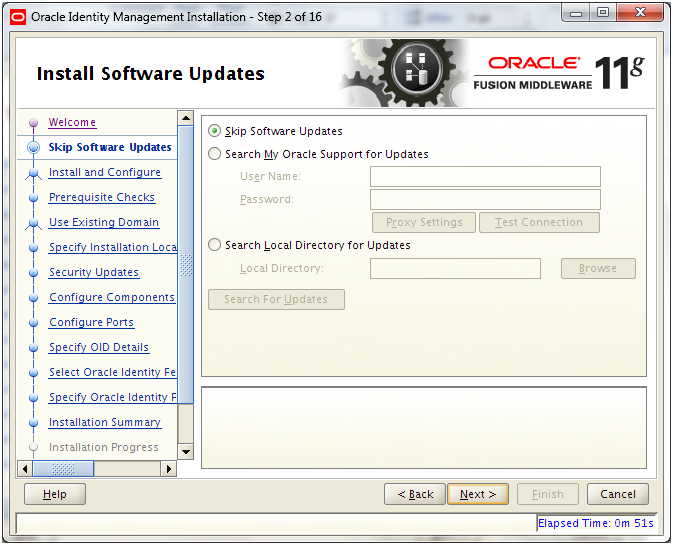
“Skip Software Updates” and click Next

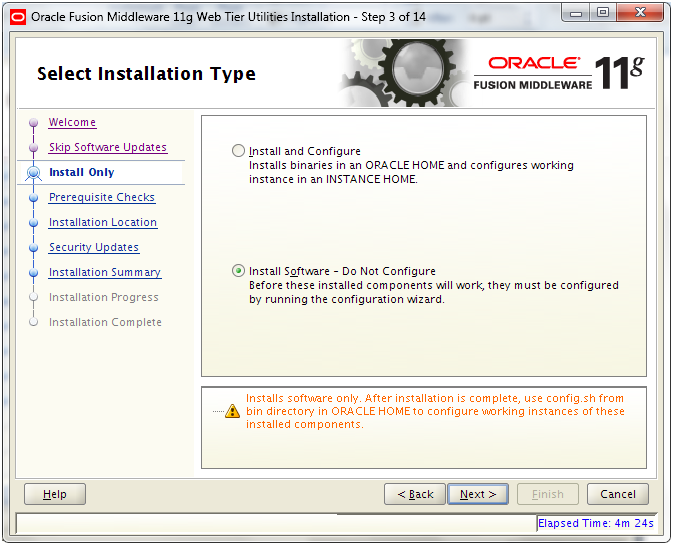
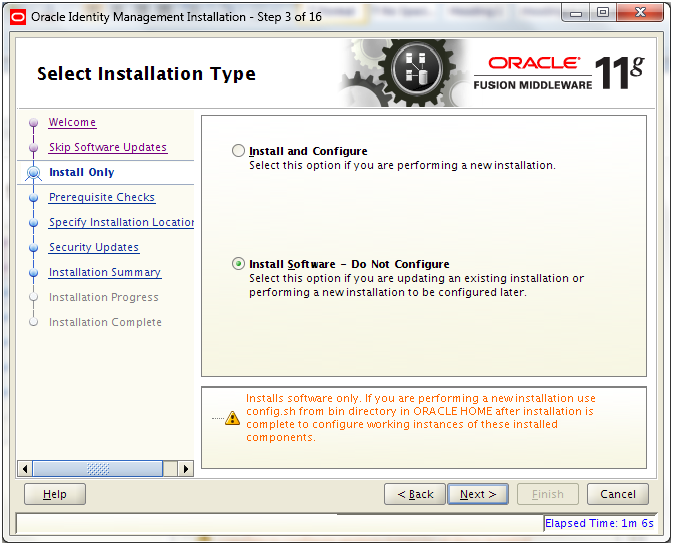
Select “Install Software – Do Not Configure” and click Next

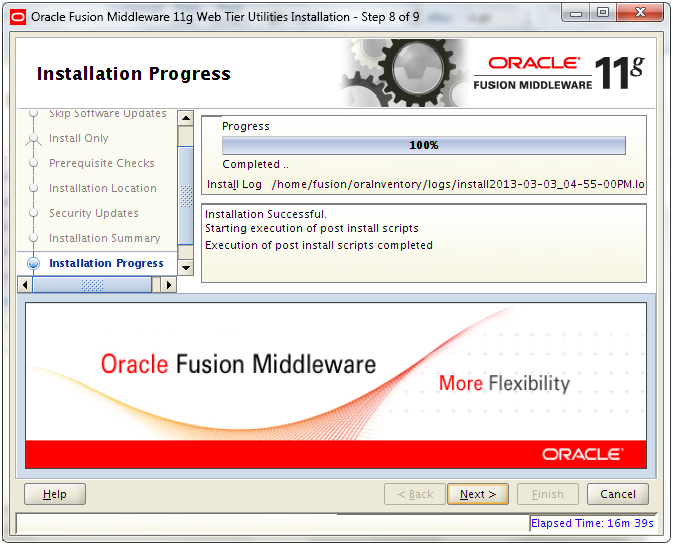
Once Prerequisites check completes, click Next

Enter following values and click Next

Oracle Middleware Home: /app/fusion/fmw

Oracle Home Directory: web

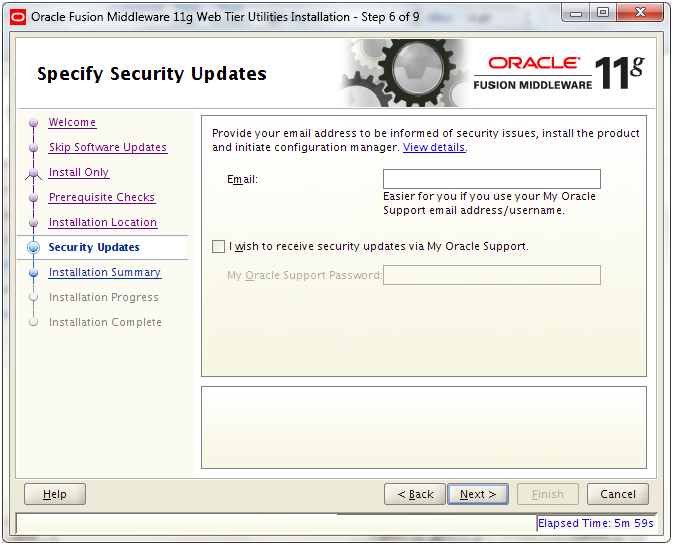
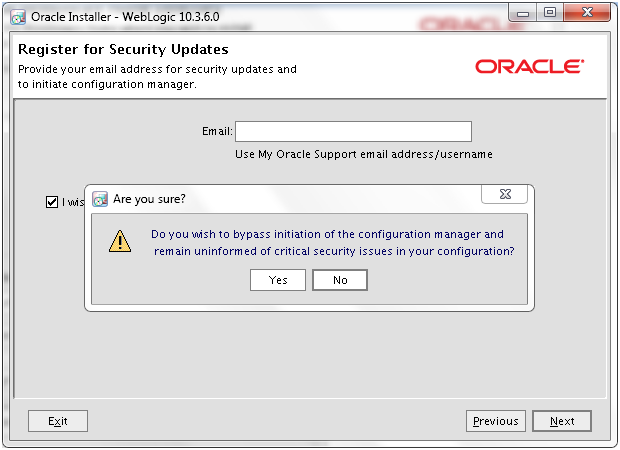
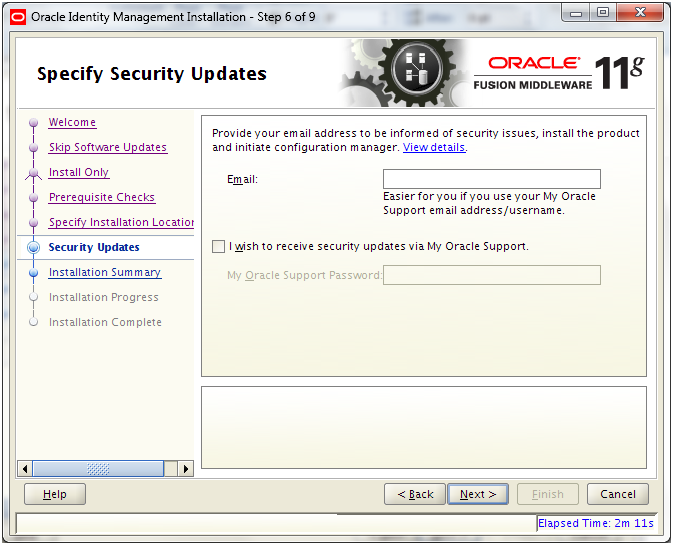
Deselect the checkbox and click Next

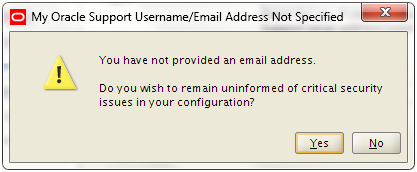
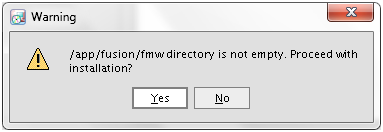
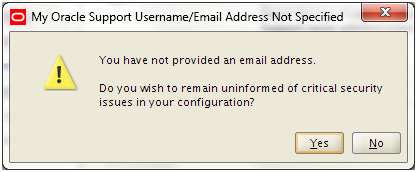
Click Yes

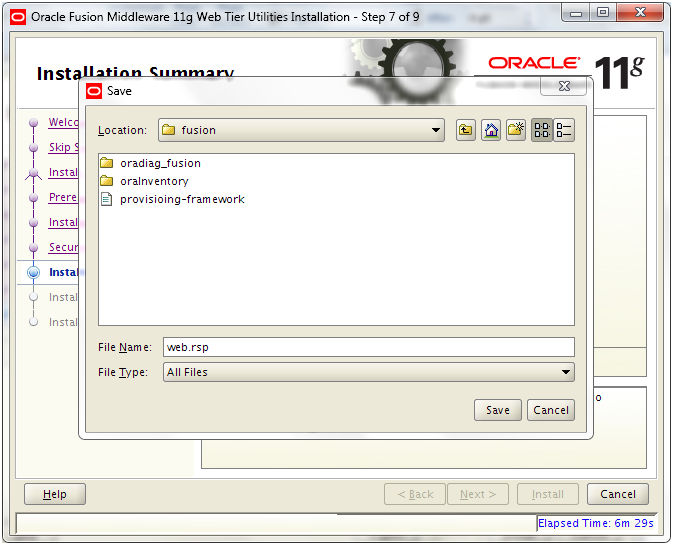
Review Summary and click Install. Save response file if required.

Save response file if required.

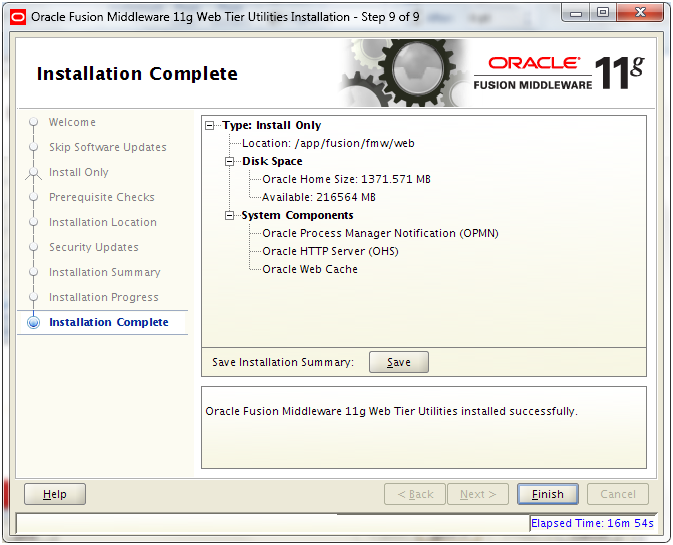
Once installation completes, click Next

Review and click Finish

Install Weblogic Server

Make sure the java version is 1.6.x

[fusion@fmwhost patch]$ /app/fusion/jdk6/bin/java -version

java version “1.6.0_31”

Java(TM) SE Runtime Environment (build 1.6.0_31-b05)

Oracle JRockit(R) (build R28.2.3-13-149708-1.6.0_31-20120327-1523-linux-x86_64, compiled mode)

[fusion@fmwhost ~]$ export PATH=/app/fusion/jdk6/bin:$PATH

Start Weblogic Server installation from <REPOSITORY_LOCATION>/installers/weblogic direcotry

[fusion@fmwhost ~]$ cd /mnt/hgfs/setup/installers/weblogic/

[fusion@fmwhost weblogic]$ java -d64 -jar wls_generic.jar

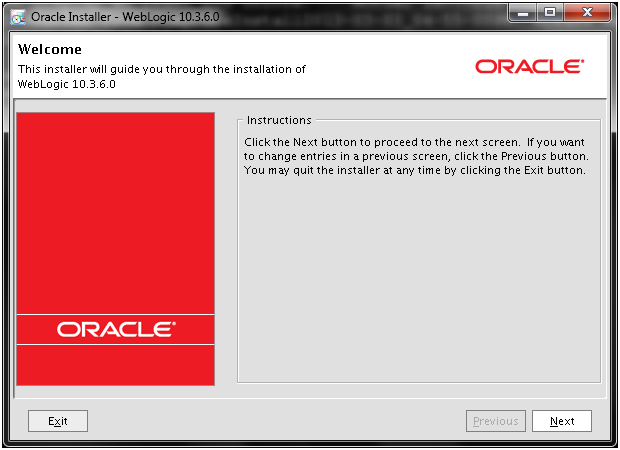
Click Next

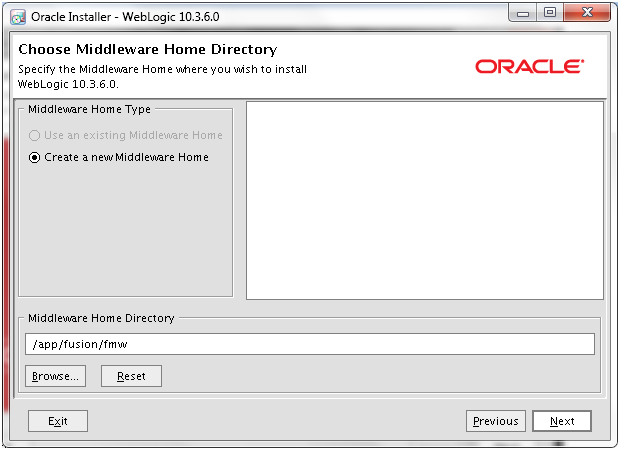
Provide location of Middleware Home directory “/app/fusion/fmw” and click Next

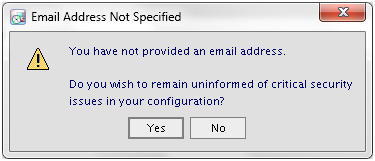
Click Yes

Deselect the checkbox and click Next

Due to a bug in Linux/Solaris installation of Weblogic, following screen will keep on coming despite you click Yes. (only for Linux/Solaris installation)

Click Yes

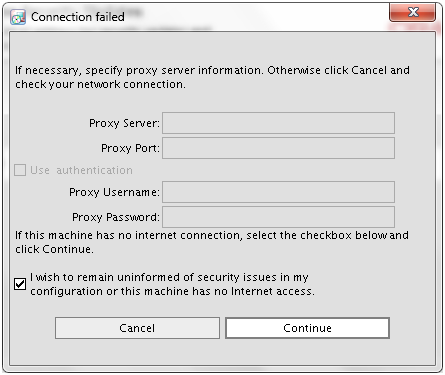
Select the Checkbox and click Continue

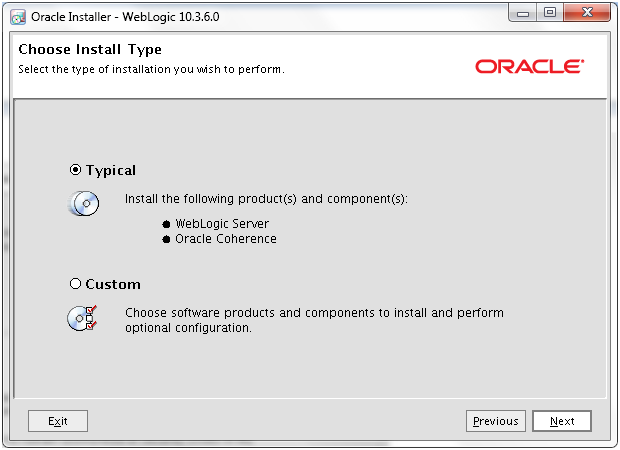
Select Typical and click Next

“Oracle Weblogic Server” and “Oracle Coherence” are installed when you select Typical

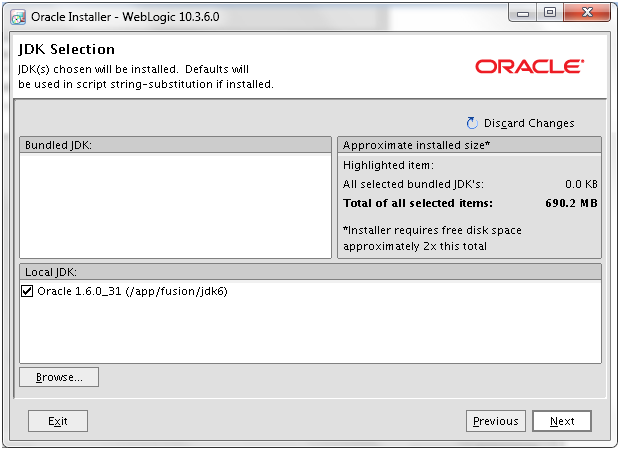
Oracle JDK will be automatically selected, if not browse for the same. Click Next

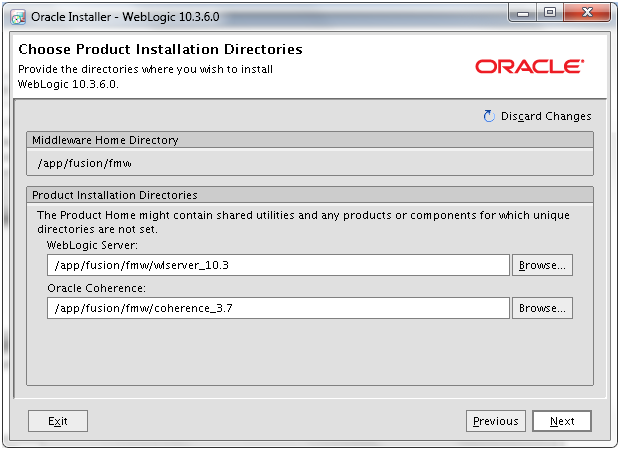
Make sure the values are as above and click Next

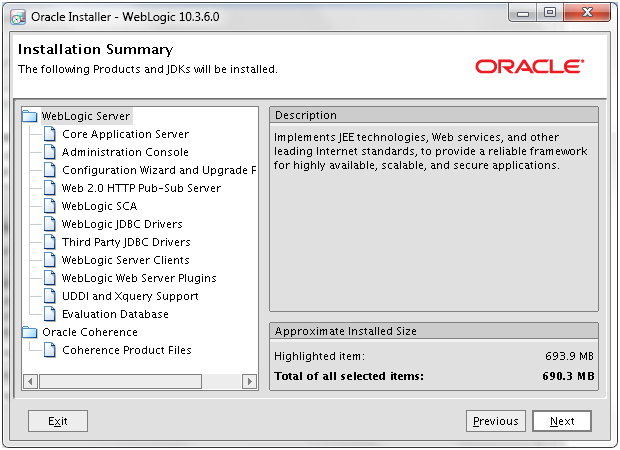
Review the summary and click Next

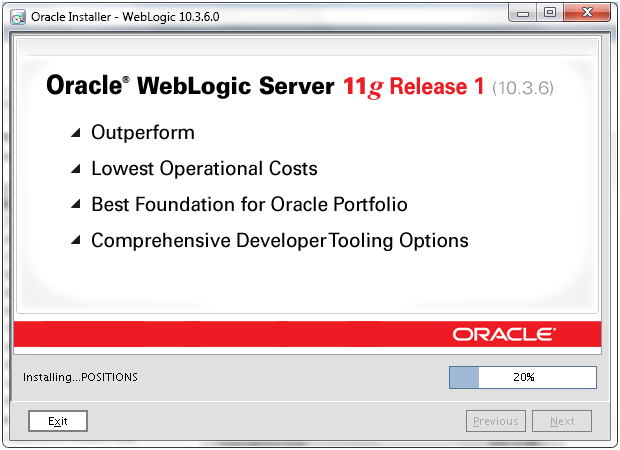
This starts the weblogic installation

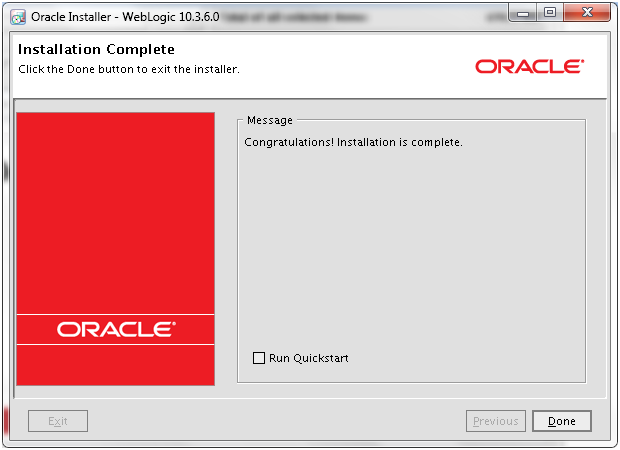
Deselect Quickstart and click Done

Install Oracle Identity Management 11.1.1.6.0


We need to first unzip the installation files from <repository_location>/installers/idm directory.

[fusion@fmwhost weblogic]$ cd /app/fusion/provisioning

[fusion@fmwhost provisioning]$ unzip /mnt/hgfs/setup/installers/idm/idm.zip

(Please note that we don’t need to upgrade this as well like earlier installations since it is already at the required version level. There is a patchset included in the installer but that is required only if you have existing lower version of IDM installed)

Start the installation by executing runInstaller from <provisioning_repository>/idm/Disk1

[fusion@fmwhost provisioning]$ cd /app/fusion/provisioning/idm/Disk1/

[fusion@fmwhost Disk1]$ ./runInstaller
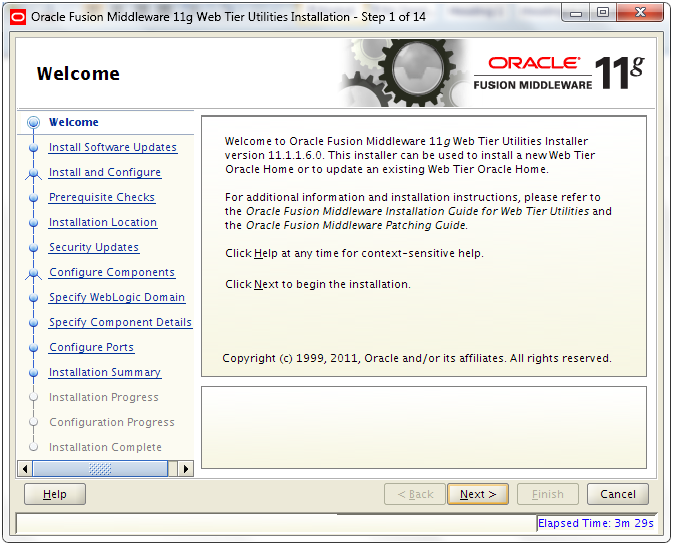
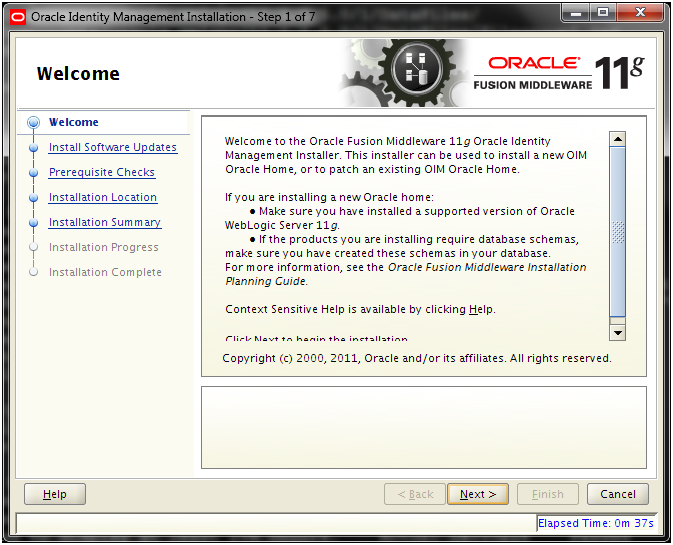
Click Next
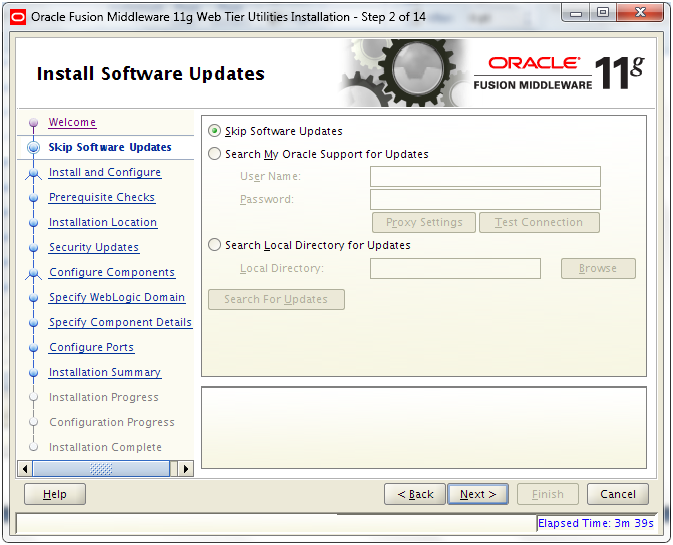
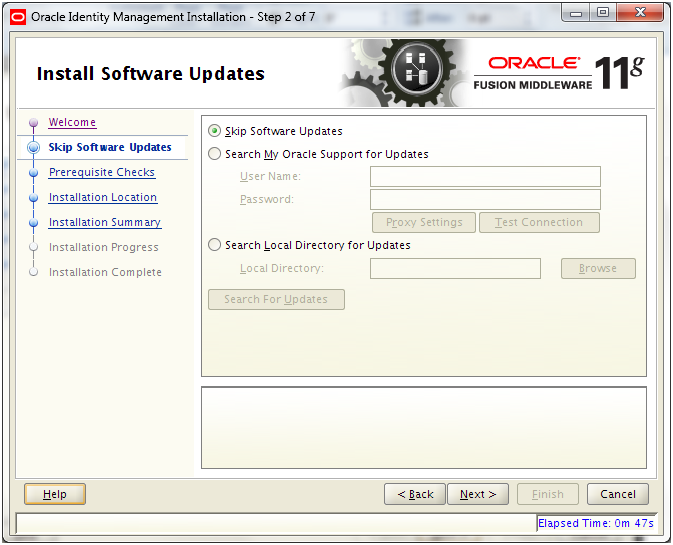
Select “Skip software upgrade” and click Next

Select “Install Software – Do Not Configure” and click Next
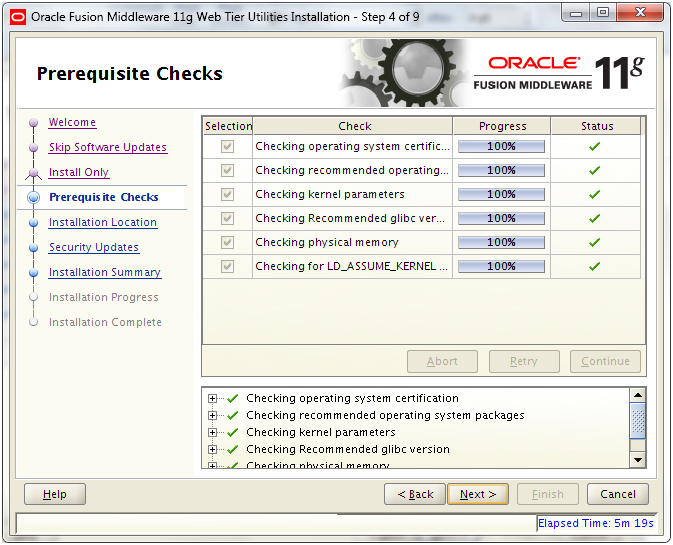
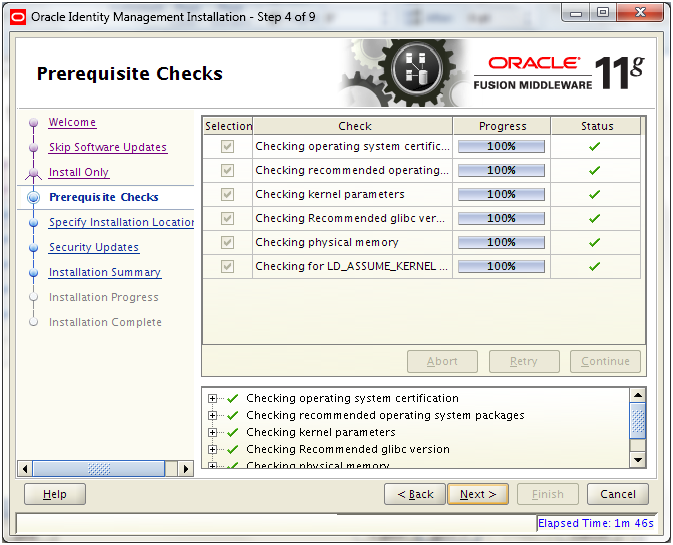
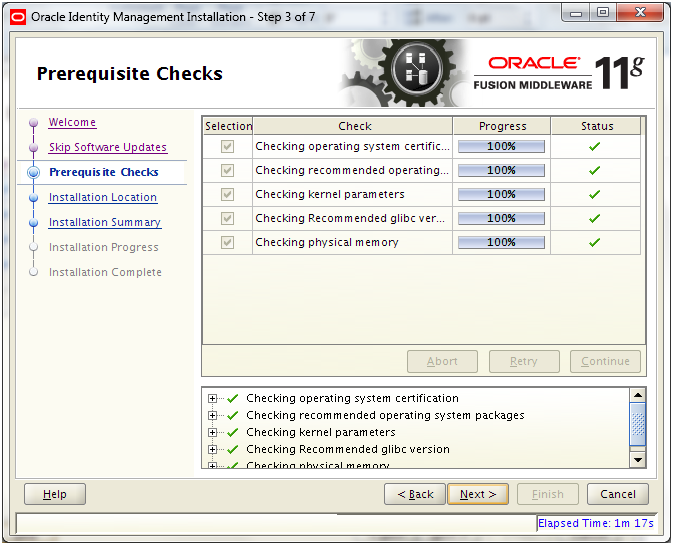
Once prerequisites check completes, click Next
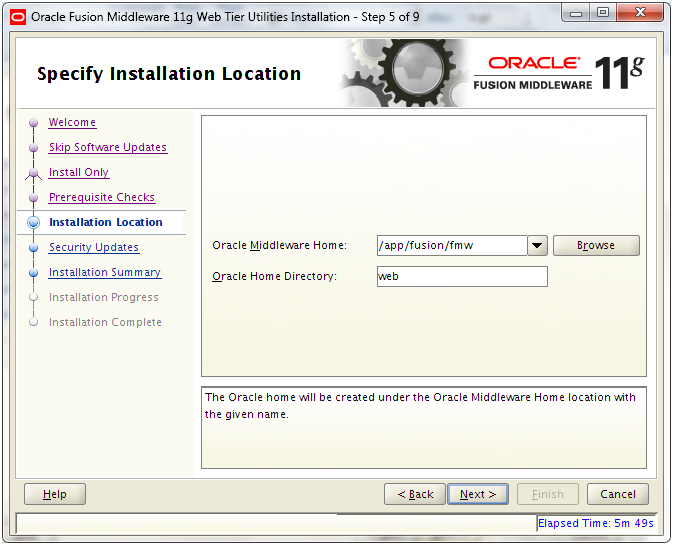
Select value “/app/fusion/fmw” as Middleware home and “idm” as Home directory. Click Next

Deselect the checkbox and click Next

Click Yes
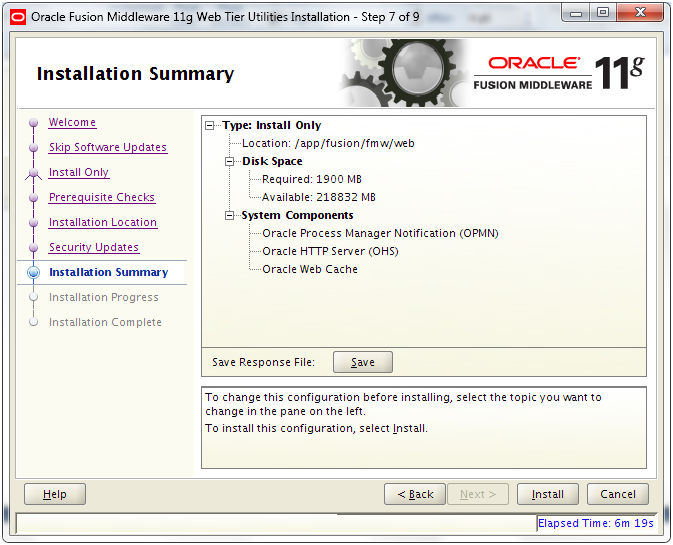
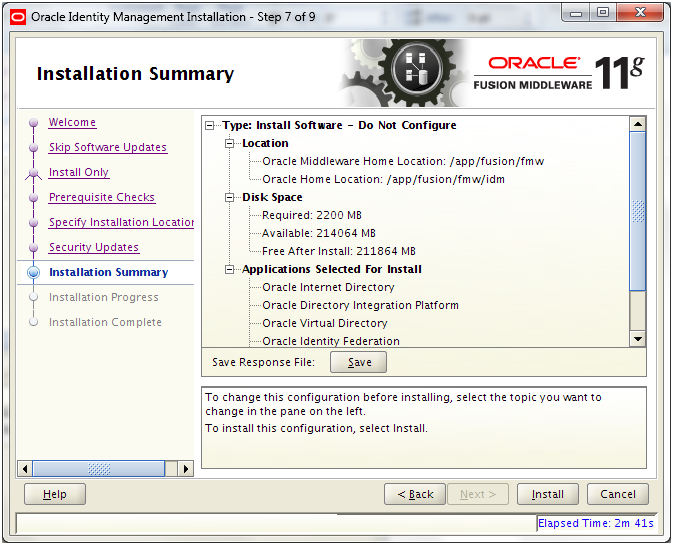
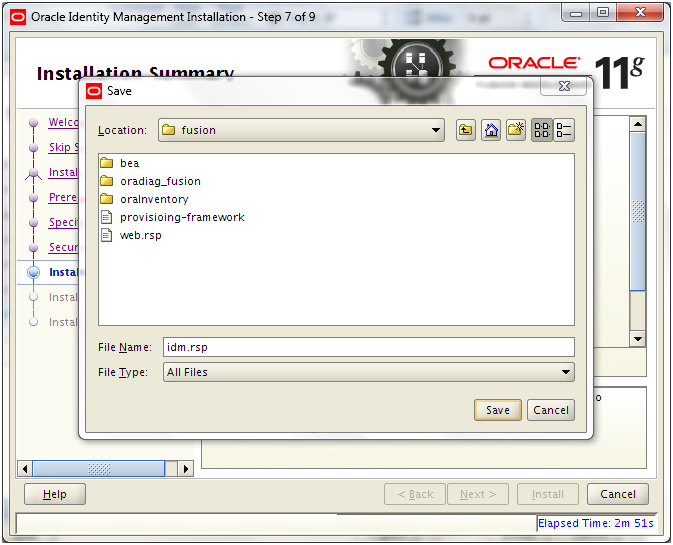
Review the Summary and click Install. Save summary if required.

Save summary if required.

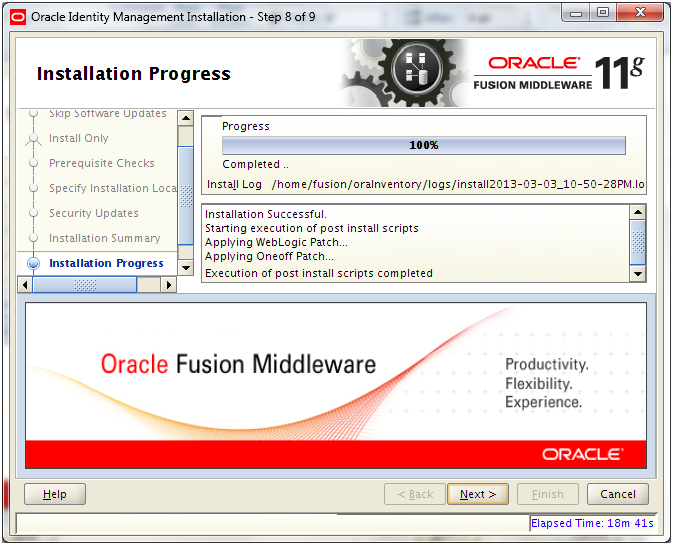
Once installation completes, click Next
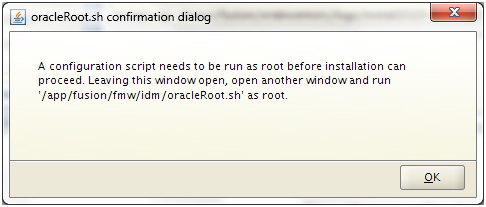
The above dialog box will appear. Open another window and execute following as root.

[root@fmwhost ~]# /app/fusion/fmw/idm/oracleRoot.sh

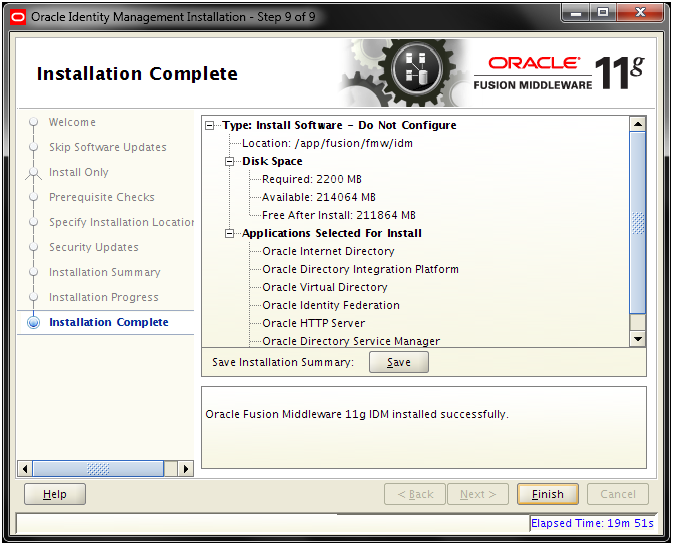
Review the summary and click Finish

Patch Oracle Identity Management

Following step can be skipped as on publishing this article, but this is just to make sure that you are already on correct patchset at the time you are installing this.

Important Note: There is a patchset included in installers directory so let us try to install this. In our case it will exit saying we already have higher version included but make sure to run this since when you are installing it later, your installer directory might have higher version.

[fusion@fmwhost idm_patchset]$ cd /app/fusion/provisioning/idm/

[fusion@fmwhost idm]$ unzip /mnt/hgfs/setup/installers/idm/idm_patchset.zip

[fusion@fmwhost Disk1]$ cd /app/fusion/provisioning/idm/idm_patchset/Disk1/

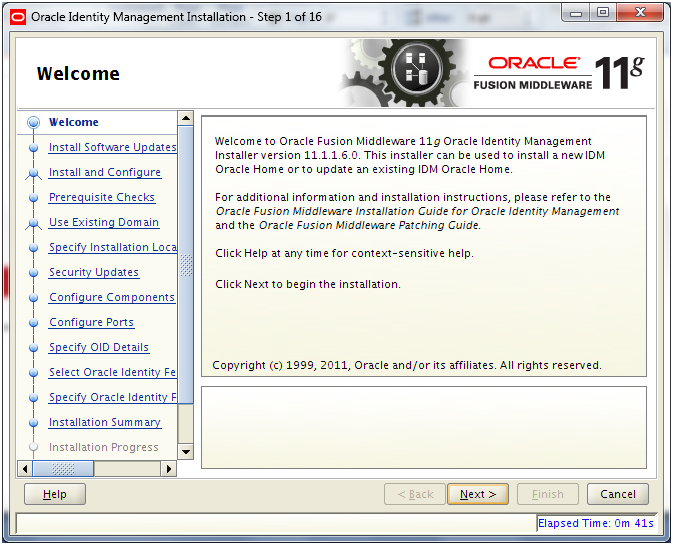
[fusion@fmwhost Disk1]$ ./runInstaller
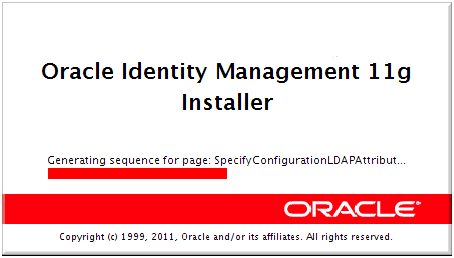
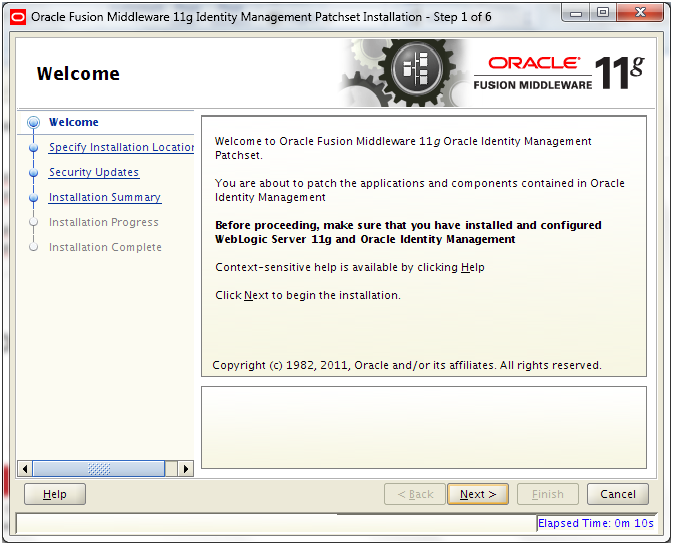
Click Next

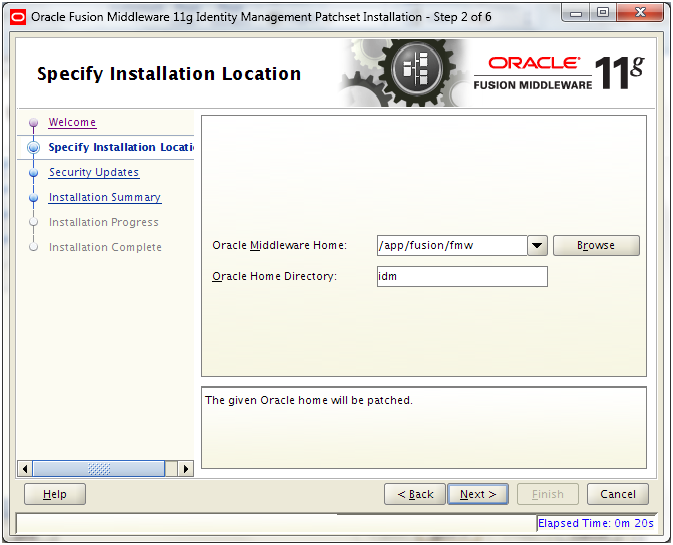
Enter values as above and click Next

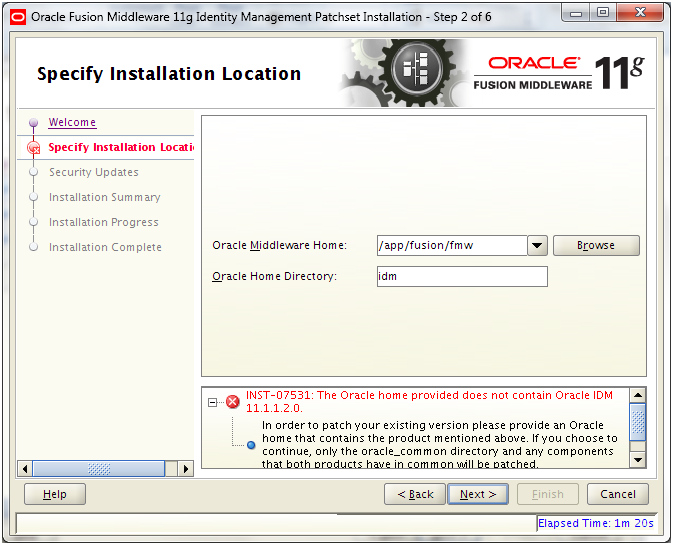
This means that this patchset is not required since we already have 11.1.1.6 installed. If at the time of your installation, the newer installers directory includes newer patchset then it will go ahead. Here we will cancel this at this point.

Install SOA suite 11.1.1.6.0

Start the installation by executing runInstaller from <repository_location>/installers/soa/Disk1

[fusion@fmwhost Disk1]$ cd /mnt/hgfs/setup/installers/soa/Disk1/

[fusion@fmwhost Disk1]$ ./runInstaller
Please specify JRE/JDK location ( Ex. /home/jre ), <location>/bin/java should exist :/app/fusion/jdk6

Click Next

Select “Skip software update” and click Next

Once prerequisites check completes, click Next
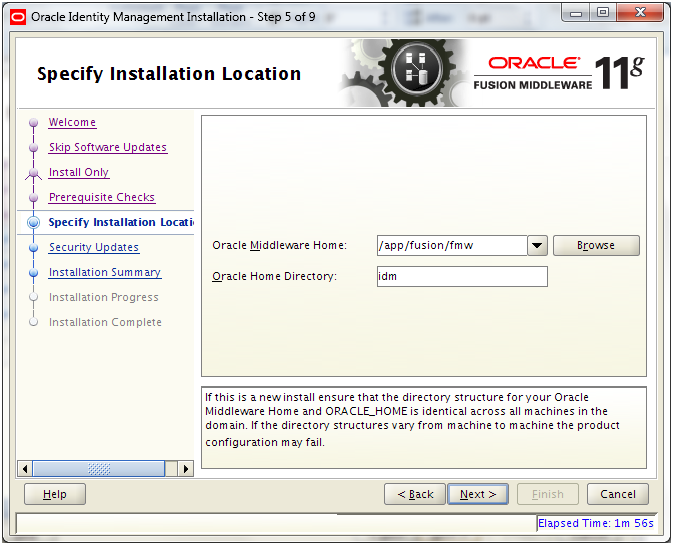
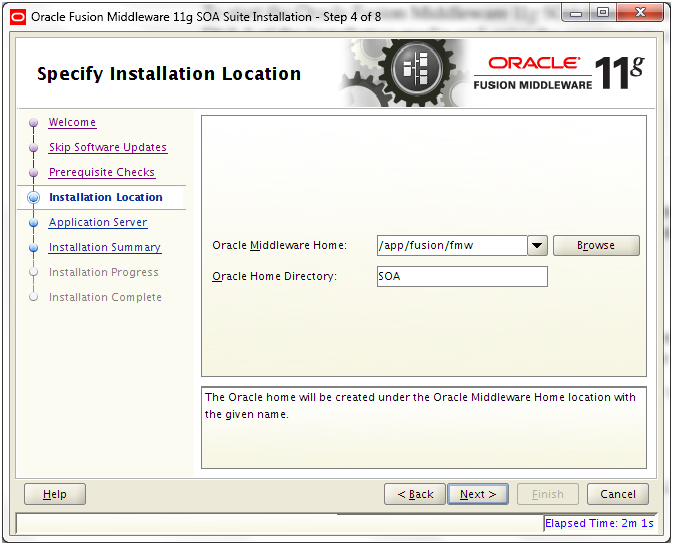
Select “/app/fusion/fmw” as Middleware home and “SOA” as Home Directory. Click Next

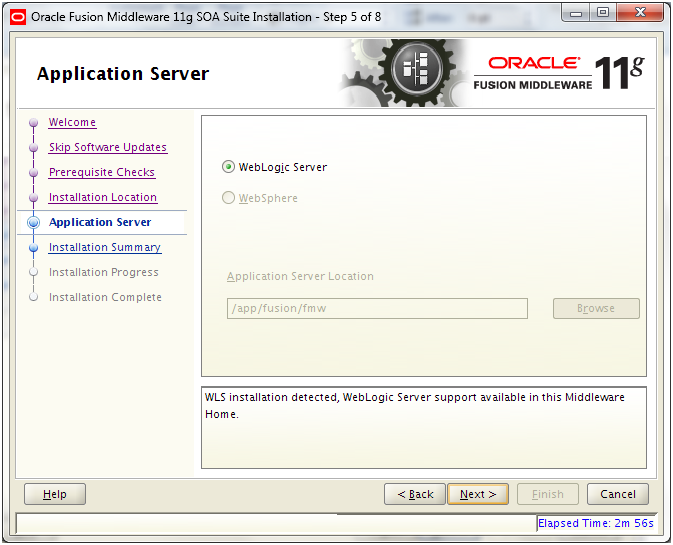
Weblogic Server will be detected. Click Next

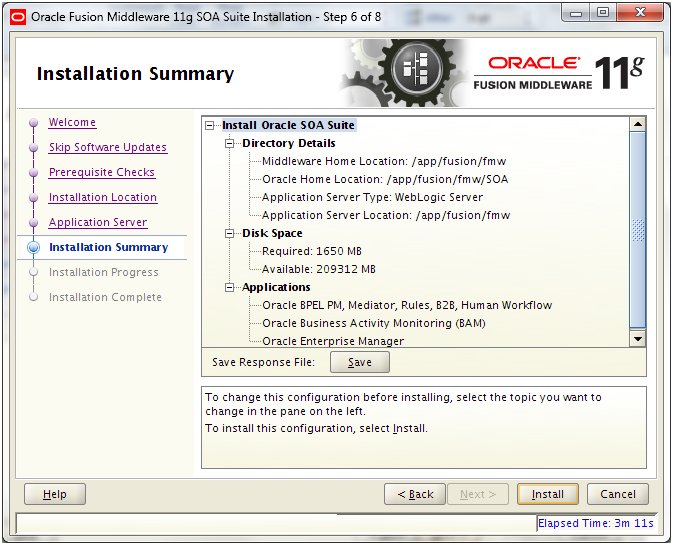
Review the summary and click Install. Save response file if required

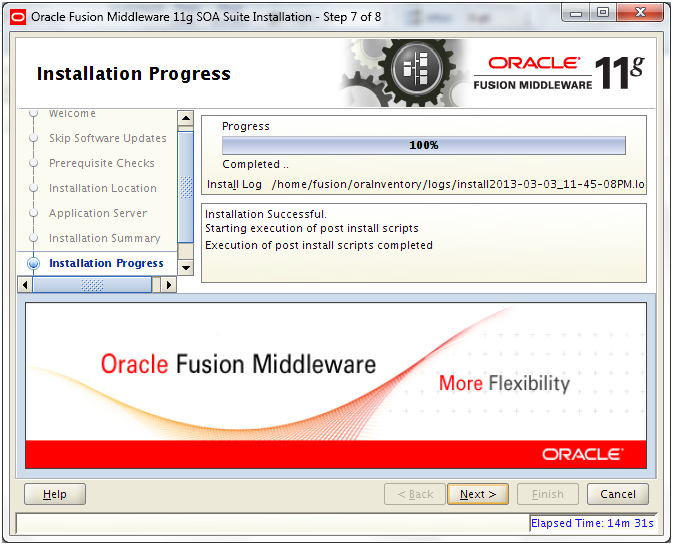
Once completed, click Next

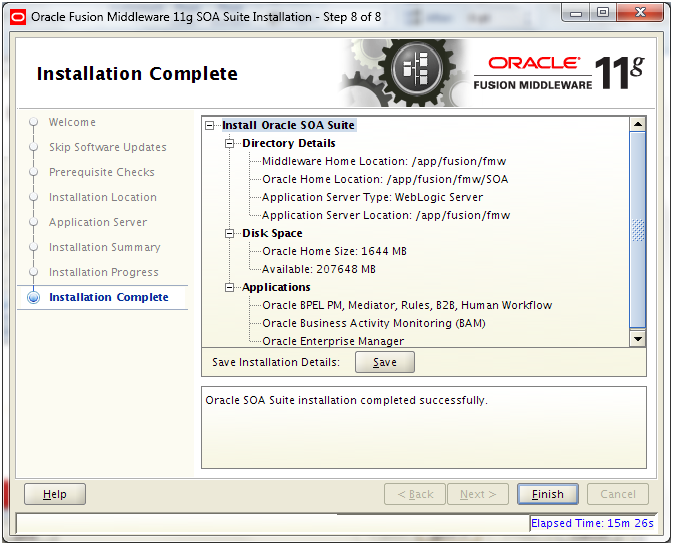
Review the summary and click Finish

Install Identity and Access Management

We need to first unzip the installation files from <repository_location>/installers/oam directory.

[fusion@fmwhost provisioning]$ cd /app/fusion/provisioning/

[fusion@fmwhost provisioning]$ mkdir iam

[fusion@fmwhost provisioning]$ cd iam/

[fusion@fmwhost iam]$ unzip ‘/mnt/hgfs/setup/installers/oam/iamsuite*.zip’

Start the installation by executing runInstaller from <provisioning_repository>/oam/iamsuite/Disk1

[fusion@fmwhost ~]$ cd /app/fusion/provisioning/iam/iamsuite/Disk1/

[fusion@fmwhost Disk1]$ ./runInstaller
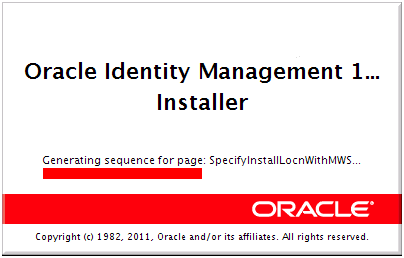
Please specify JRE/JDK location ( Ex. /home/jre ), <location>/bin/java should exist :/app/fusion/jdk6
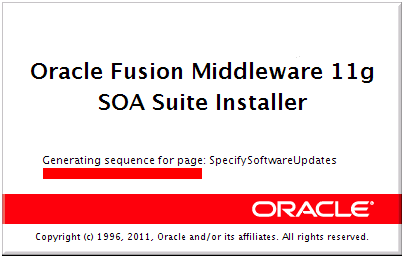
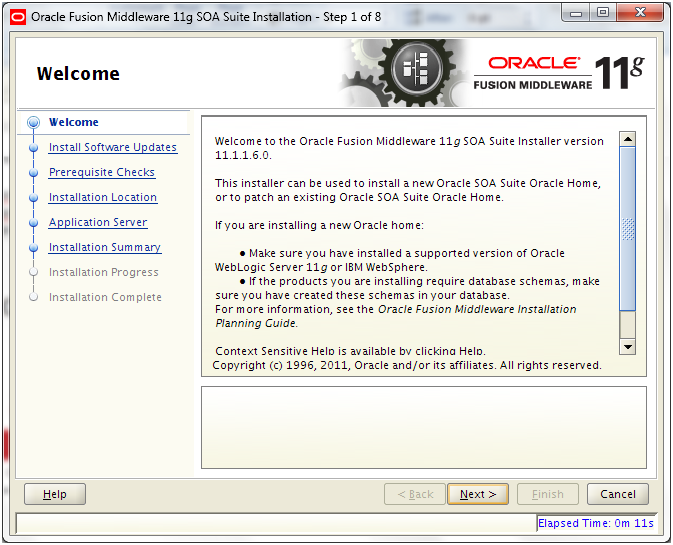
Click Next
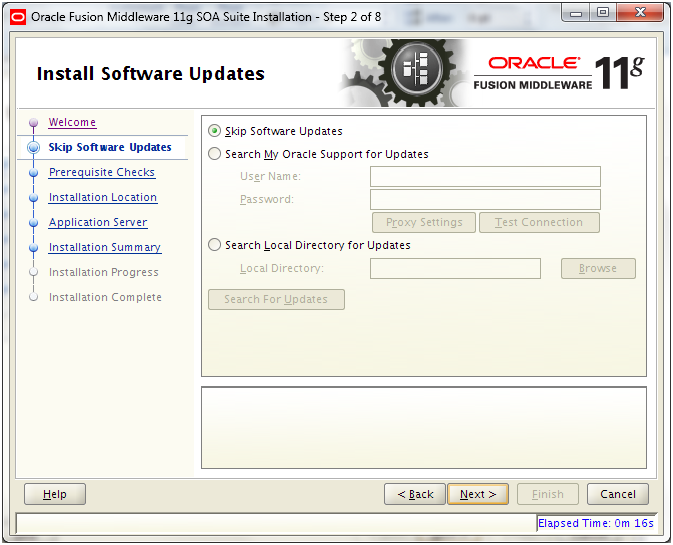
Select “Skip software update” and click Next
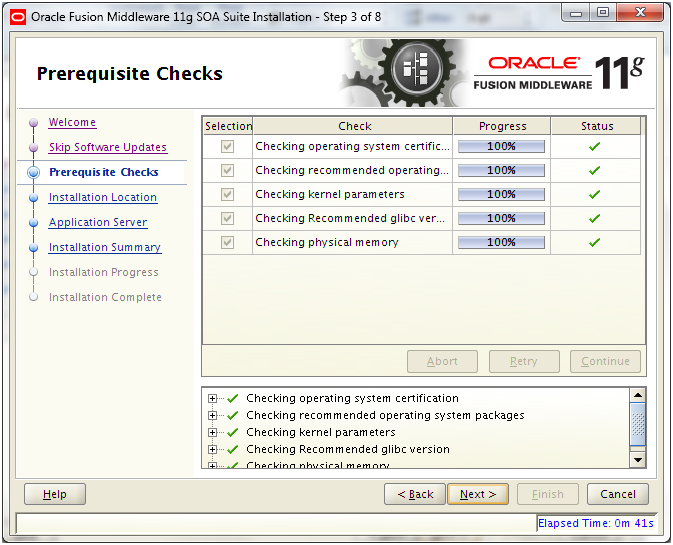
Once prerequisites check finishes, click Next

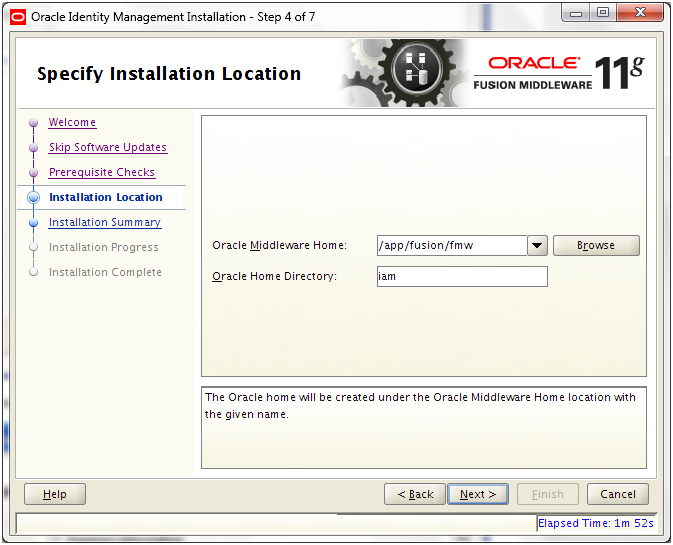
Enter “/app/fusion/fmw” as Middleware home and “iam” as Home directory. Click Next

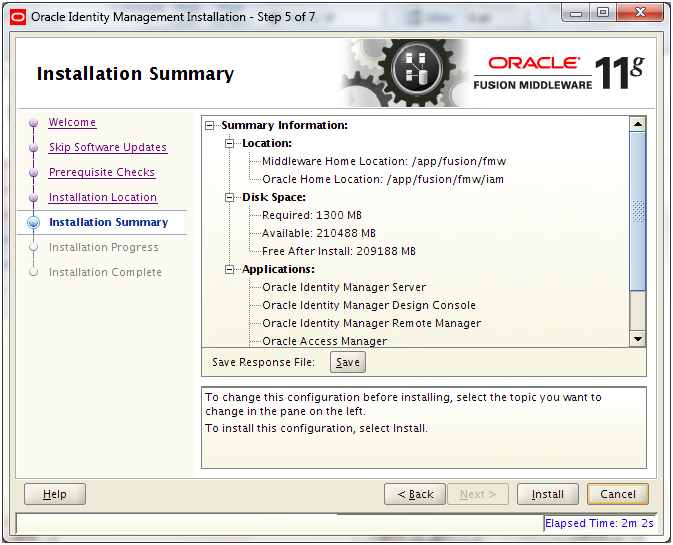
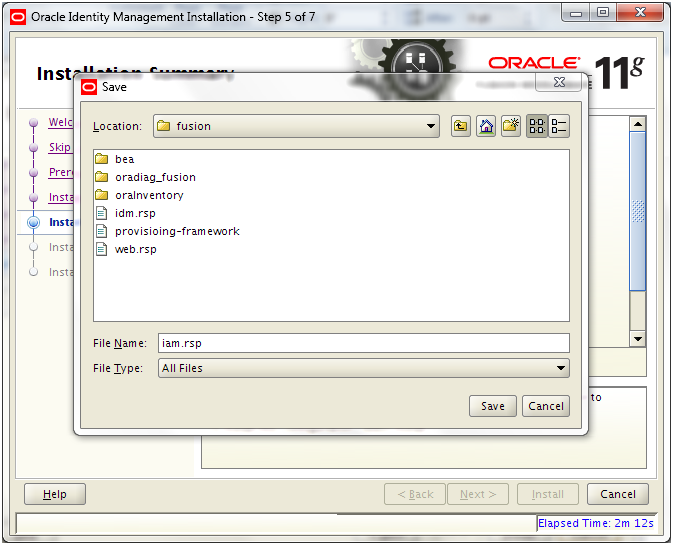
Review the summary and click Install. Save response file if required
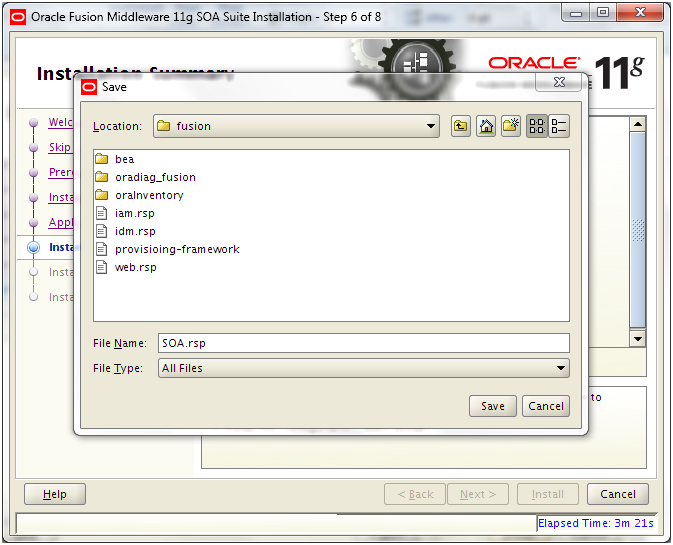
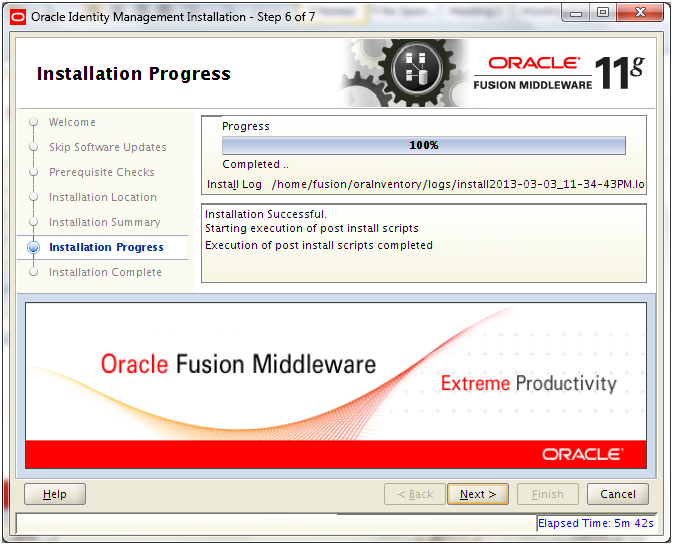
Once installation completes click Next
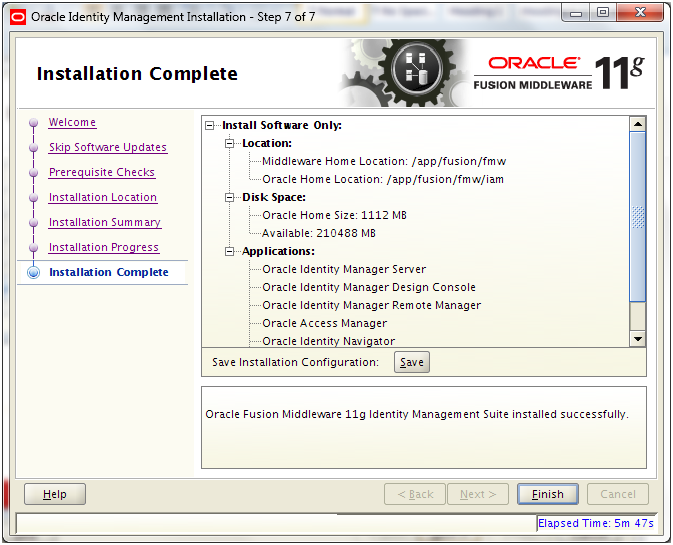
Review the summary and click Finish to complete the installation.

The last 2 steps “Provisioning the OIM Login Modules Under the WebLogic Server Library Directory” and “Creating the wlfullclient.jar File” will be done now after applying the patches in next post.

Next: Apply mandatory Patches

Installing Oracle Fusion Applications – steps

  1. Install Fusion Applications Provisioning Framework
  2. Install Oracle 11g Database (Applications Transactional Database)
  3. Run Oracle Fusion Applications Repository Creation Utility (Applications RCU)
  4. Create another database for Oracle Identity Management Infrastructure (optional)
  5. Run Repository Creation Utility (RCU) for Oracle Identity Management components
  6. Install Oracle Identity and Access Management Components
  7. Apply mandatory Patches
  8. Configure Oracle Identity and Access Management components
  9. Integrate Oracle Identity Manager (OIM) and Oracle Access Manager (OAM)
  10. Install provisioning framework on Node 2
  11. Create new Response File
  12. Provision an Applications Environment (Editing in progress, this link currently points to 11.1.5 counterpart)
Mar 24th, 2013 | Posted by Tushar Thakker | Filed under Uncategorized

Oracle Fusion Applications Installation: Run Repository Creation Utility (RCU) for Oracle Identity Management components

Previous: Run Oracle Fusion Applications Repository Creation Utility (Applications RCU)

Important Note: Please note that we are not creating a separate database here for Oracle Identity Management components, though it is recommended but not mandatory to have a separate database for this. But since we are doing single node installation for Fusion Middleware and database node, we have to manage memory properly and hence we are not creating separate database instance.

We will create these schemas in our Fusion Database (fusiondb) itself since the schema names are distinct compared to Fusion Application schemas. We will save a lot of Memory for our Virtual Machine.

In order to run RCU for Identity Management on same database, we must set the open_cursors parameter to 800.

Open a new database session and set following values.

SQL> show parameter open_cursors

NAME TYPE VALUE

———————————— ———– ——————————

open_cursors integer 500

SQL> alter system set open_cursors=800 scope=both sid=’*’;

System altered.

SQL> show parameter open_cursors

NAME TYPE VALUE

———————————— ———– ——————————

open_cursors integer 800

As we mentioned in the previous post, RCU for Oracle Identity Management components is only available for Linux and Windows platforms and the Fusion Application setup ships with Linux only RCU for Identity Management components.

If you want to run from Widnows (if your FA installation is on Windows, Solaris, HP-UX or AIX) then the RCU file can be downloaded from oracle website. The name on edelivery is V29675-01.zip while the name on technetwork download site is ofm_rcu_win_11.1.1.6.0_disk1_1of1.zip or any newer file (if available) which includes Repository Creation Utility for 11.1.1.6.0 Fusion Middleware Components.

[fusion@fmwhost fmw_rcu]$ mkdir /app/fusion/provisioning/fmw_rcu

[fusion@fmwhost fmw_rcu]$ cd /app/fusion/provisioning/fmw_rcu

[fusion@fmwhost fmw_rcu]$ unzip /mnt/hgfs/setup/installers/fmw_rcu/linux/rcuHome.zip


Launch Repository Creation Utility for Oracle Identity Management from<Framework_location>/fmw_rcu/bin location

Launch the utility using ./rcu command

[fusion@fmwhost fmw_rcu]$ cd /app/fusion/provisioning/fmw_rcu/bin

[fusion@fmwhost bin]$ ./rcu &

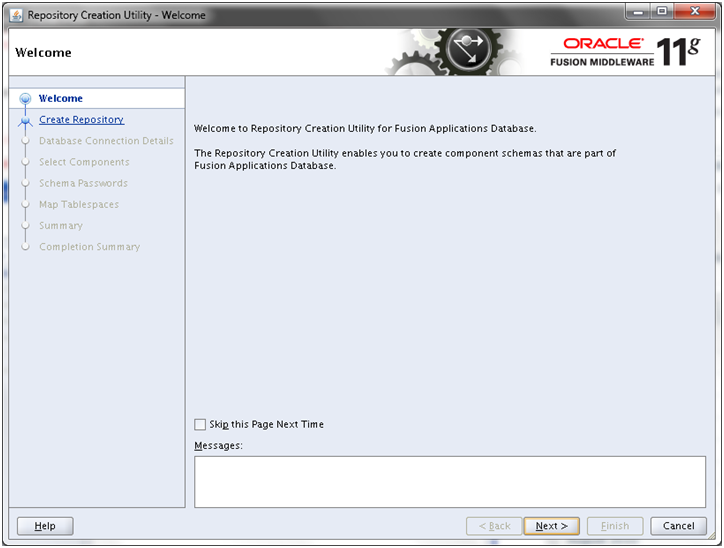
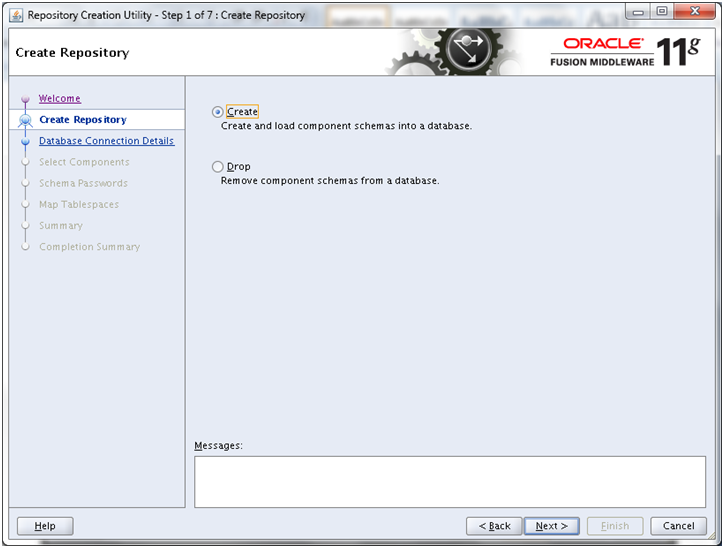
Click Next


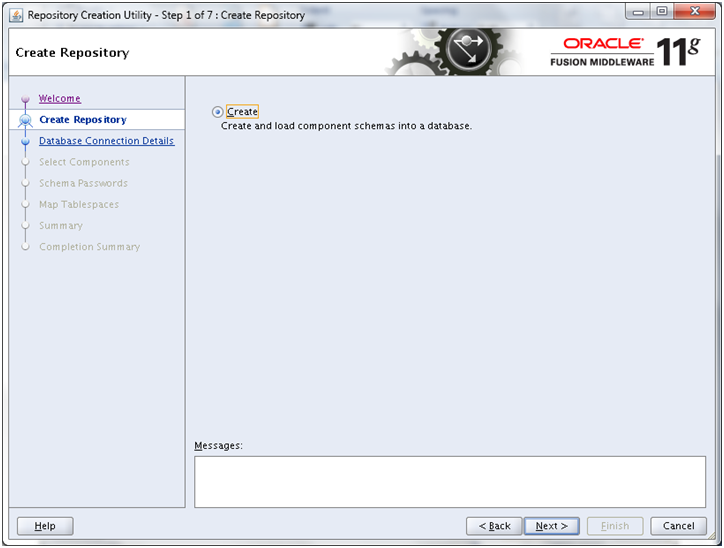
Select Create and click Next


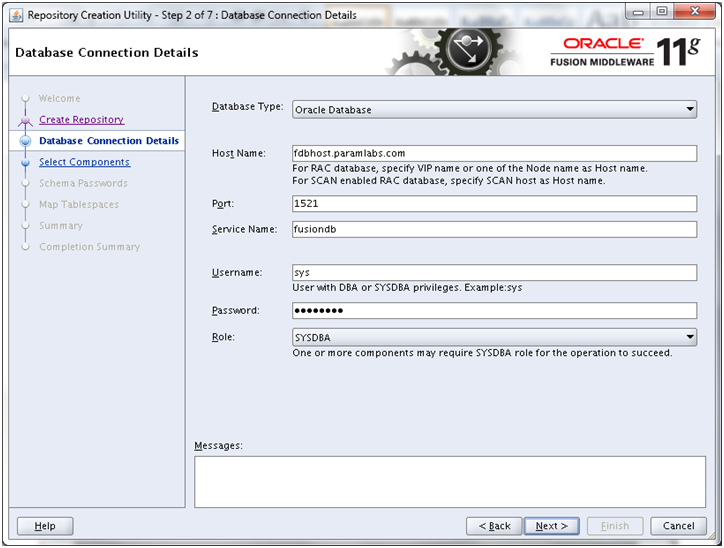
Enter details of our existing database and click Next

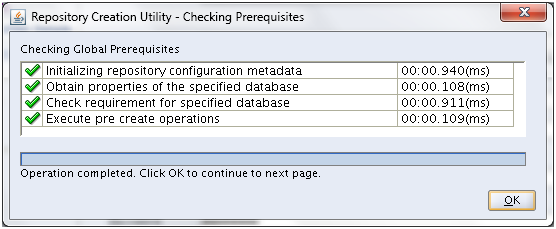
Once prerequisites check completes, click OK


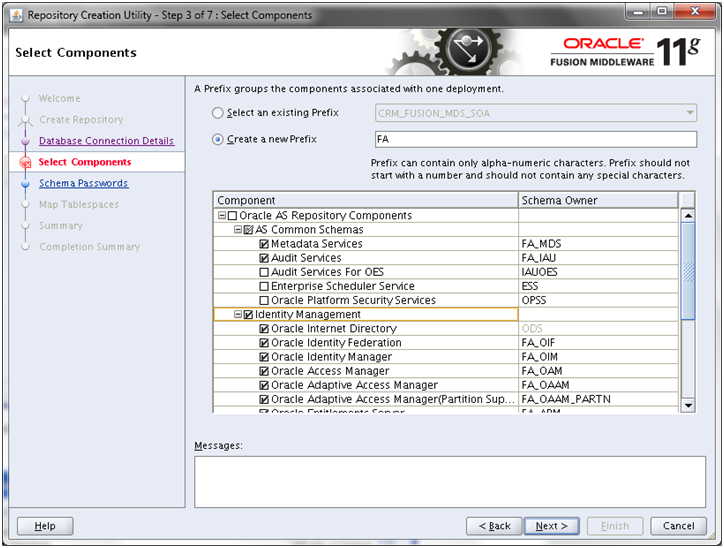
Mention any prefix for Identity Management related schemas. The default value is DEV while we have changed it to FA. As per fusion applications documentations, they have given example as EDG or ISA. You can use whichever you want but please make a note of this since at many places you will need to mention the schema name.

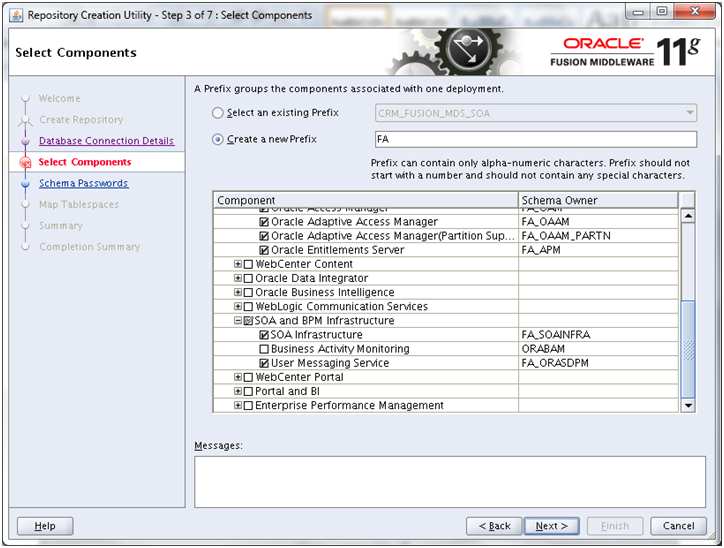
Select all “Identity Management” components and click Next


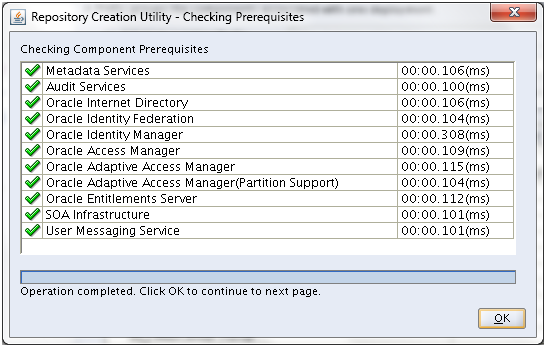
Once prerequisites check is completed, click OK


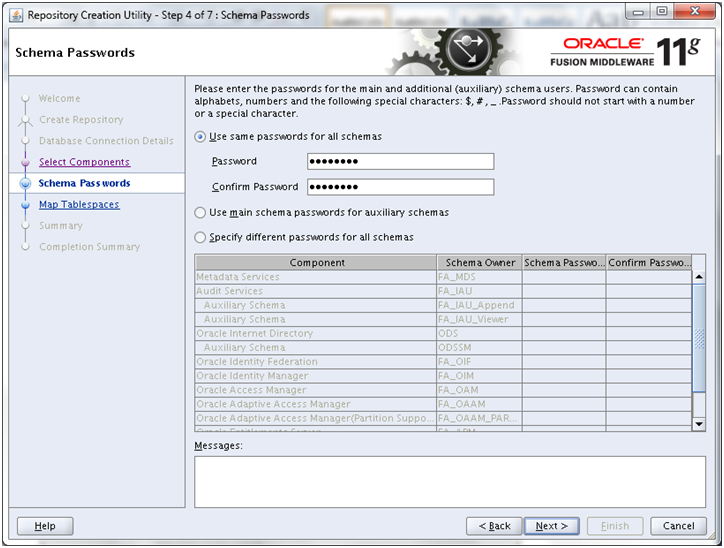
We have specified single password for all users i.e. Oracle123. Click Next


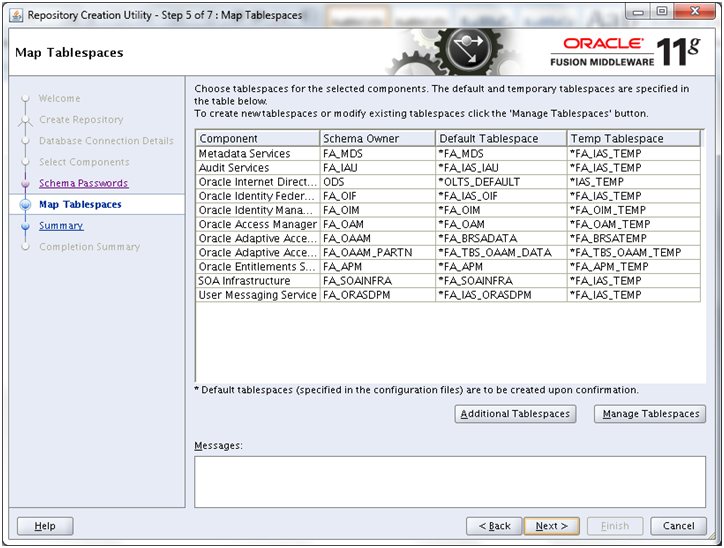
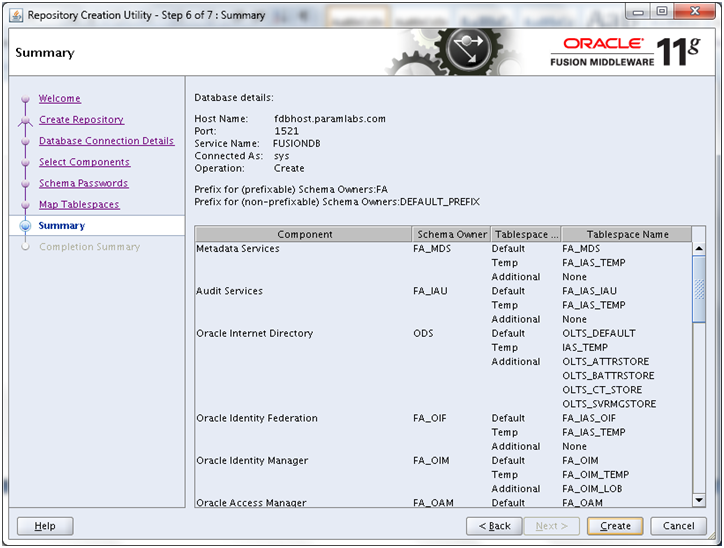
Review the information and click Next


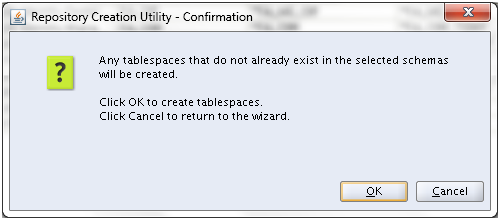
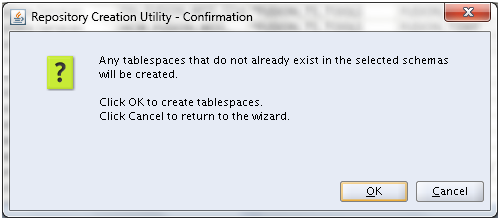
Click OK to create the tablespaces.


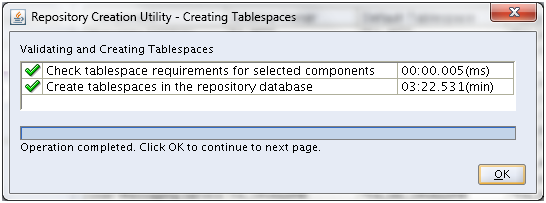
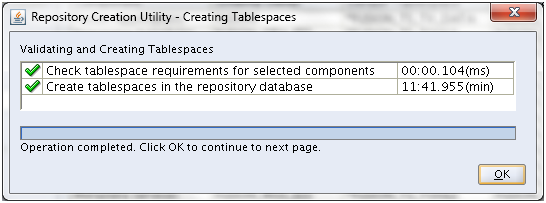
Once tablespaces creation is complete, click OK


Click Create to create users and start import.


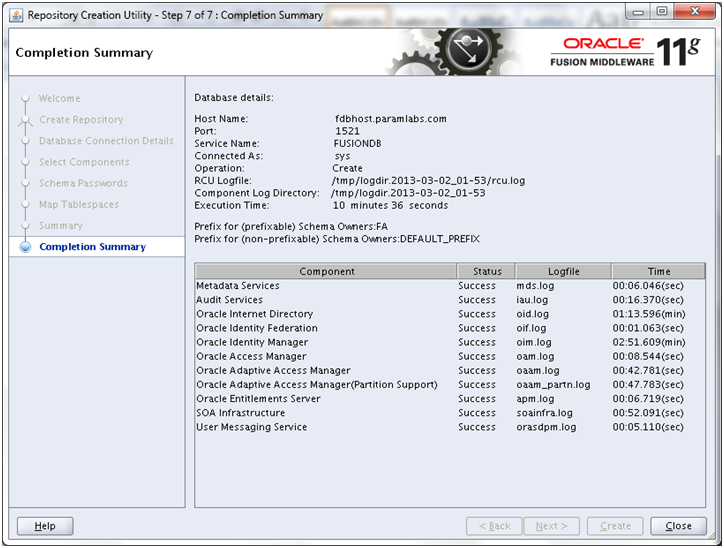
Once import completes, above script appears. Click Close to finish RCU.


Make sure that there are no invalid objects after the import.

SQL> select owner, count(1) from dba_objects where status=’INVALID’ group by owner;

OWNER COUNT(1)

—————————— ———-

FA_OIM 3

FA_SOAINFRA 2


Since we can see some invalids, we can compile them.

SQL> @?/rdbms/admin/utlrp

SQL> select owner, count(1) from dba_objects where status=’INVALID’ group by owner;

no rows selected


Next: Install Oracle Identity and Access Management Components

Installing Oracle Fusion Applications – steps

  1. Install Fusion Applications Provisioning Framework
  2. Install Oracle 11g Database (Applications Transactional Database)
  3. Run Oracle Fusion Applications Repository Creation Utility (Applications RCU)
  4. Create another database for Oracle Identity Management Infrastructure (optional)
  5. Run Repository Creation Utility (RCU) for Oracle Identity Management components
  6. Install Oracle Identity and Access Management Components
  7. Apply mandatory Patches
  8. Configure Oracle Identity and Access Management components
  9. Integrate Oracle Identity Manager (OIM) and Oracle Access Manager (OAM)
  10. Install provisioning framework on Node 2
  11. Create new Response File
  12. Provision an Applications Environment (Editing in progress, this link currently points to 11.1.5 counterpart)
Mar 24th, 2013 | Posted by Tushar Thakker | Filed under Uncategorized

Oracle Fusion Applications Installation: Run Oracle Fusion Applications Repository Creation Utility (Applications RCU)

Previous: Install Oracle 11g Database (Applications Transactional Database)

Please note that RCU are available only for Windows and Linux platforms. Hence we may need to run the RCU on Windows or Linux machine which can connect to this database.

Fusion Applications stage already has both Applications and Fusion Middleware RCUs for Linux but for Windows only apps RCU is included in the installer.

For Windows Fusion Middleware RCU, you need to download V29675-01.zip or ofm_rcu_win_11.1.1.6.0_disk1_1of1.zip from
Oracle website or support website.

Since this installation is on Linux and in our last post for 11.1.5 we had shown steps for Windows, we will go with Linux version here.

For Linux, the RCU is included in repository_location/installers/apps_rcu location.

Create a directory on physical partition and call it APPS_RCU_HOME

[fusion@fmwhost dbs]$ mkdir /app/fusion/provisioning/apps_rcu

Go to repository_location/installers/apps_rcu and locate the rcuHome_fusionapps_linux.zip file. This file was staged when you created the installer repository.

Extract the contents of rcuHome_fusionapps_linux.zip to a directory (APPS_RCU_HOME) on the database server. All dependent components that Applications RCU needs are included in this zipped file.

[fusion@fmwhost dbs]$ cd /app/fusion/provisioning/apps_rcu

[fusion@fmwhost apps_rcu]$ unzip /mnt/hgfs/setup/installers/apps_rcu/linux/rcuHome_fusionapps_linux.zip

Create a temporary directory on the database server. Make a note of the location.

You will need to enter this location when you specify a value for FUSIONAPPS_DBINSTALL_DP_DIR

[fusion@fmwhost apps_rcu]$ mkdir /app/fusion/provisioning/apps_rcu/dp_dir

Locate and copy APPS_RCU_HOME/rcu/integration/fusionapps/export_fusionapps_dbinstall.zip to the directory you specified for FUSIONAPPS_DBINSTALL_DP_DIR.

Unzip export_fusionapps_dbinstall.zip to FUSIONAPPS_DBINSTALL_DP_DIR.

[fusion@fmwhost apps_rcu]$ cd /app/fusion/provisioning/apps_rcu/dp_dir

[fusion@fmwhost dp_dir]$ unzip /app/fusion/provisioning/apps_rcu/rcu/integration/fusionapps/export_fusionapps_dbinstall.zip

Go to APPS_RCU_HOME/rcu/integration/biapps/schema and locate the otbi.dmp file.

Copy otbi.dmp to FUSIONAPPS_DBINSTALL_DP_DIR (where you unzipped the contents of export_fusionapps_dbinstall.zip)

[fusion@fmwhost dp_dir]$ cp -p ../rcu/integration/biapps/schema/otbi.dmp /app/fusion/provisioning/apps_rcu/dp_dir/

Launch Repository Creation Utility (RCU)

[fusion@fmwhost dp_dir]$ cd /app/fusion/provisioning/apps_rcu/bin

[fusion@fmwhost bin]$ ./rcu

Click Next

Click Next

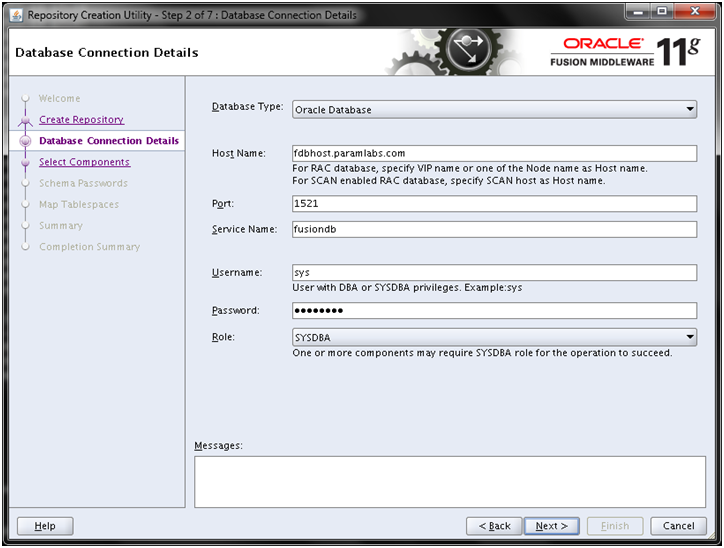
Enter the values as mentioned here and click Next. Change host name to fdbhost if you have kept different hostname for database host. In our case we will change from fmwhost to fdbhost (the screenshot is before changing the value)

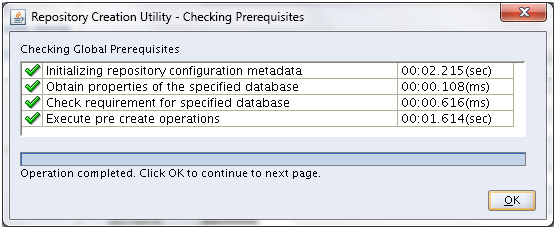
Once the prerequisites check is finished, click OK

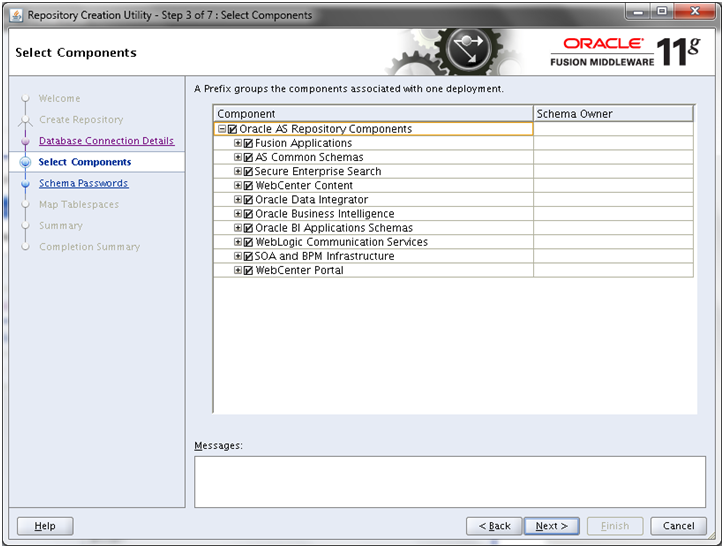
Select all components and click Next

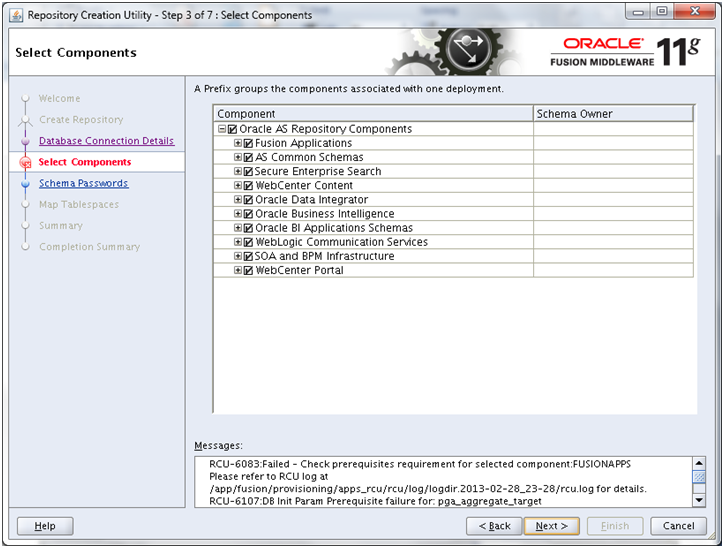
Important Note: If you had reduced SGA and PGA size after DB installation then this prerequisites check may fail with following error.

RCU-6083:Failed – Check prerequisites requirement for selected component:FUSIONAPPS Please refer to RCU log at apps_rcu/rcuHome/rcu/log/logdir.2013-02-28_23-28/rcu.log for details. RCU-6107:DB Init Param Prerequisite failure for: pga_aggregate_target Current Value is 0. It should be greater than or equal to 4294967296. RCU-6107:DB Init Param Prerequisite failure for: sga_target Current Value is 0. It should be greater than or equal to 9663676416. RCU-6092:Component Selection validation failed. Please refer to log at apps_rcu/rcuHome/rcu/log/2013-02-28_23-28/rcu.log for details.

To fix this issue, we need to modify the minimum requirement of SGA and PGA in installer pre-requisite config file located at apps_rcu /rcu/integration/fusionapps/fusionapps.xml

[fusion@fmwhost ~]$ cp -p /app/fusion/provisioning/apps_rcu/rcu/integration/fusionapps/fusionapps.xml /app/fusion/provisioning/apps_rcu/rcu/integration/fusionapps/fusionapps.xml.bak

RCU-6083:Failed – Check prerequisites requirement for selected component:FUSIONAPPS

RCU-6107:DB Init Param Prerequisite failure for: pga_aggregate_target

Current Value is 2147483648. It should be greater than or equal to 4294967296.

RCU-6107:DB Init Param Prerequisite failure for: sga_target

Current Value is 2147483648. It should be greater than or equal to 9663676416.

To fix this issue, we need to modify the minimum requirement of SGA and PGA in installer pre-requisite config file located at /app/fusion/provisioning/apps_rcu/rcu/integration/fusionapps/fusionapps.xml

Change these values as follows.

<DBPrerequisite COMPARE_OPERATOR=”GE” DATA_TYPE=”NUMBER” PREREQ_TYPE=”InitParameter”>

<ValidIf DBTYPE=”ORACLE”/>

<PrereqIdentifier>sga_target</PrereqIdentifier>

<PrereqValue>0</PrereqValue>

</DBPrerequisite>

<DBPrerequisite COMPARE_OPERATOR=”GE” DATA_TYPE=”NUMBER” PREREQ_TYPE=”InitParameter”>

<ValidIf DBTYPE=”ORACLE”/>

<PrereqIdentifier>pga_aggregate_target</PrereqIdentifier>

<PrereqValue>0</PrereqValue>

</DBPrerequisite>

Note: You may need to click Back go to the database details window and click Next again to retry.

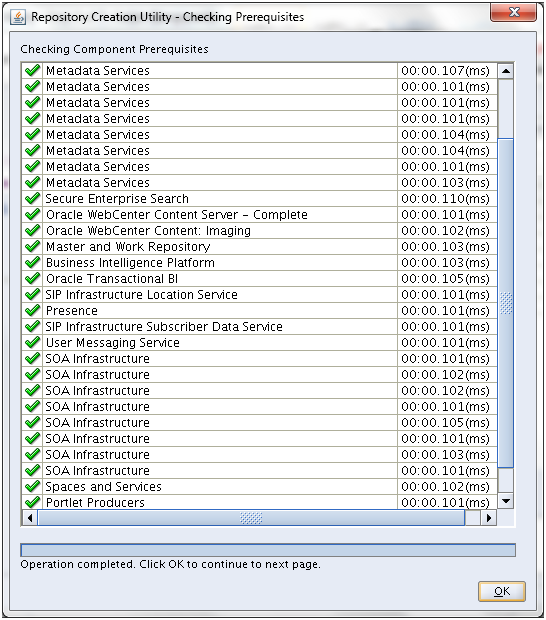
Once prerequisites check is successful, click OK

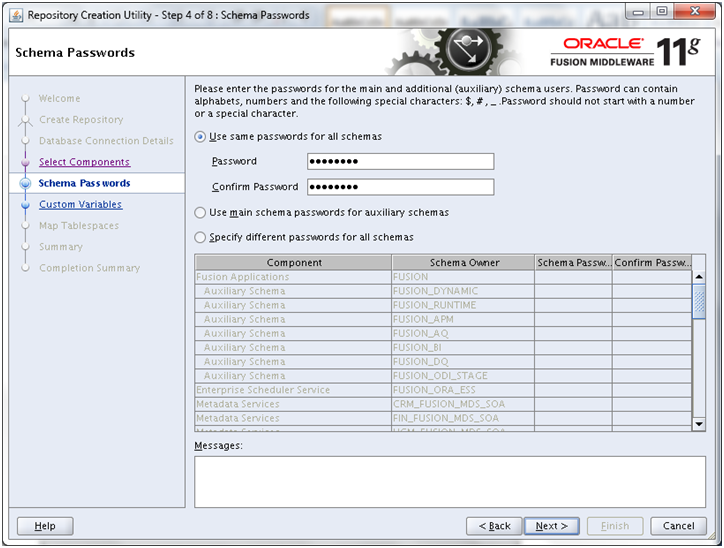
Enter same password (for example Oracle123) for all schemas for now. Click Next

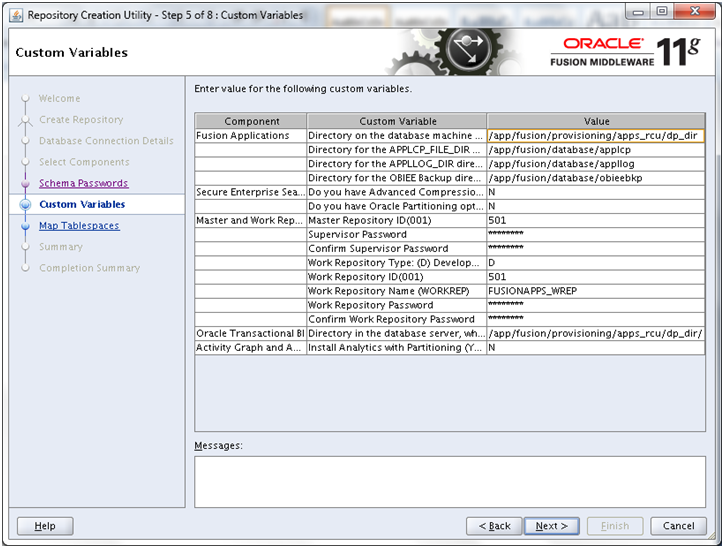
Open another terminal window. Create following directories for custom environment variables.

[fusion@fmwhost ~]$ mkdir /app/fusion/database/applcp
[fusion@fmwhost ~]$ mkdir /app/fusion/database/appllog
[fusion@fmwhost ~]$ mkdir /app/fusion/database/obieebkp

Specify these following values in the same screen under Fusion Applications Component (expect first value which is the temporary DP directory created before /app/fusion/provisioning/apps_rcu/dp_dir)

Supervisor Password: You must enter the same password you set up as ODI SUPERVISOR in Applications RCU. Since we kept all passwords as Oracle123, nothing much to remember. Enter the same password.

Work Repository Password: Default = None. You must enter the same password set up as ODI SUPERVISOR in Applications RCU.

Oracle Transactional BI : Directory on the database server where Oracle Transactional Business Intelligence import and export files are stored. Enter /app/fusion/provisioning/apps_rcu/dp_dir again.

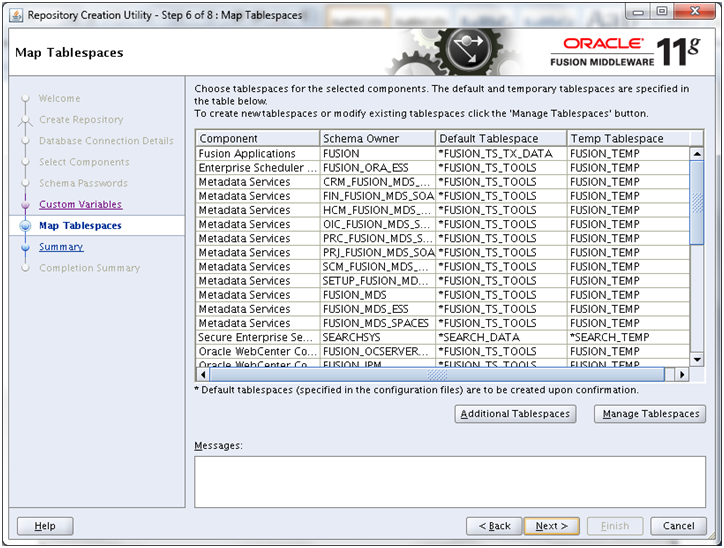
Click Next

Click OK

Once Tablespaces creation is complete, click OK

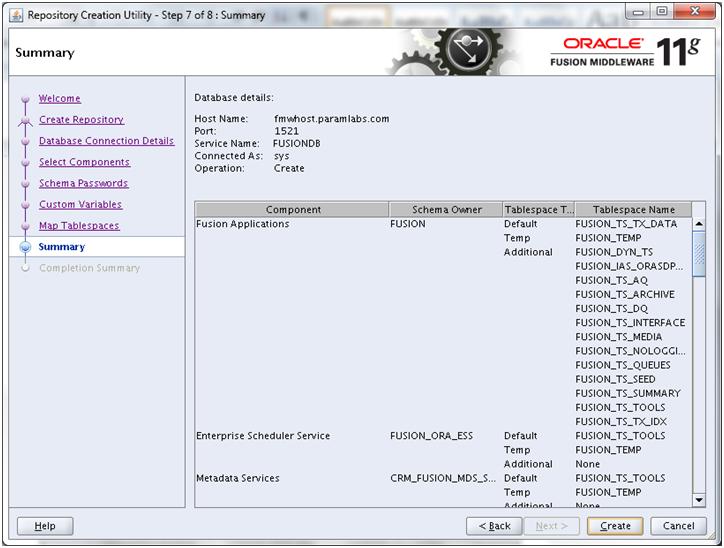
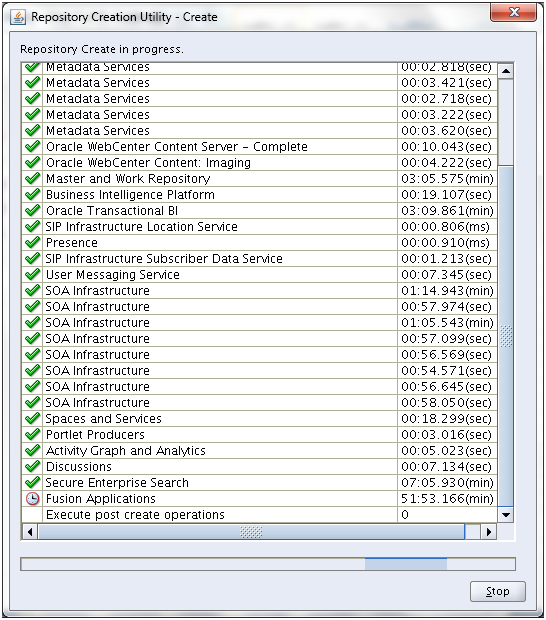
Review the summary and click Create to import the required users and data.

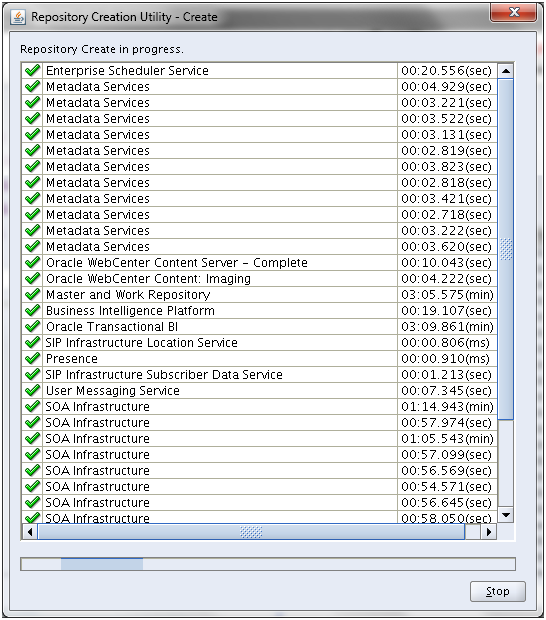
Above timings are just for your reference to know how much time each may take.

You can also monitor the import logs at /app/fusion/dp_dir

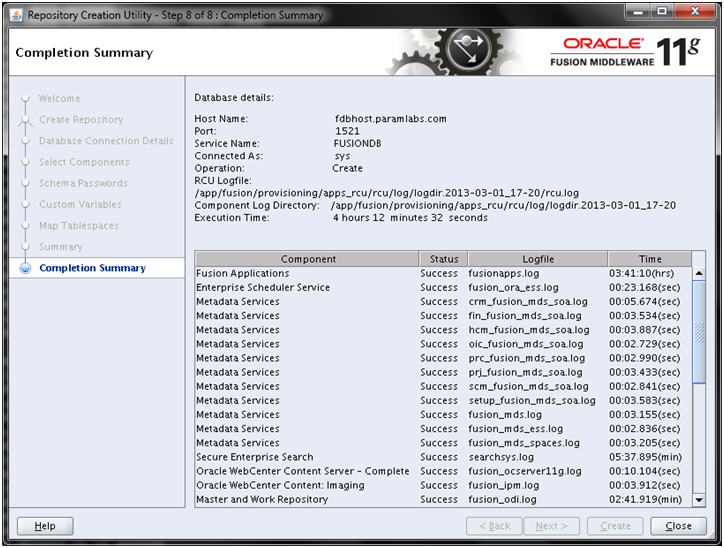
Once completed, click Close

Make sure that no component failed. Also check the import log files at /app/fusion/dp_dir for any errors

SQL> select comp_name from schema_version_registry where status=’LOADING’;

It should not return any rows.

Next: Run Repository Creation Utility (RCU) for Oracle Identity Management components

Installing Oracle Fusion Applications – steps

  1. Install Fusion Applications Provisioning Framework
  2. Install Oracle 11g Database (Applications Transactional Database)
  3. Run Oracle Fusion Applications Repository Creation Utility (Applications RCU)
  4. Create another database for Oracle Identity Management Infrastructure (optional)
  5. Run Repository Creation Utility (RCU) for Oracle Identity Management components
  6. Install Oracle Identity and Access Management Components
  7. Apply mandatory Patches
  8. Configure Oracle Identity and Access Management components
  9. Integrate Oracle Identity Manager (OIM) and Oracle Access Manager (OAM)
  10. Install provisioning framework on Node 2
  11. Create new Response File
  12. Provision an Applications Environment (Editing in progress, this link currently points to 11.1.5 counterpart)
Mar 24th, 2013 | Posted by Tushar Thakker | Filed under Uncategorized