Oracle Fusion Applications Installation: Integrate Oracle Identity Manager (OIM) and Oracle Access Manager (OAM)
Previous: Configure Oracle Identity and Access Management components
Update Existing LDAP Users with Required Object Classes
Create a property file user.props as follows
[fusion@fmwhost bin]$ export ORACLE_HOME=/app/fusion/fmw/iam
[fusion@fmwhost bin]$ export IDM_HOME=/app/fusion/fmw/idm
[fusion@fmwhost bin]$ export MW_HOME=/app/fusion/fmw
[fusion@fmwhost bin]$ export JAVA_HOME=/app/fusion/jdk6
[fusion@fmwhost bin]$ cd /app/fusion/fmw/iam/idmtools/bin/
[fusion@fmwhost bin]$ more user.props
IDSTORE_HOST: fmwhost.paramlabs.com
IDSTORE_PORT: 3060
IDSTORE_ADMIN_USER: cn=orcladmin
IDSTORE_DIRECTORYTYPE: OID
IDSTORE_USERSEARCHBASE: cn=Users,dc=paramlabs,dc=com
IDSTORE_GROUPSEARCHBASE: cn=Groups,dc=paramlabs,dc=com
PASSWORD_EXPIRY_PERIOD: 7300
IDSTORE_LOGINATTRIBUTE: uid
Run the following command
[fusion@fmwhost bin]$ ./idmConfigTool.sh -upgradeLDAPUsersForSSO input_file=user.props
Enter LDAP admin user password :
Finished parsing LDAP
LDAP Users Upgraded.
Integrate Oracle Access Manager 11g with Oracle Identity Manager 11g
Create a property file as follows.
[fusion@fmwhost bin]$ more oimitg.props
LOGINURI: /${app.context}/adfAuthentication
LOGOUTURI: /oamsso/logout.html
AUTOLOGINURI: None
ACCESS_SERVER_HOST: fmwhost.paramlabs.com
ACCESS_SERVER_PORT: 5575
ACCESS_GATE_ID: Webgate_IDM
COOKIE_DOMAIN: .paramlabs.com
COOKIE_EXPIRY_INTERVAL: 120
OAM_TRANSFER_MODE: open
WEBGATE_TYPE: ohsWebgate11g
SSO_ENABLED_FLAG: true
IDSTORE_PORT: 3060
IDSTORE_HOST: fmwhost.paramlabs.com
IDSTORE_DIRECTORYTYPE: OID
IDSTORE_ADMIN_USER: cn=oamLDAP,cn=Users,dc=paramlabs,dc=com
IDSTORE_USERSEARCHBASE: cn=Users,dc=paramlabs,dc=com
IDSTORE_GROUPSEARCHBASE: cn=Groups,dc=paramlabs,dc=com
MDS_DB_URL: jdbc:oracle:thin:@fdbhost.paramlabs.com:1521:fusiondb
MDS_DB_SCHEMA_USERNAME: fa_mds
WLSHOST: fmwhost.paramlabs.com
WLSPORT: 7001
WLSADMIN: weblogic
DOMAIN_NAME: IDMDomain
OIM_MANAGED_SERVER_NAME: WLS_OIM1
DOMAIN_LOCATION: /app/fusion/config/domains/IDMDomain
IDSTORE_LOGINATTRIBUTE: uid
Run the following command.
[fusion@fmwhost bin]$ ./idmConfigTool.sh -configOIM input_file=oimitg.props
Enter sso access gate password :
Enter mds db schema password :
Enter idstore admin password :
Enter admin server user password :
…
The tool has completed its operation. Details have been logged to automation.log
Check for errors in the log file.
[fusion@fmwhost bin]$ grep -i error automation.log
Assigning Groups and Roles
Assigning WLSAdmins Group to WebLogic Administration Groups
1. Log in to the WebLogic Administration Server Console.
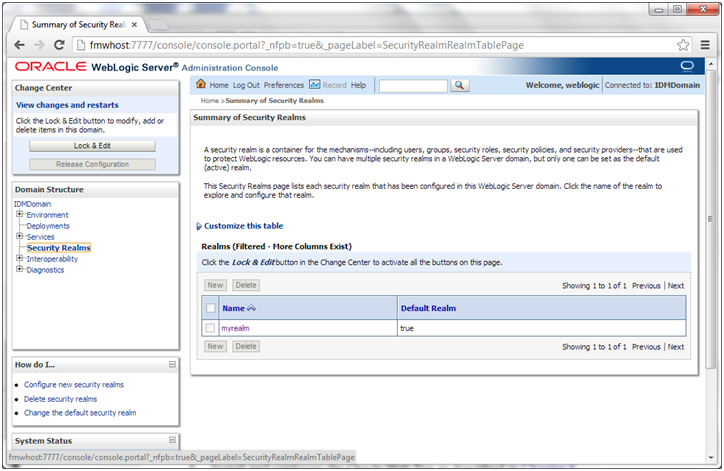
2. In the left pane of the console, click Security Realms.
3. On the Summary of Security Realms page, click myrealm under the Realms table.
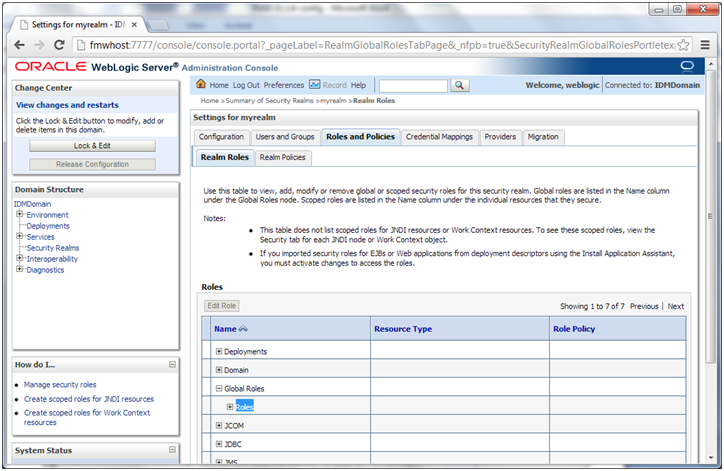
4. On the Settings page for myrealm, click the Roles & Policies tab.
5. On the Realm Roles page, expand the Global Roles entry under the Roles table. This brings up the entry for Roles. Click the Roles link to go to the Global Roles page.
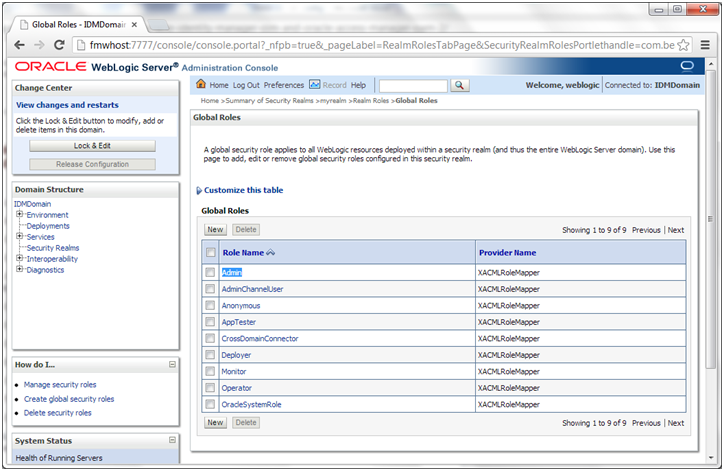
6. On the Global Roles page, click the Admin role to go to the Edit Global Role page:
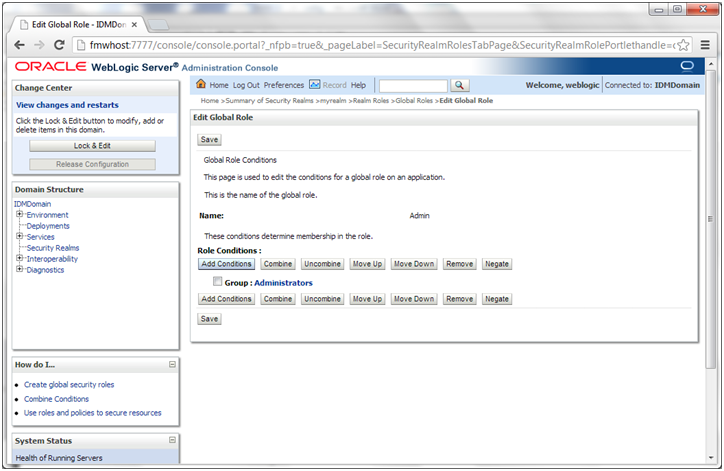
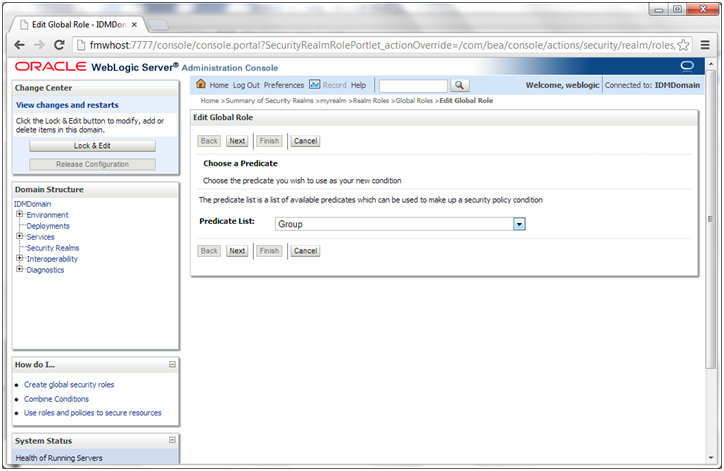
a. On the Edit Global Roles page, under the Role Conditions table, click the Add Conditions button.
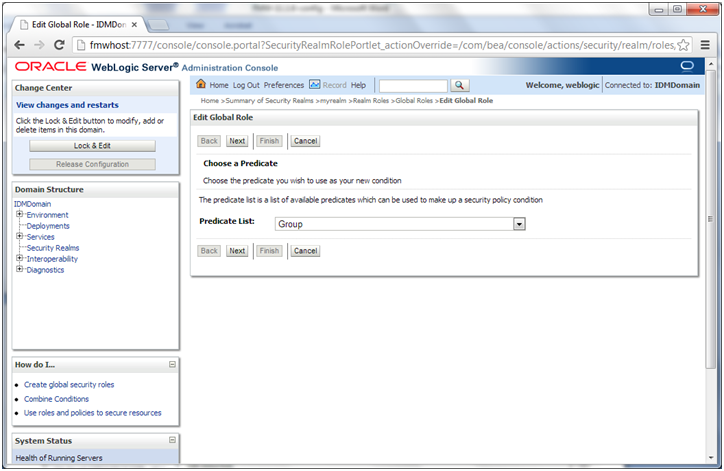
b. On the Choose a Predicate page, select Group from the drop down list for predicates and click Next.
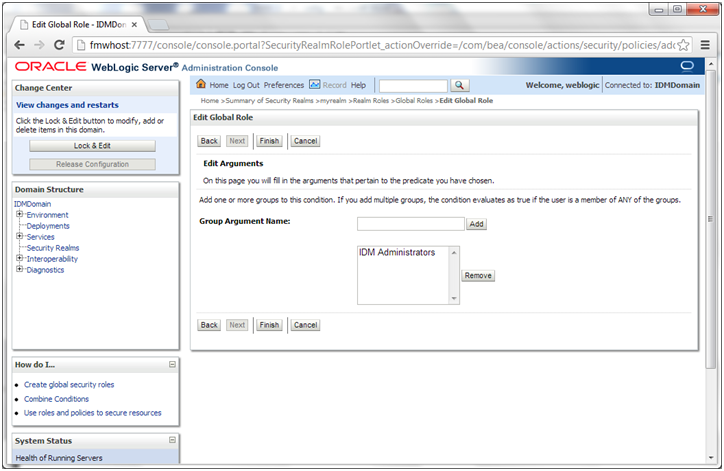
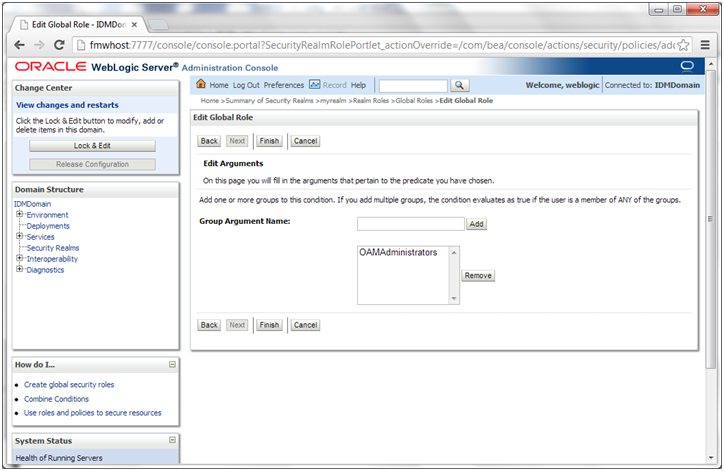
c. On the Edit Arguments Page, Specify IDM Administrators in the Group Argument field and click Add.
7. Click Finish to return to the Edit Global Rule page.
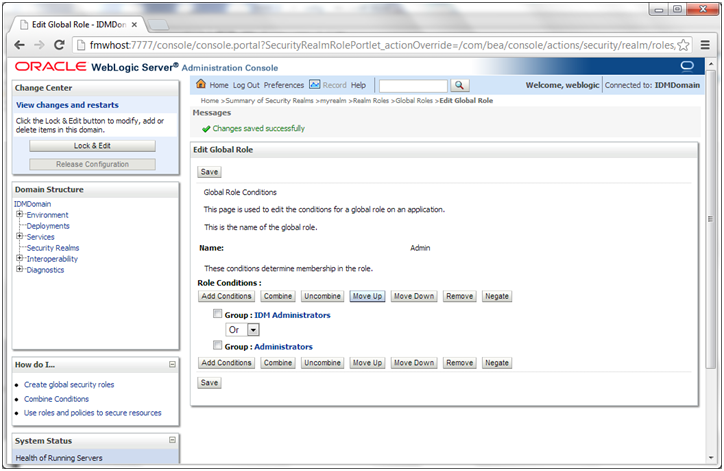
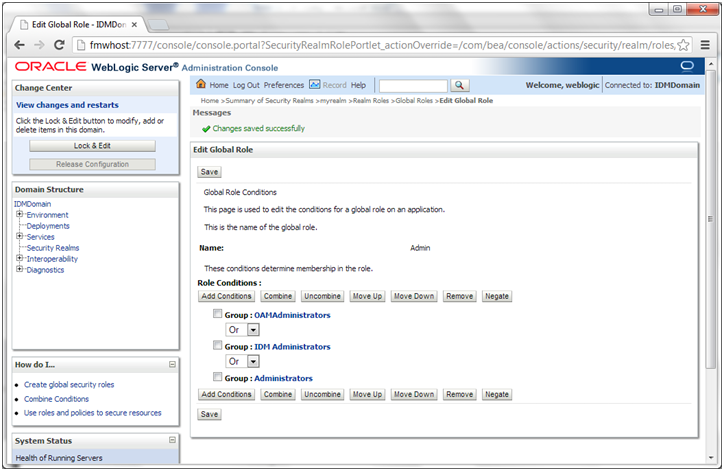
8. The Role Conditions table now shows the IDM Administrators Group as an entry.
9. Click Save to finish adding the Admin role to the IDM Administrators Group.
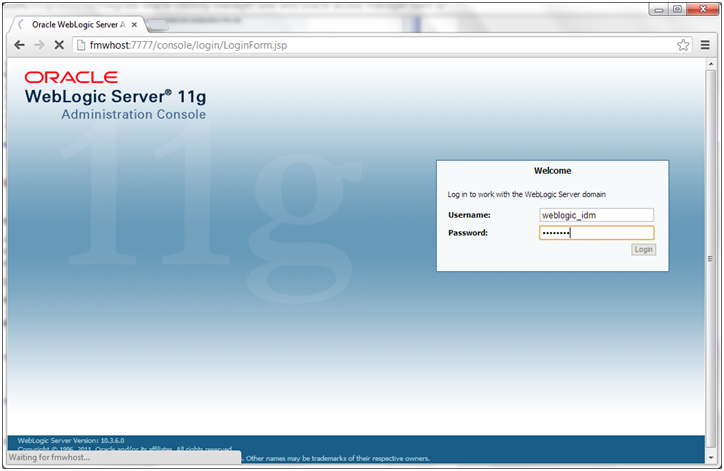
10. Validate that the changes were successful by bringing up the WebLogic Administration Server Console using a web browser. Log in using the credentials for the weblogic_idm user.
Validate that the changes were successful by bringing up the WebLogic Administration Server Console using a web browser. Log in using the credentials for the weblogic_idm user.
Perform Bug 13824816 Workaround
1. Since you are already on the Global Roles page, click the Admin role to go to the Edit Global Role page:
2. On the Edit Global Roles page, under the Role Conditions table, click Add Conditions.
3. On the Choose a Predicate page, select Group from the predicates list and click Next.
4. On the Edit Arguments Page, specify OAMAdministrators in the Group Argument field and click Add.
5. Click Finish to return to the Edit Global Rule page. The Role Conditions table now shows the OAMAdministrators Group as an entry.
6. Click Save to finish adding the Admin role to the OAMAdministrators Group.
Updating the boot.properties File
Update the boot.properties file for the Administration Server and the managed servers with the WebLogic admin user (weblogic_id) created in Oracle Internet Directory.
[fusion@fmwhost security]$ cd /app/fusion/config/domains/IDMDomain/servers/AdminServer/security
[fusion@fmwhost security]$ cp -pr boot.properties boot.properties_preOAM
[fusion@fmwhost security]$ more boot.properties
username=weblogic_idm
password=Param123
[fusion@fmwhost security]$ cp -pr boot.properties ../../WLS_OAM1/security/
[fusion@fmwhost security]$ cp -pr boot.properties ../../WLS_OIM1/security/
[fusion@fmwhost security]$ cp -pr boot.properties ../../WLS_SOA1/security/
[fusion@fmwhost security]$ cp -pr boot.properties ../../wls_ods1/security/
Restart all services manually to encrypt the file
[fusion@fmwhost bin]$ nohup ./startWebLogic.sh &
[fusion@fmwhost bin]$ nohup ./startManagedWebLogic.sh wls_ods1 &
[fusion@fmwhost bin]$ nohup ./startManagedWebLogic.sh WLS_OAM1 &
[fusion@fmwhost bin]$ nohup ./startManagedWebLogic.sh WLS_OIM1 &
[fusion@fmwhost bin]$ nohup ./startManagedWebLogic.sh WLS_SOA1 &
Install Webgate
Versions of GCC Third-Party Libraries for Linux and Solaris
|
Operating System |
Architecture |
GCC Libraries Required |
Library Version |
|
Linux 32-bit |
x86 |
libgcc_s.so.1 libstdc++.so.5 |
3.3.2 |
|
Linux 64-bit |
x64 |
libgcc_s.so.1 libstdc++.so.6 |
3.4.6 |
|
Solaris 64-bit |
SPARC |
libgcc_s.so.1 |
3.3.2 |
Verifying the GCC Libraries Version on Linux and Solaris Operating Systems
Make sure we have the required libraries for Webgate installation. If you have installed Oracle Linux then you should have them.
Perform the following checks to verify the version of GCC libraries:
On the Linux32 on i386 platform:
Run the following commands and ensure that their output is always greater than 0:
strings -a libgcc_s.so.1 | grep -c “GCC_3.0″
strings -a libgcc_s.so.1 | grep -v “GCC_3.3.1″ | grep -c “GCC_3.3″
file libgcc_s.so.1 | grep “32-bit” | grep -c “80386″
file libstdc++.so.5 | grep “32-bit” | grep -c “80386″
On the Linux 64 on x86-64 platform:
Run the following commands and ensure that their output is always greater than 0:
strings -a libgcc_s.so.1 | grep -c “GCC_3.0″
strings -a libgcc_s.so.1 | grep -v “GCC_3.3.1″ | grep -c “GCC_3.3″
strings -a libgcc_s.so.1 | grep -c “GCC_4.2.0″
file libgcc_s.so.1 | grep “64-bit” | grep -c “x86-64″
file -L libstdc++.so.6 | grep “64-bit” | grep -c “x86-64″
On the Solaris 64 on SPARC platform:
Run the following commands and ensure that their output is always greater than 0:
strings -a libgcc_s.so.1 | grep -c “GCC_3.0″
strings -a libgcc_s.so.1 | grep -v “GCC_3.3.1″ | grep -c “GCC_3.3″
file libgcc_s.so.1 | grep “64-bit” | grep -c “SPARC”
file libstdc++.so.5 | grep “64-bit” | grep -c “SPARC”
Since we have Oracle Linux x86-64 platform, let us verify the same.
[fusion@fmwhost Disk1]$ strings -a /lib64/libgcc_s.so.1 | grep -v “GCC_3.3.1” | grep -c “GCC_3.3”
1
[fusion@fmwhost Disk1]$ strings -a /lib64/libgcc_s.so.1 | grep -c “GCC_3.0”
1
[fusion@fmwhost Disk1]$ strings -a /lib64/libgcc_s.so.1 | grep -v “GCC_3.3.1” | grep -c “GCC_3.3”
1
[fusion@fmwhost Disk1]$ strings -a /lib64/libgcc_s.so.1 | grep -c “GCC_4.2.0”
1
[fusion@fmwhost Disk1]$ file -L /lib64/libgcc_s.so.1 | grep “64-bit” | grep -c “x86-64”
1
[fusion@fmwhost Disk1]$ file -L /usr/lib64/libstdc++.so.6 | grep “64-bit” | grep -c “x86-64”
1
This all looks good so we don’t need to download any additional files.
Start webgate installation
We need to have the required libraries in a dedicated directory before we install webgate.
[fusion@fmwhost Disk1]$ mkdir /app/fusion/oam_lib
[fusion@fmwhost Disk1]$ cp -p /lib64/libgcc_s.so.1 /app/fusion/oam_lib/
[fusion@fmwhost Disk1]$ cp -p /usr/lib64/libstdc++.so.6 /app/fusion/oam_lib/
[fusion@fmwhost Disk1]$ ls -ltr /app/fusion/oam_lib/
total 1024
-rwxr-xr-x 1 fusion dba 976312 Sep 26 05:09 libstdc++.so.6.0.8
-rwxr-xr-x 1 fusion dba 58400 Sep 26 05:09 libgcc_s-4.1.2-20080825.so.1
lrwxrwxrwx 1 fusion dba 28 Mar 7 00:03 libgcc_s.so.1 -> libgcc_s-4.1.2-20080825.so.1
lrwxrwxrwx 1 fusion dba 18 Mar 7 00:03 libstdc++.so.6 -> libstdc++.so.6.0.8
Start webgate installation from <Repository_location>/webgate/Disk1
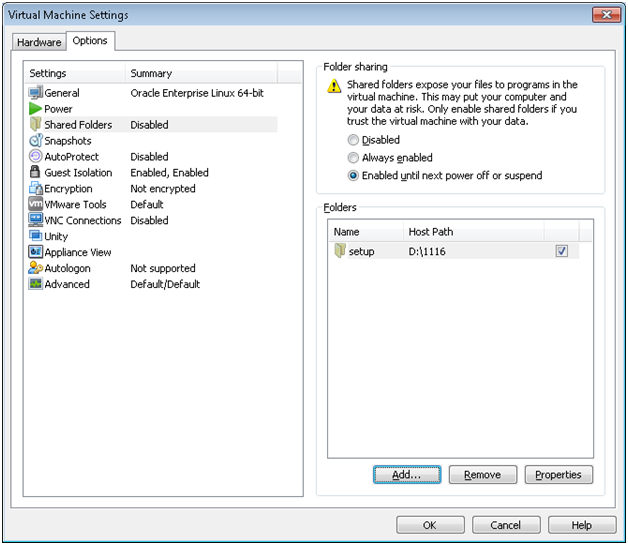
[fusion@fmwhost ~]$ cd /mnt/hgfs/setup/installers/webgate/Disk1/
[fusion@fmwhost Disk1]$ ./runInstaller
…
Please specify JRE/JDK location ( Ex. /home/jre ), <location>/bin/java should exist :/app/fusion/jdk6
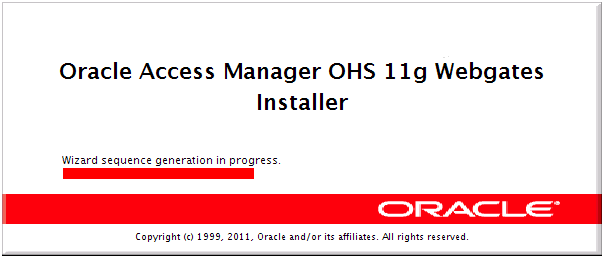
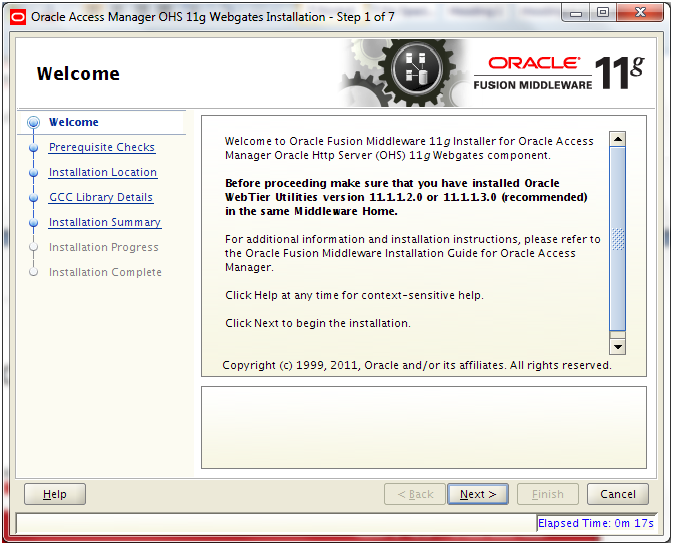
Click Next
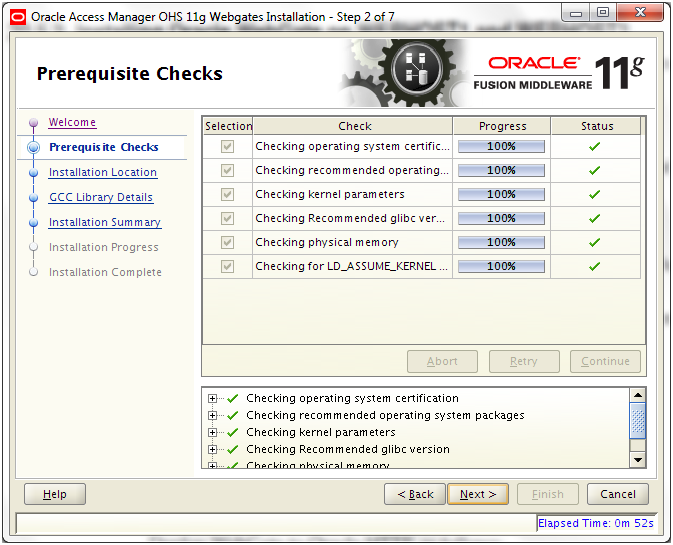
Once prerequisites check completes, click Next
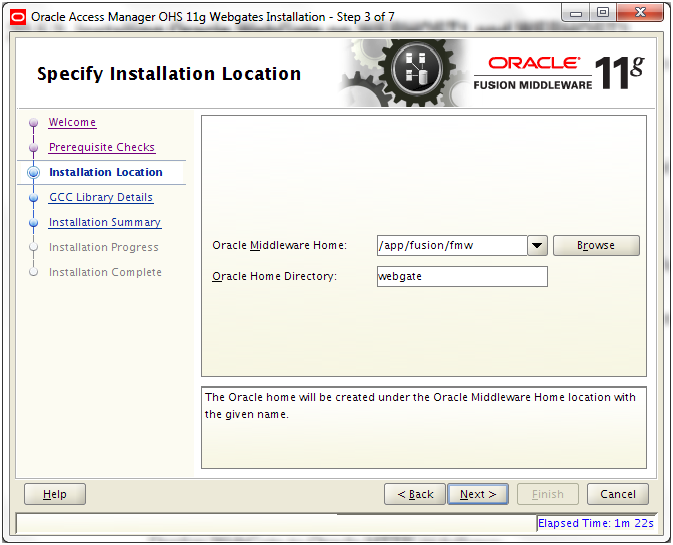
Middleware Home: /app/fusion/fmw
Home Directory: webgate
Click Next
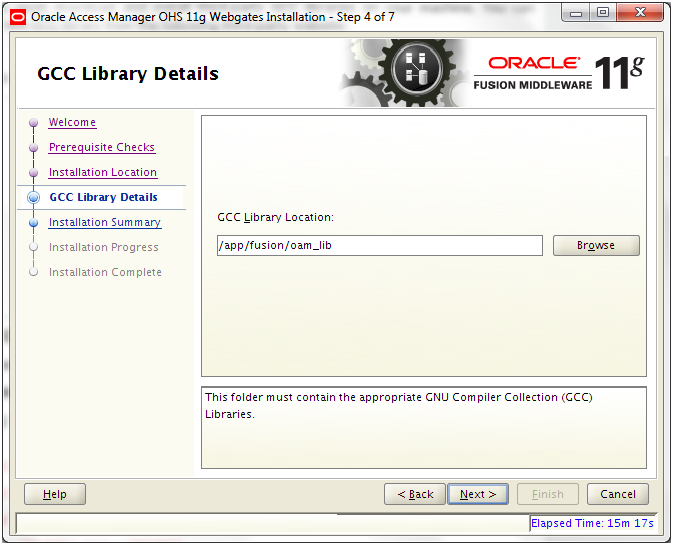
GCC Library Location: /app/fusion/oam_lib and click Next
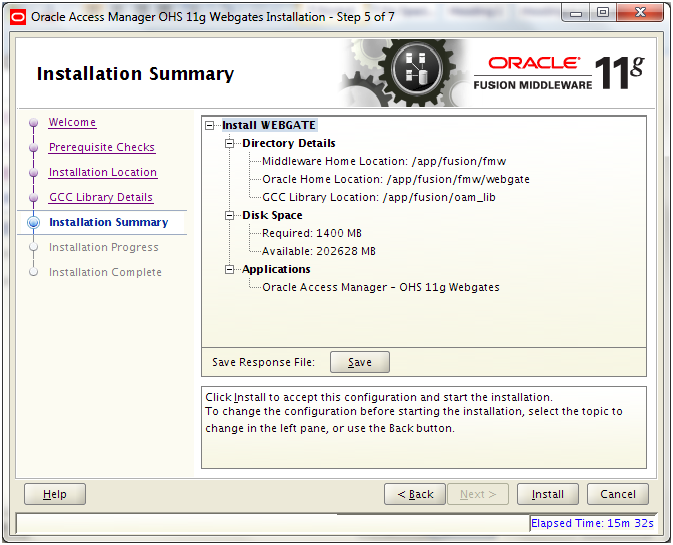
Review the summary and click Install
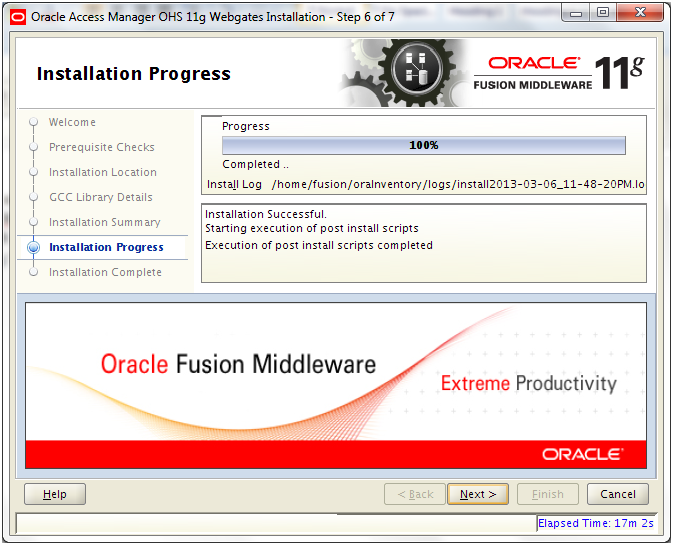
Once installation completes, click Next
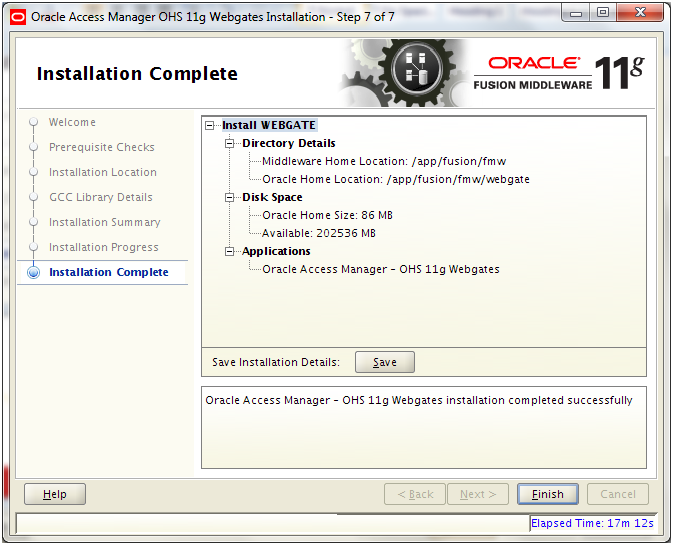
Review the summary and click Finish
Deploy WebGate to Oracle HTTP
Make a backup of httpd.conf for safety.
[fusion@fmwhost ~]$ cp -pr /app/fusion/config/instances/web1/config/OHS/web1/httpd.conf /app/fusion/config/instances/web1/config/OHS/web1/httpd.conf_preWebgate
1. Execute the command deployWebGate which is located in:
WEBGATE_ORACLE_HOME/webgate/ohs/tools/deployWebGate
The command takes the following arguments:
Oracle HTTP Instance configuration Directory
WebGate Home Directory
[fusion@fmwhost deployWebGate]$ ./deployWebGateInstance.sh -w /app/fusion/config/instances/web1/config/OHS/web1 -oh /app/fusion/fmw/webgate
Copying files from WebGate Oracle Home to WebGate Instancedir
2. Set the library path to include the WEB_ORACLE_HOME/lib directory
[fusion@fmwhost deployWebGate]$ export LD_LIBRARY_PATH=$LD_LIBRARY_PATH:/app/fusion/fmw/web/lib
Change directory to: WEBGATE_ORACLE_HOME/webgate/ohs/tools/setup/InstallTools
[fusion@fmwhost deployWebGate]$ cd /app/fusion/fmw/webgate/webgate/ohs/tools/setup/InstallTools/
3. Run the following command to copy the file apache_webgate.template from the WebGate home directory to the WebGate instance location (renamed to webgate.conf) and update the httpd.conf file to add one line to include the name of webgate.conf
[fusion@fmwhost InstallTools]$ ./EditHttpConf -w /app/fusion/config/instances/web1/config/OHS/web1 -oh /app/fusion/fmw/webgate
The web server configuration file was successfully updated
/app/fusion/config/instances/web1/config/OHS/web1/httpd.conf has been backed up as /app/fusion/config/instances/web1/config/OHS/web1/httpd.conf.ORIG
Note: If you get error like “Error: You are not authorized to configure this web server” then you need to check the Group value in /app/fusion/admin/ohs_inst1/config/OHS/ohs1/httpd.conf
It should be dba or oinstall based on the default group of the fusion user.
[fusion@fmwhost web1]$ ls -ltr /app/fusion/config/instances/web1/config/OHS/web1/webgate/config/
total 20
drwxr-xr-x 2 fusion dba 4096 Mar 7 00:08 simple
-rwxr-x— 1 fusion dba 14337 Mar 7 00:08 oblog_config_wg.xml
[fusion@fmwhost web1]$ ls -ltr /app/fusion/config/domains/IDMDomain/output/Webgate_IDM_11g/
total 8
-rw-r—– 1 fusion dba 2967 Mar 6 01:23 ObAccessClient.xml
-rw——- 1 fusion dba 3141 Mar 6 01:23 cwallet.sso
4. Copy the files ObAccessClient.xml, cwallet.sso, and password.xml, which were generated when you created the agent from the directory ASERVER_HOME/output/Agent Name on IDMHOST1, to the directory ORACLE_INSTANCE/config/OHS/component/webgate/config
[fusion@fmwhost web1]$ cp -pr /app/fusion/config/domains/IDMDomain/output/Webgate_IDM_11g/* /app/fusion/config/instances/web1/config/OHS/web1/webgate/config/
[fusion@fmwhost web1]$ ls -ltr /app/fusion/config/instances/web1/config/OHS/web1/webgate/config/
total 32
-rw——- 1 fusion dba 3141 Mar 6 01:23 cwallet.sso
drwxr-xr-x 2 fusion dba 4096 Mar 7 00:08 simple
-rwxr-x— 1 fusion dba 14337 Mar 7 00:08 oblog_config_wg.xml
-rw-r—– 1 fusion dba 0 Mar 7 01:07 ObAccessClient.xml.lck
-rw-r—– 1 fusion dba 0 Mar 7 01:07 polltracking.lck
-rw-r—– 1 fusion dba 4774 Mar 7 01:07 ObAccessClient.xml
Restart web service
[fusion@fmwhost web1]$ /app/fusion/config/instances/web1/bin/opmnctl stopall
opmnctl stopall: stopping opmn and all managed processes…
[fusion@fmwhost web1]$ /app/fusion/config/instances/web1/bin/opmnctl startall
opmnctl startall: starting opmn and all managed processes…
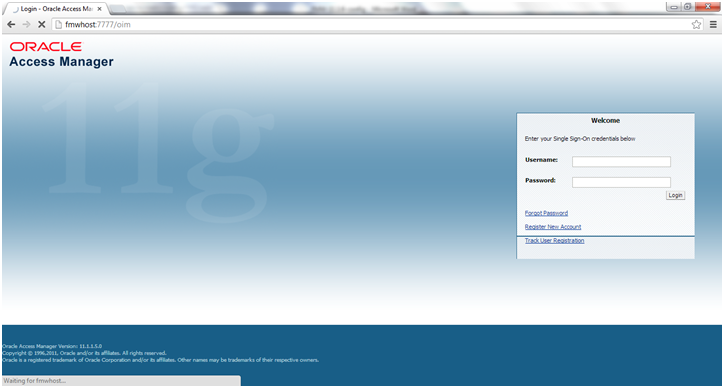
Now launch http:<hostname>:7777/console and this should redirect to OAM login page.
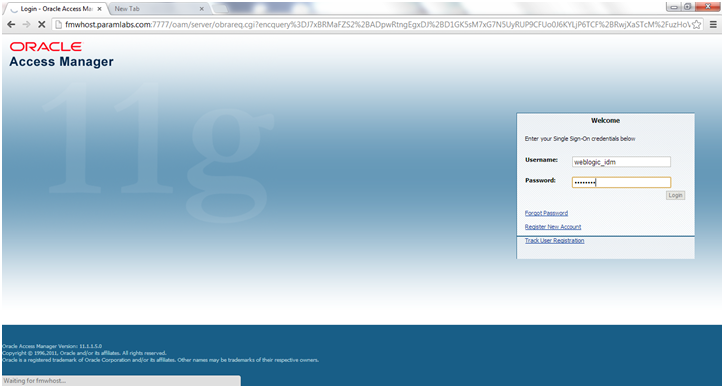
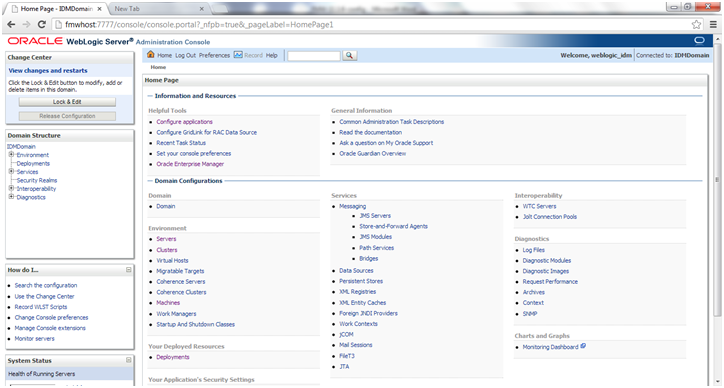
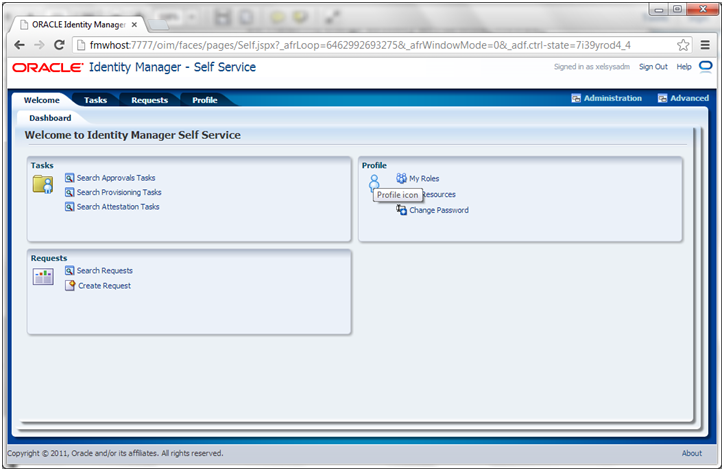
Once logged in, it should redirect back to Weblogic Console home page.
Now SSO Logout function will also work.
Patch Webgate
We had skipped webgate patch in earlier steps of patching since webgate was not yet installed. Let us apply the patch now.
Go to <repository location>/installers/webate/patch
[fusion@fmwhost patch]$ export ORACLE_HOME=/app/fusion/fmw/webgate
[fusion@fmwhost patch]$ $ORACLE_HOME/OPatch/opatch napply
[fusion@fmwhost patch]$ export JAVA_HOME=/app/fusion/jdk6
[fusion@fmwhost patch]$ export WL_HOME=/app/fusion/fmw/wlserver_10.3
[fusion@fmwhost patch]$ $ORACLE_HOME/OPatch/opatch napply
Do you want to proceed? [y|n]
y
…
Please shutdown Oracle instances running out of this ORACLE_HOME on the local system.
(Oracle Home = ‘/app/fusion/fmw/webgate’)
Is the local system ready for patching? [y|n]
y
…
Patching component oracle.as.oam.webgate.ohs, 11.1.1.5.0…
Copying file to “/app/fusion/fmw/webgate/webgate/ohs/tools/t2p/oam-webgate-t2p.jar”
Copying file to “/app/fusion/fmw/webgate/webgate/ohs/config/np1111_wg.txt”
Copying file to “/app/fusion/fmw/webgate/webgate/ohs/lib/webgate.so”
Copying file to “/app/fusion/fmw/webgate/webgate/ohs/lib/libxmlengine.so”
Copying file to “/app/fusion/fmw/webgate/webgate/ohs/tools/setup/InstallTools/EditHttpConf”
Copying file to “/app/fusion/fmw/webgate/webgate/ohs/tools/deployWebGate/deployWebGateInstance.sh”
…
The local system has been patched and can be restarted.
UtilSession: N-Apply done.
OPatch succeeded.
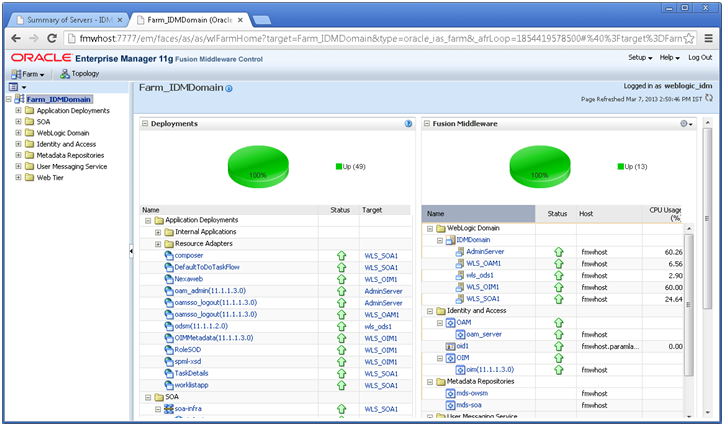
Restart all services and reconfirm that everything comes up successfully. The EM should look as follows.
Next: Create new Response File
Installing Oracle Fusion Applications – steps
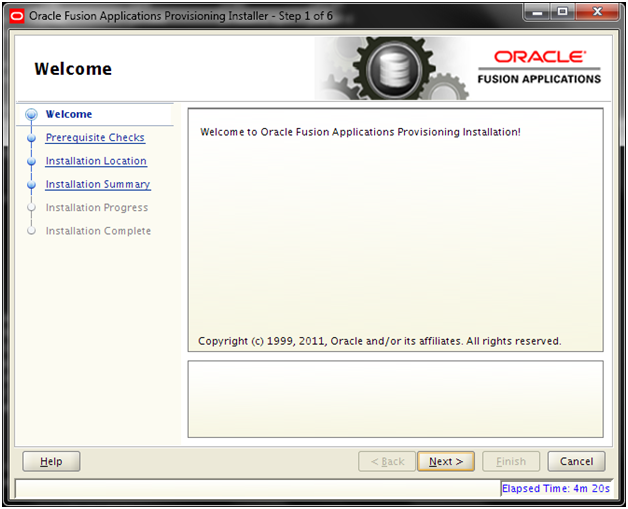
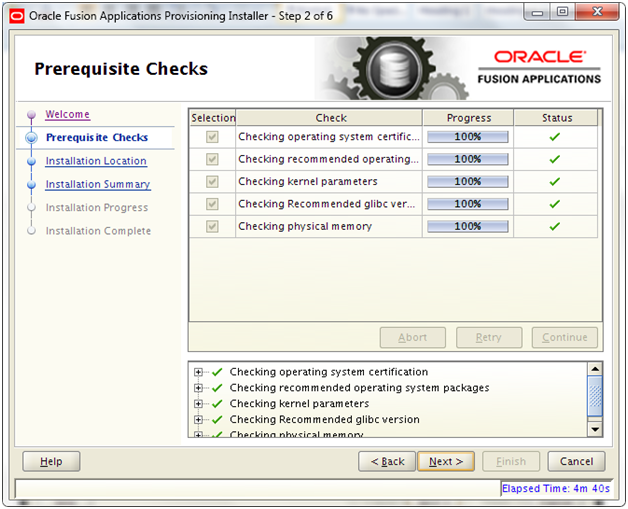
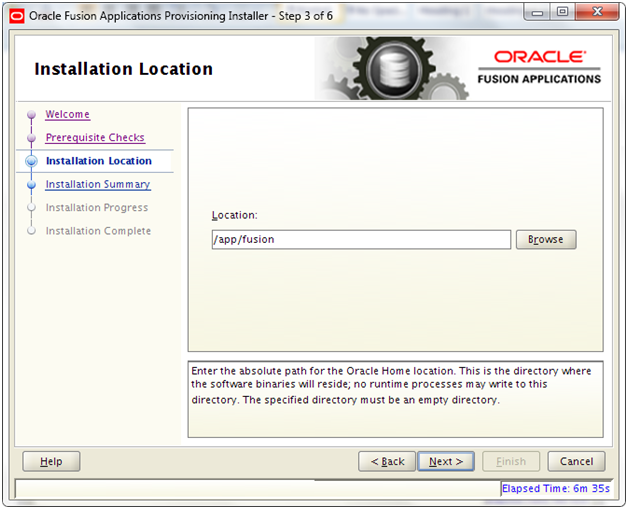
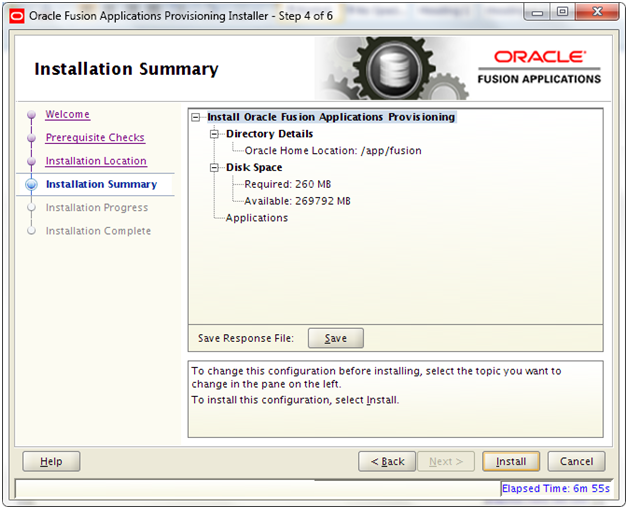
- Install Fusion Applications Provisioning Framework
- Install Oracle 11g Database (Applications Transactional Database)
- Run Oracle Fusion Applications Repository Creation Utility (Applications RCU)
- Create another database for Oracle Identity Management Infrastructure (optional)
- Run Repository Creation Utility (RCU) for Oracle Identity Management components
- Install Oracle Identity and Access Management Components
- Apply mandatory Patches
- Configure Oracle Identity and Access Management components
- Integrate Oracle Identity Manager (OIM) and Oracle Access Manager (OAM)
- Install provisioning framework on Node 2
- Create new Response File
- Provision an Applications Environment (Editing in progress, this link currently points to 11.1.5 counterpart)
Recent Comments