Oracle Fusion Applications Installation: Provision an Applications Environment
Previous: Create new Response File
Let us do a quick verification of everything before we start actual provisioning.
Copy the required libraries to webgate installer directory. This is required since the webgate creates soft links to this directory.
-bash-3.2$ cp -pr /app/fusion/oam_lib/lib* /u03/stage/installers/webgate/
Make sure that the project memory is set correctly.
root@ad002aph01 # /usr/sbin/ndd -get /dev/tcp tcp_smallest_anon_port
32768
root@ad002aph01 # /usr/sbin/ndd -get /dev/tcp tcp_largest_anon_port
65535
root@ad002aph01 # /usr/sbin/ndd -set /dev/tcp tcp_largest_anon_port 61000
root@ad002aph01 # /usr/sbin/ndd -get /dev/tcp tcp_largest_anon_port
61000
root@ad002aph01 # projmod -U fusion -K “project.max-shm-memory=(privileged,68719476736,deny)” user.fusion
root@ad002aph01 # more /etc/project
…
user.fusion:100::fusion::project.max-shm-memory=(privileged,68719476736,deny)
Make sure that the IDM infrastructure is started. (only if not already started)
1. Source profile
more ~/.bash_profile
ORACLE_HOME=/app/fusion/database/product/11.2.0/dbhome_1
export ORACLE_HOME
ORACLE_SID=fusiondb
export ORACLE_SID
JAVA_HOME=/app/fusion/jdk6
export JAVA_HOME
PATH=$PATH:$ORACLE_HOME/bin
export PATH
2. Start Listener
lsnrctl start LISTENER_FUSIONDB
3. Start Database
sqlplus / as sysdba
SQL> startup
4. Start OID
/app/fusion/admin/oid1/bin/opmnctl startall
5. Start Web
/app/fusion/admin/web1/bin/opmnctl startall
6. Start Weblogic Admin Server for IDMDomain
cd /app/fusion/admin/IDMDomain/aserver/IDMDomain/bin/
nohup ./startWebLogic.sh &
(Wait till you see RUNNING in nohup.out log file)
7. Start Node Manager
cd /app/fusion/fmw/wlserver_10.3/server/bin/
nohup ./startNodeManager.sh &
(Wait till you see “started on port 5556” in nohup.out log file)
8. Start OAM managed server for IDMDomain (since we cannot login to console without OAM)
cd /app/fusion/admin/IDMDomain/aserver/IDMDomain/bin/
nohup ./startManagedWebLogic.sh wls_oam1 &
(Wait till you see RUNNING in nohup.out log file)
9. Start remaining managed servers
Either from command prompt
cd /app/fusion/admin/IDMDomain/aserver/IDMDomain/bin/
nohup ./startManagedWebLogic.sh wls_ods1 &
nohup ./startManagedWebLogic.sh wls_oim1 &
nohup ./startManagedWebLogic.sh wls_soa1 &
(Wait till you see RUNNING in nohup.out log file for each of them. You can start them in in parallel, just make sure all start fine)
Or by logging into Weblogic Console->Servers->Control screen.
10. ONLY In case if restarting from postconfigure phase
For 11.1.4 and earlier versions
cd /app/fusion/fusionapps/wlserver_10.3/common/nodemanager/ad002aph01
nohup ./startNodeManagerWrapper.sh &
For 11.1.5 onwards releases
cd /app/fusion/instance/nodemanager/ad002aph01
nohup ./startNodeManagerWrapper.sh &
-bash-3.2$ /app/fusion/instance/CommonDomain_webtier/bin/opmnctl startall
Start Fusion Applications Provisioning
Launch the installer from <provisioning_repository>/bin
-bash-3.2$ cd /app/fusion/provisioning/bin/
It is important to start it with “-ignoreSysPrereqs true” switch as mentioned in the release notes.
-bash-3.2$ ./provisioningWizard.sh -ignoreSysPrereqs true &
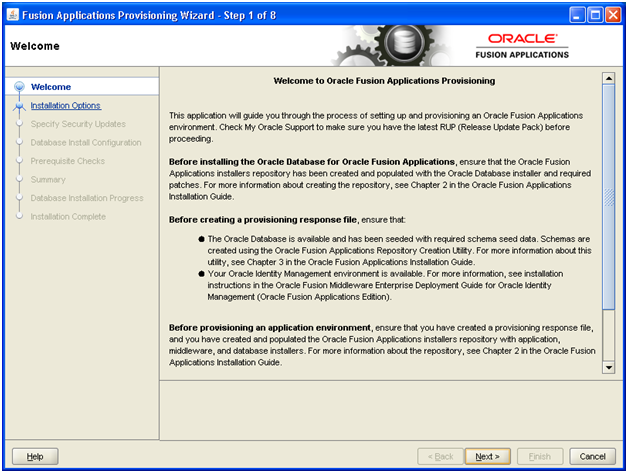
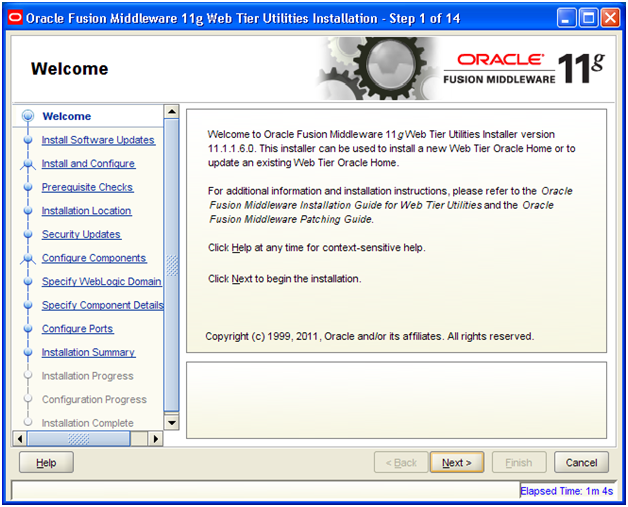
Click Next
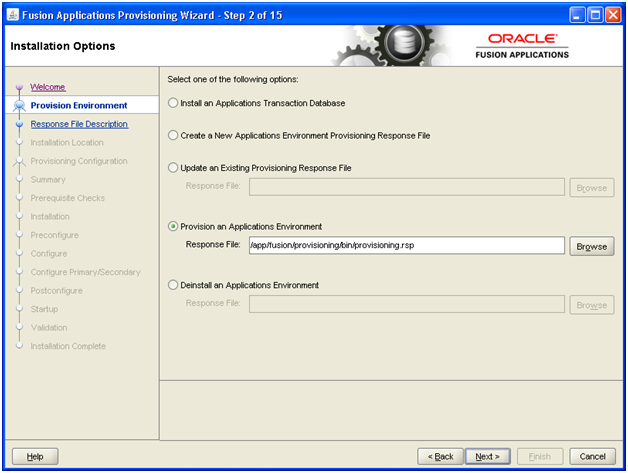
Select “Provision an Applications Environment” and browse for the response file created in last step. Click Next

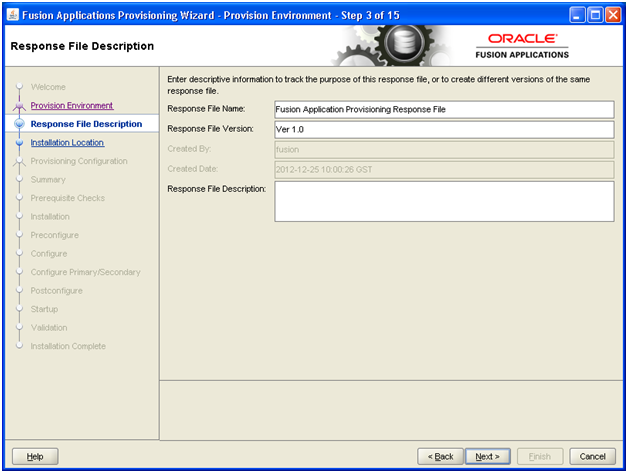
Review and click Next
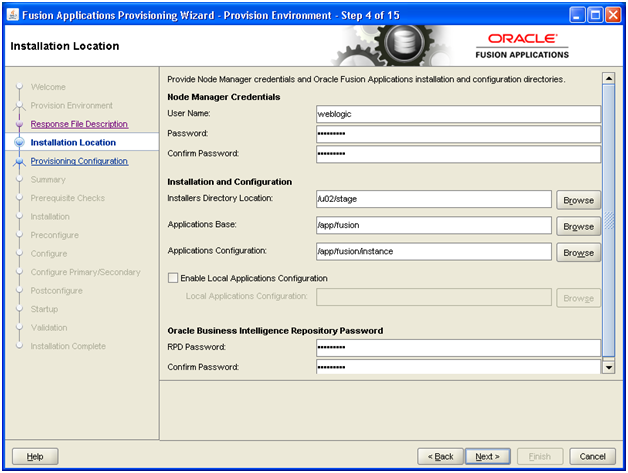
Validate the information and click Next
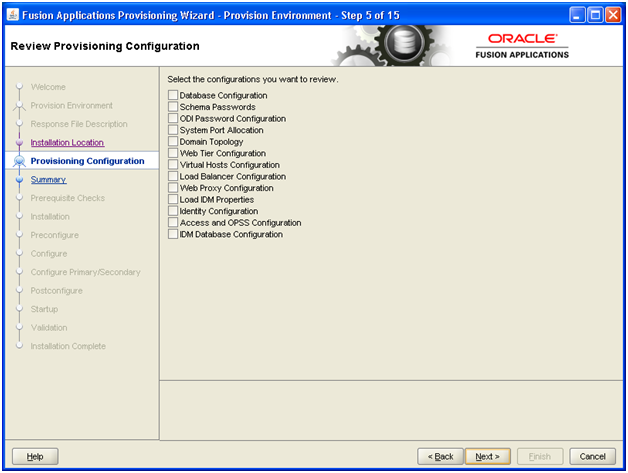
In case if you want to revisit some of the section in the Response File then you can do so here. Click Next
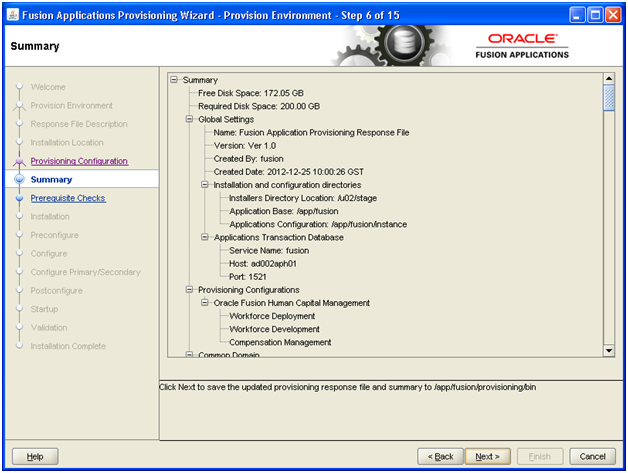
Review the summary and click Next to begin.
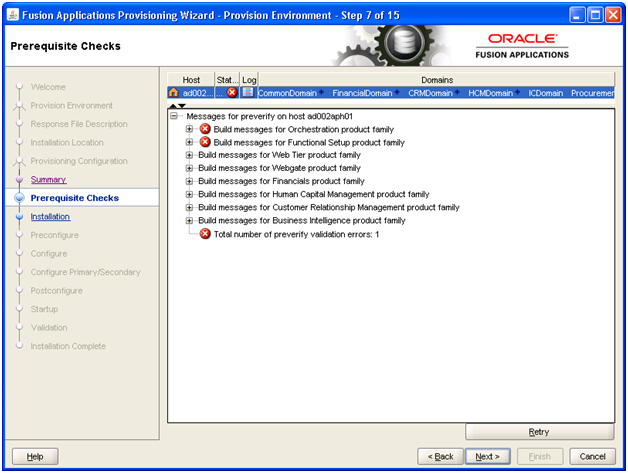
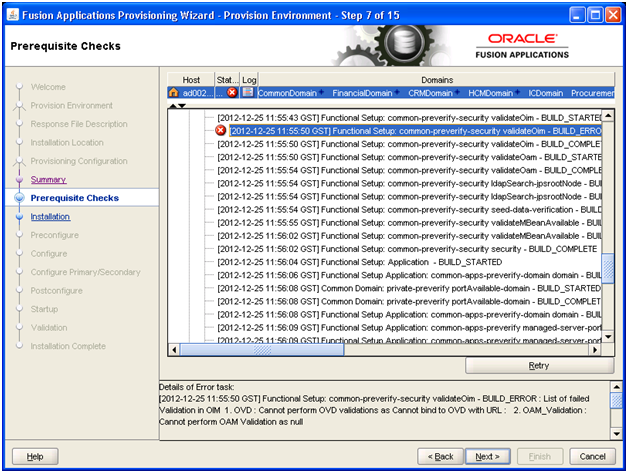
Expect 1 error here. The only error we have is as following. This can be skipped as mentioned on the release notes.
2012-12-25 11:55:50.628 NOTIFICATION [logStatus] STATE=BUILD_ERROR!TIMESTAMP=2012-12-25 11:55:50 GST!TARGET=common-preverify-security!CATEGORY=BUILD_ERROR!DOMAIN=CommonDomain!HOSTNAME=ad002aph01!PRODUCTFAMILY=fs!PRODUCT=Functional-Setup!TASK=validateOim!TASKID=fs.Functional-Setup.BUILD_ERROR.common-preverify-security.validateOim!MESSAGE=List of failed Validation in OIM 1. OVD : Cannot perform OVD validations as Cannot bind to OVD with URL : 2. OAM_Validation : Cannot perform OAM Validation as null !DETAIL=List of failed Validation in OIM||1. OVD : Cannot perform OVD validations as Cannot bind to OVD with URL : ||2. OAM_Validation : Cannot perform OAM Validation as null||!BUILDFILE=/app/fusion/provisioning/provisioning-build/common-preverify-build.xml!LINENUMBER=345!
Please note that we will see the Next button activated here since we have specified “ignoreSysPrereqs true” switch to begin the provisioning. Click Next
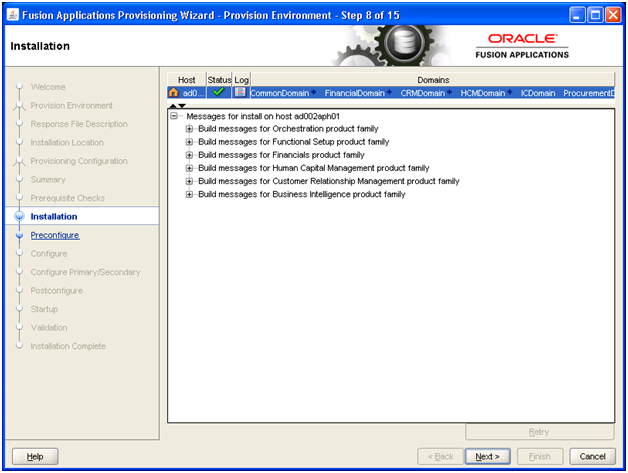
Once the Installation phase finishes, click Next
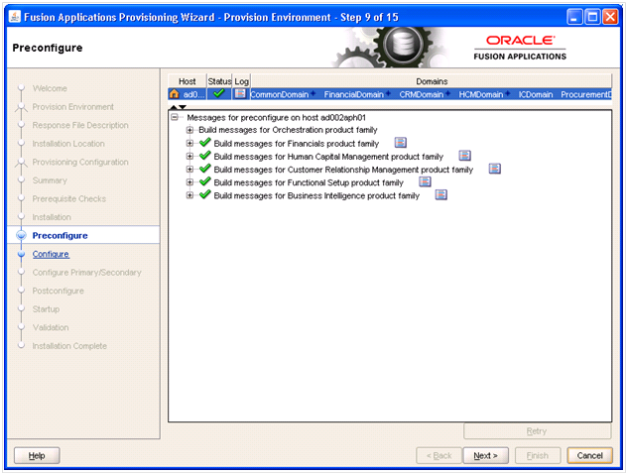
Once Preconfigure phase completes, click Next
Important Notes:
You may see a lag between 100% completion of the phase and “Next” button being enabled. This is the time where the status changes from COMPLETED to ENDED. Here it takes backup of the instance directory at /app/fusion/provisioning/restart so that it can cleanup and restore from next step if it fails.
The installation logs are being created at /app/fusion/logs/provisioning/plan<timestamp>/<hostname> directory. This is the most useful place to troubleshoot.
The status flags like STARTED, COMPLETED, FAILED, ENDED are stored in /app/fusion/provisioning/phaseguards directory. Please be careful while removing, renaming or creating flag files here since it will change the current status of the provisioning.
And for status of each domain within the particular phase, the flag files are written at /app/fusion/provisioning/phaseguards/pf directory
Good thing in new Fusion applications setup is that when you retry it only performs the actions for failed products but those actions of completed products are not repeated. This saves a lot of time compared to our last installation of 11.1.1.5
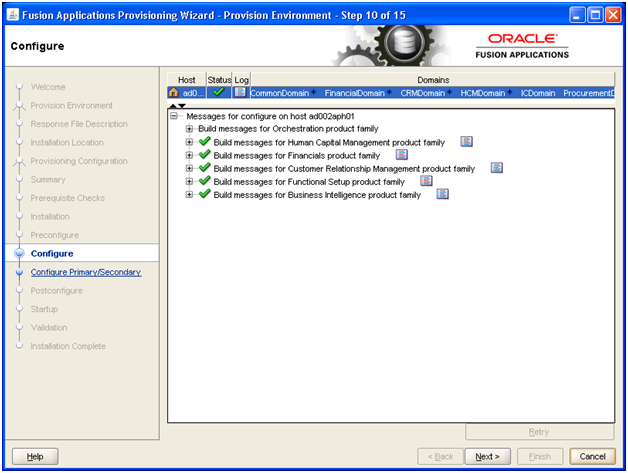
Click Next when Configure completes.
Note: The name of next phase has changed to “Configure Primary/Secondary” instead of “Configure Secondary” as in 11.1.1.5 release since it was misleading.
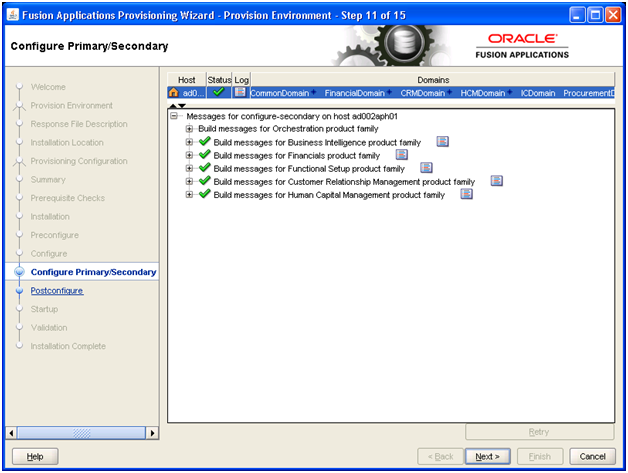
Click Next once Configure Primary/Secondary phase completes.
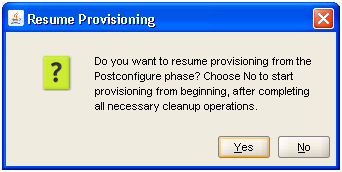
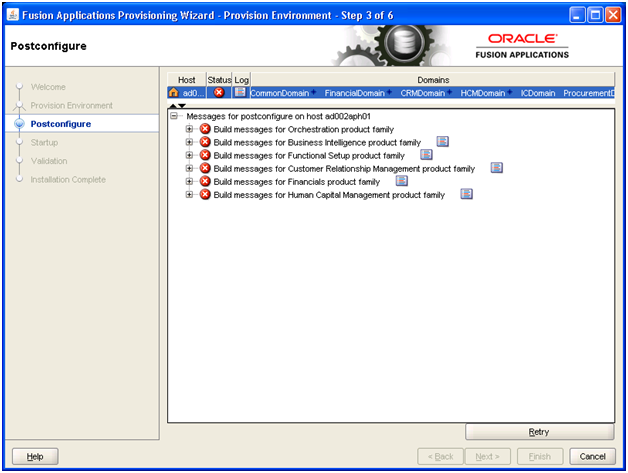
If due to some issue a stage fails then you would see above screen. You need to click retry to cleanup and restore to previous state in order to start again.
Check the logs in /app/fusion/logs directory and fix the errors before proceeding.
Note: If OIM is not reachable then HCM postconfigure might fail after seeding the OID entries (at private-configure-oim-callback) so please make sure OID is running and port 14000 is reachable, or else restart OIM before you run postconfigure.
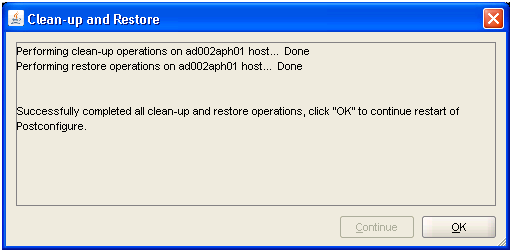
Once cleanup and restore completes, click OK to proceed with rerunning the same phase.
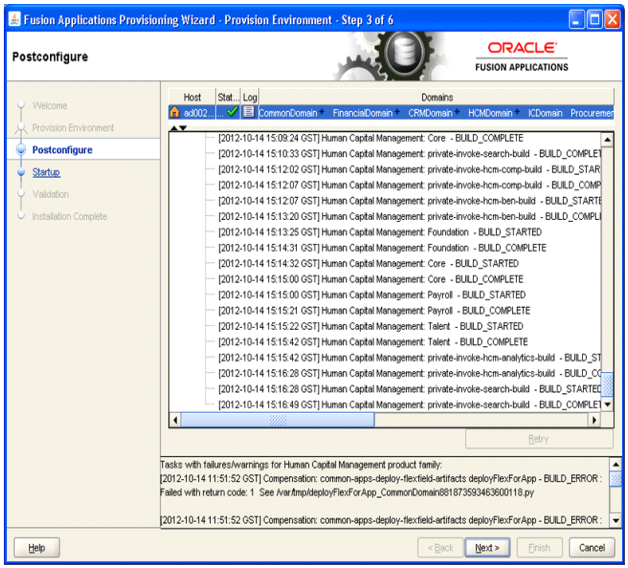
The above errors related to flexfield are actually warnings and even FA provisioning does not stop installation due to this since it is known bug as it does not have any data at the moment to seed. This is for future releases.
Despite these errors, the phase will be successful as you can see above. Click Next
Note: In case if To manually clear FAILED_NOT_RESTARTABLE status for any server, you can edit the following file ONLY AFTER YOU ARE SURE that this is cleanly shutdown.
<Domain>/servers/AdminServer/data/nodemanager/AdminServer.state
Change FAILED_NOT_RESTARTABLE to SHUTDOWN and N to Y
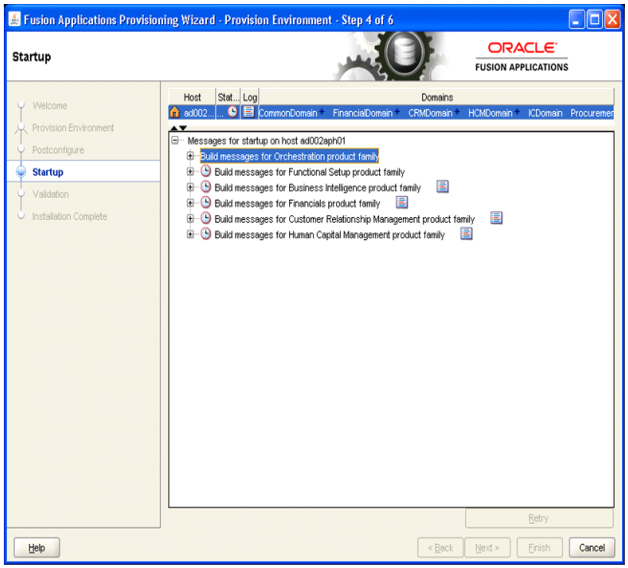
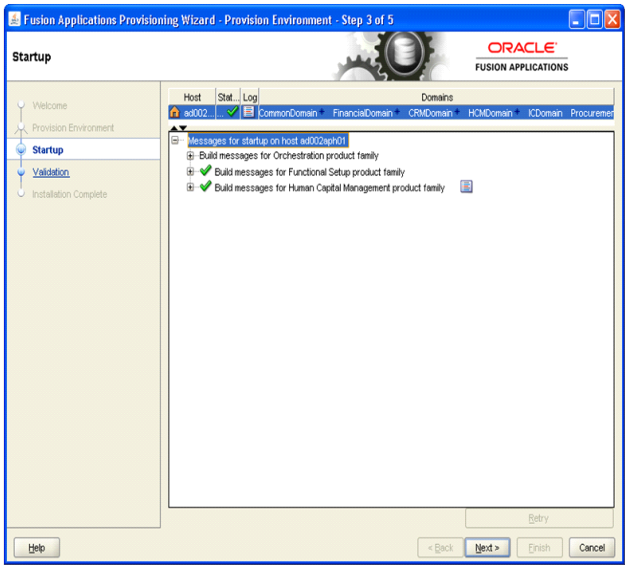
Once startup completes, click Next. (we skipped others since they were manually started)
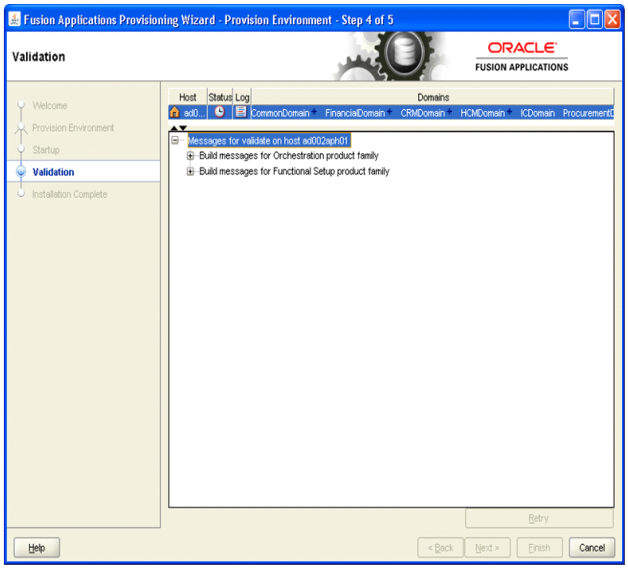
After Validation completes, installation concludes.
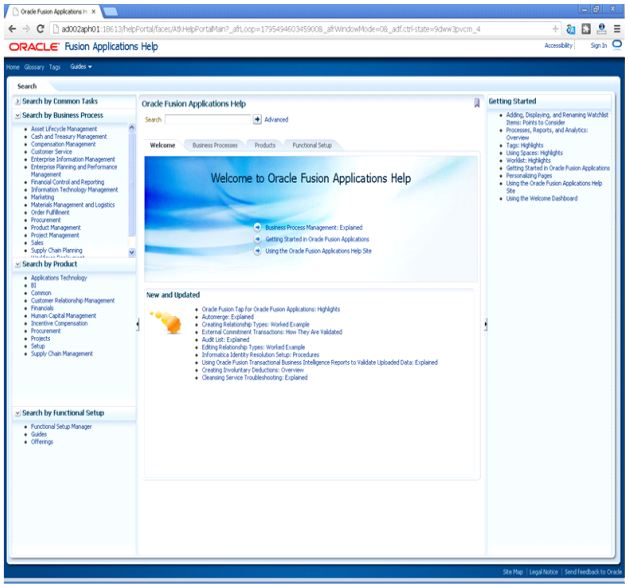
Help Portal Home Page
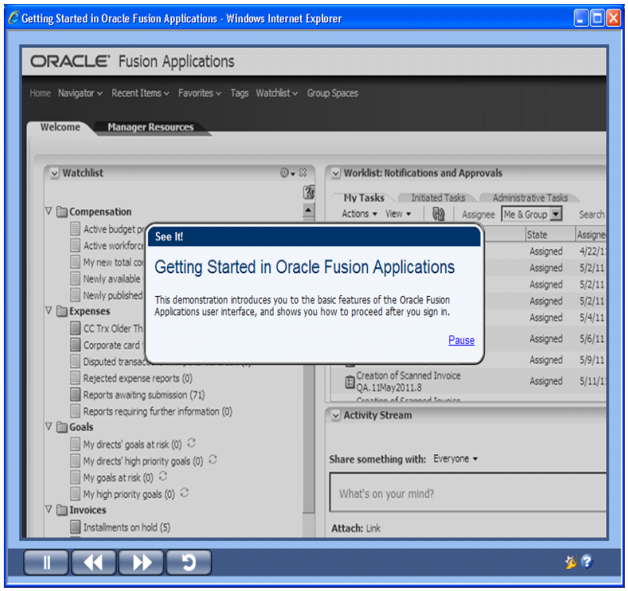
Fusion Applications “Getting started” guide in Help Portal. Must watch this.
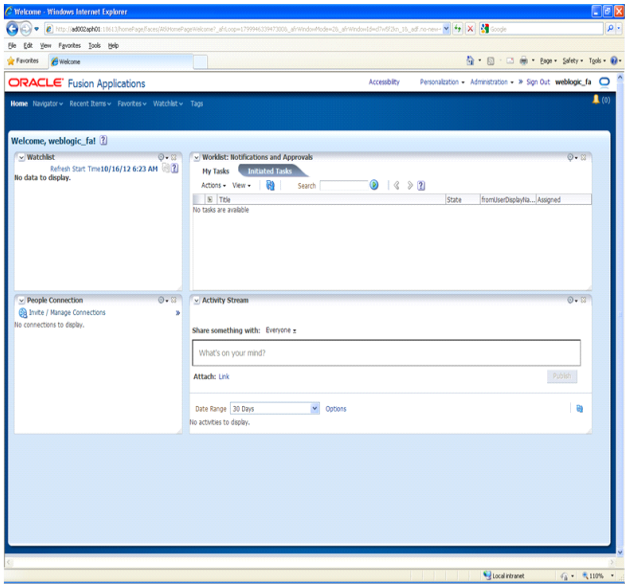
Once you log in you will see this home page.
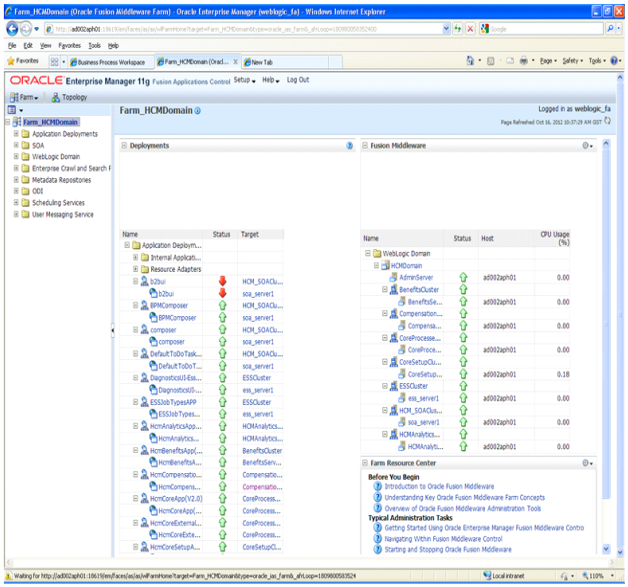
Couple of components are having some issue. Will fix this and update the post later.
This concludes the basic installation of Fusion Applications. Next we need to configure and implement the selected product which includes Functional setup, scaling out etc. We will cover these in other posts.
Hope you liked our Fusion Applications installations guide. We would be really glad to see your suggestions and just to let you know; from 2013 onwards we will start Fusion Application Trainings in India and other countries on request.
God bless you all.
Installing Oracle Fusion Applications – steps
-
Create another database for Oracle Identity Management Infrastructure (optional)


Recent Comments