Oracle Fusion Applications Installation: Install Fusion Applications Provisioning Framework

Previous: Oracle Fusion Applications installation – Step by step guide (11.1.5)

Prerequisites

(Only for Solaris)

Patch 144540-01 is required

root@ad002aph01 # showrev -p | grep 144540-01
Patch: 144540-01 Obsoletes: Requires: 118918-24, 120011-14, 127127-11, 137137-09, 139555-08, 142909-17 Incompatibles: Packages: SUNWcsl

(Only for Solaris)

Append following lines in /etc/system

set rlim_fd_cur=327679

set rlim_fd_max=327679


(Only for Solaris)

Make sure the TCP ports range is 32768-61000

root@ad002aph01 # /usr/sbin/ndd -get /dev/tcp tcp_smallest_anon_port

32768

root@ad002aph01 # /usr/sbin/ndd -get /dev/tcp tcp_largest_anon_port

65535

root@ad002aph01 # /usr/sbin/ndd -set /dev/tcp tcp_largest_anon_port 61000

root@ad002aph01 # /usr/sbin/ndd -get /dev/tcp tcp_largest_anon_port

61000


(Only for Solaris)

For Solaris 10, we must create a project entry for our fusion user to let it use maximum memory of the server.


root@ad002aph01 # projmod -U fusion -K “project.max-shm-memory=(privileged,68719476736,deny)” user.fusion

root@ad002aph01 # more /etc/project

user.fusion:100::fusion::project.max-shm-memory=(privileged,68719476736,deny)


Unset the LIBPATH Variable

Use env or echo $LIBPATH to check if the variable is set.

Use unsetenv or unset LIBPATH to unset the variable.


Start installation of Fusion Applications Framework


-bash-3.2$ cd /u02/stage/installers/faprov/Disk1/

bash-3.2$ ./runInstaller

Please specify JRE/JDK location ( Ex. /home/jre ), <location>/bin/java should exist :/u02/stage/jdk6
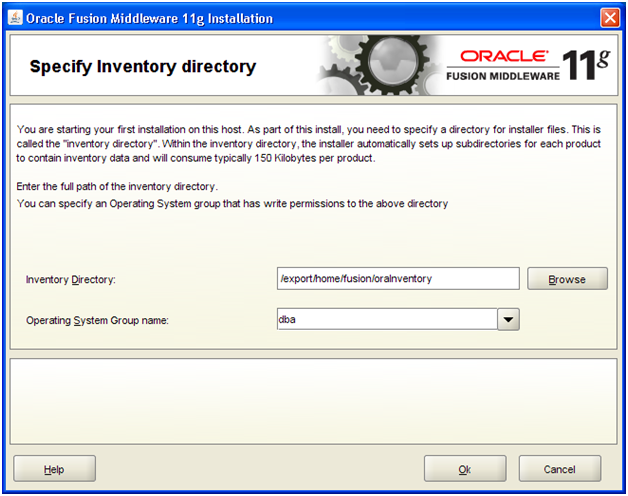
 

Since this is the first Oracle Product we are installing on this machine, oraInventory is yet to be created. You may see this screen if this is fresh installation. Make a note/amend the Inventory location and click Ok.
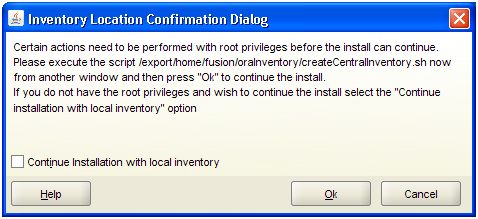


Open another window and execute as follows using root user.


root@ad002aph01 # /export/home/fusion/oraInventory/createCentralInventory.sh

Setting the inventory to /export/home/fusion/oraInventory

Setting the group name to dba

Creating the Oracle inventory pointer file (/var/opt/oracle/oraInst.loc)

Changing permissions of /export/home/fusion/oraInventory to 770.

Changing groupname of /export/home/fusion/oraInventory to dba.

The execution of the script is complete


Press Ok in the screen. This will launch the actual installer with following splash screen.


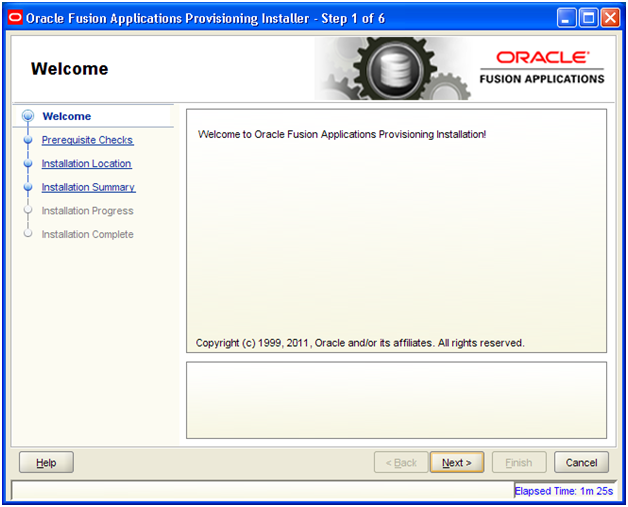
Click Next
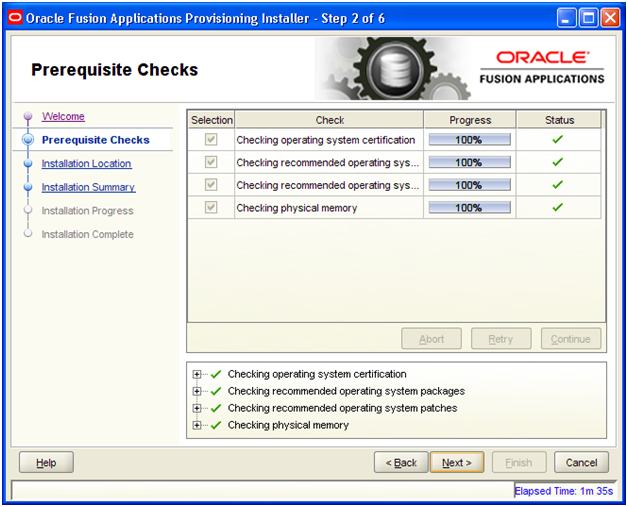


The checks should finish successfully. Click Next

Meanwhile in another terminal window create a directory named /app and assign it to “fusion” user.


[root@fusion ~]# mkdir /app

[root@fusion ~]# chown fusion:dba /app/
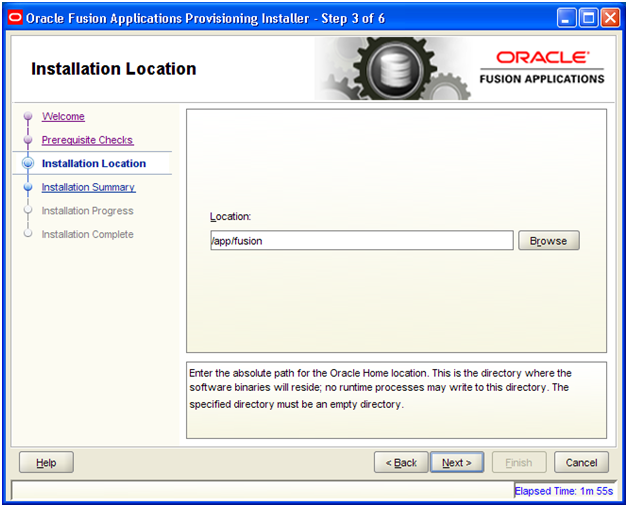
 

We will keep the Base as /app/fusion. Click Next
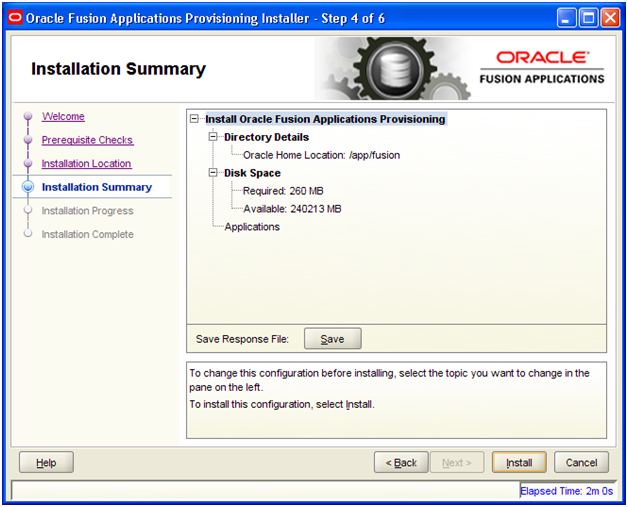
 

Verify the details and Click Next.
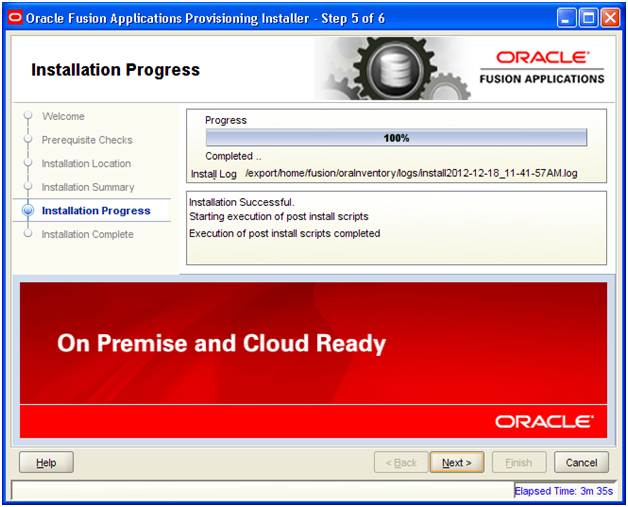
 

Once completed, click Next
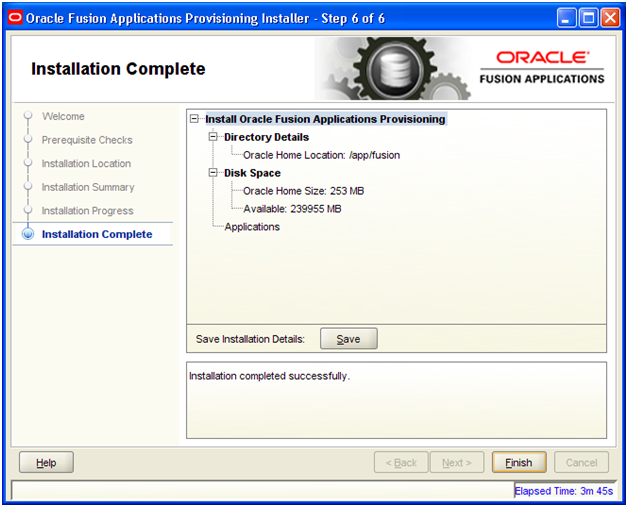
 

Verify the summary and click Finish.

Installing Oracle Fusion Applications – steps

  1. Create another database for Oracle Identity Management Infrastructure (optional)


Next: Install Oracle 11g Database (Applications Transactional Database)

How to delete/purge large log files in Solaris/Linux without restarting service

In Windows we cannot delete log files which are still being used by a service, for example Oracle related services (though there are many third-party tools which can do but we are talking in general).

In Solaris/Linux, we can rename the files but sometimes you will see that the new log entries are coming into the same old file which was renamed.


There is a simple way to clear the contents of a log file which is still being written by another service.

Take a backup of existing file if required for later reference. (Optional)

cp -p filename filename.bkp

Now empty the contents of the file without deleting or changing the inode.

> filename

(simply enter greater than sign followed by file name on command prompt)


You will see that the file size has become zero now and new logs will continue to fill this same file only.

Startup / Shutdown sequence for Oracle Fusion Apps components

As you already know by now, Oracle Fusion Applications installation may fail at a few points and you might need to restart the installation. We have seen a lot of comments asking for steps for startup sequence for Oracle Fusion infrastructure components.

Here is the startup sequence for the components.

Startup sequence

1. Source profile

more ~/.bash_profile

ORACLE_HOME=/app/fusion/database/product/11.2.0/dbhome_1

export ORACLE_HOME

ORACLE_SID=fusiondb

export ORACLE_SID

JAVA_HOME=/app/fusion/jdk6

export JAVA_HOME

PATH=$PATH:$ORACLE_HOME/bin

export PATH


2. Start Listener

lsnrctl start LISTENER_FUSIONDB


3. Start Database

sqlplus / as sysdba

SQL> startup


4. Start OID

/app/fusion/admin/oid1/bin/opmnctl startall


5. Start Web

/app/fusion/admin/ohs_inst1/bin/opmnctl startall


6. Start Weblogic Admin Server for IDMDomain

cd /app/fusion/admin/IDMDomain/aserver/IDMDomain/bin/

nohup ./startWebLogic.sh &

(Wait till you see RUNNING in nohup.out log file)


7. Start Node Manager

cd /app/fusion/fmw/wlserver_10.3/server/bin/

nohup ./startNodeManager.sh &

(Wait till you see “started on port 5556” in nohup.out log file)


8. Start OAM managed server for IDMDomain (since we cannot login to console without OAM)

cd /app/fusion/admin/IDMDomain/aserver/IDMDomain/bin/

nohup ./startManagedWebLogic.sh wls_oam1 &

(Wait till you see RUNNING in nohup.out log file)


9. Start remaining managed servers

Either from command prompt

cd /app/fusion/admin/IDMDomain/aserver/IDMDomain/bin/

nohup ./startManagedWebLogic.sh wls_ods1 &

nohup ./startManagedWebLogic.sh wls_oim1 &

nohup ./startManagedWebLogic.sh wls_soa1 &

(Wait till you see RUNNING in nohup.out log file for each of them. You can start them in in parallel, just make sure all start fine)

Or by logging into Weblogic Console->Servers->Control screen.


10. In case if restarting from postconfigure

For 11.1.4 and earlier versions

cd /app/fusion/fusionapps/wlserver_10.3/common/nodemanager/ad002aph01

nohup ./startNodeManagerWrapper.sh &


For 11.1.5 onwards releases

cd /app/fusion/instance/nodemanager/ad002aph01

nohup ./startNodeManagerWrapper.sh &

This will automatically start all managed servers including all domains like Common, HCM, BI, Financial, CRM etc which have been successfully configured so far.

Nov 28th, 2012 | Posted by Tushar Thakker | Filed under Uncategorized