Oracle Fusion Applications Installation: Integrate Oracle Identity Manager (OIM) and Oracle Access Manager (OAM)
Previous: Configuring Oracle Identity and Access Management components
Preparing OAM for integration
Create a file named config_oam2.props as follows.
[oracle@fusion bin]$ more config_oam2.props
WLSHOST: fusion
WLSPORT: 7001
WLSADMIN: weblogic
WLSPASSWD: Oracle123
IDSTORE_HOST: fusion
IDSTORE_PORT: 3060
IDSTORE_BINDDN: cn=orcladmin
IDSTORE_USERNAMEATTRIBUTE: cn
IDSTORE_LOGINATTRIBUTE: uid
IDSTORE_USERSEARCHBASE: cn=Users,dc=localdomain
IDSTORE_SEARCHBASE: dc=localdomain
IDSTORE_GROUPSEARCHBASE: cn=Groups,dc=localdomain
IDSTORE_OAMSOFTWAREUSER: oamLDAP
IDSTORE_OAMADMINUSER: oamadmin
PRIMARY_OAM_SERVERS: fusion:5575
WEBGATE_TYPE: ohsWebgate10g
ACCESS_GATE_ID: Webgate_IDM
OAM11G_IDM_DOMAIN_OHS_HOST:false
OAM11G_IDM_DOMAIN_OHS_PORT:7777
OAM11G_IDM_DOMAIN_OHS_PROTOCOL:http
OAM11G_WG_DENY_ON_NOT_PROTECTED: false
OAM_TRANSFER_MODE: open
OAM11G_OAM_SERVER_TRANSFER_MODE:open
OAM11G_IDM_DOMAIN_LOGOUT_URLS: /console/jsp/common/logout.jsp,/em/targetauth/emaslogout.jsp
OAM11G_OIM_WEBGATE_PASSWD: Oracle123
OAM11G_SERVER_LOGIN_ATTRIBUTE: uid
COOKIE_DOMAIN: .localdomain
OAM11G_IDSTORE_ROLE_SECURITY_ADMIN: OAMAdministrators
OAM11G_SSO_ONLY_FLAG: true
OAM11G_OIM_INTEGRATION_REQ: true
OAM11G_IMPERSONATION_FLAG:true
OAM11G_SERVER_LBR_HOST:fusion
OAM11G_SERVER_LBR_PORT:7777
OAM11G_SERVER_LBR_PROTOCOL:http
COOKIE_EXPIRY_INTERVAL: 120
OAM11G_OIM_OHS_URL:http://fusion:7777/
[oracle@fusion bin]$ export ORACLE_HOME=/app/fusion/fmw/iam
[oracle@fusion bin]$ export IDM_HOME=/app/fusion/fmw/idm
[oracle@fusion bin]$ export MW_HOME=/app/fusion/fmw
[oracle@fusion bin]$ export JAVA_HOME=/app/fusion/jdk6
[oracle@fusion bin]$ cd /app/fusion/fmw/iam/idmtools/bin/
[oracle@fusion bin]$ ./idmConfigTool.sh -configOAM input_file=config_oam2.props
Enter ID Store Bind DN password :
Enter User Password for IDSTORE_PWD_OAMSOFTWAREUSER:
Confirm User Password for IDSTORE_PWD_OAMSOFTWAREUSER:
Enter User Password for IDSTORE_PWD_OAMADMINUSER:
Confirm User Password for IDSTORE_PWD_OAMADMINUSER:
The tool has completed its operation. Details have been logged to automation.log
Restart Weblogic Admin Server.
Create another file named user.props as follows.
[oracle@fusion bin]$ more user.props
IDSTORE_HOST: fusion
IDSTORE_PORT: 3060
IDSTORE_ADMIN_USER: cn=orcladmin
IDSTORE_USERSEARCHBASE: cn=Users,dc=localdomain
IDSTORE_GROUPSEARCHBASE: cn=Groups,dc=localdomain
PASSWORD_EXPIRY_PERIOD: 7300
[oracle@fusion bin]$ ./idmConfigTool.sh -upgradeLDAPUsersForSSO input_file=user.props
…
Enter Directory Type[OID]: OID
…
Finished parsing LDAP
LDAP Users Upgraded.
Remove Security Providers
If you have already configured signle sign-on for Administration Console then you must delete the security providers you created in that section. Otherwise this can be skipped since these providers will not be present. Still make sure that these do not exist.
1. Log in to the WebLogic Administration Console at:
http://fusion:7777/console
2. Click Security Realms from the Domain structure menu.
3. Click Lock and Edit in the Change Center.
4. Click myrealm.
5. Select the Providers tab.
Select the following providers:
OVDAuthenticator
OIDAuthenticator
OAMIDAssertor
6. Click Delete.
7. Click Yes to confirm deletion.
8. Restart the administration server and all managed servers if you had to delete the above otherwise you can continue to next step.
Integrate OIM and OAM
Create a new file named oimitg.props as follows.
[oracle@fusion bin]$ more oimitg.props
LOGINURI: /${app.context}/adfAuthentication
LOGOUTURI: /oamsso/logout.html
AUTOLOGINURI: None
ACCESS_SERVER_HOST: fusion
ACCESS_SERVER_PORT: 5575
ACCESS_GATE_ID: Webgate_IDM
COOKIE_DOMAIN: .localdomain
COOKIE_EXPIRY_INTERVAL: 120
OAM_TRANSFER_MODE: open
WEBGATE_TYPE: ohsWebgate10g
SSO_ENABLED_FLAG: true
IDSTORE_PORT: 3060
IDSTORE_HOST: fusion
IDSTORE_DIRECTORYTYPE: OID
IDSTORE_ADMIN_USER: cn=oamLDAP,cn=Users,dc=localdomain
IDSTORE_USERSEARCHBASE: cn=Users,dc=localdomain
IDSTORE_GROUPSEARCHBASE: cn=Groups,dc=localdomain
MDS_DB_URL: jdbc:oracle:thin:@fusion:1521:fusiondb
MDS_DB_SCHEMA_USERNAME: dev_mds
WLSHOST: fusion
WLSPORT: 7001
WLSADMIN: weblogic
DOMAIN_NAME: IDMDomain
OIM_MANAGED_SERVER_NAME: wls_oim1
DOMAIN_LOCATION: /app/fusion/admin/IDMDomain/aserver/IDMDomain
[oracle@fusion bin]$ ./idmConfigTool.sh -configOIM input_file=oimitg.props
Enter sso access gate password :
Enter mds db schema password :
Enter idstore admin password :
Enter admin server user password :
…
…
Changes Activated. Edit session ended.
Connection closed sucessfully
The tool has completed its operation. Details have been logged to automation.log
Have a look at the automation.log if there are any errors. There should not be any.
Restart Admin server and all managed servers.
Manually Creating CSF Keys
1. Log into Oracle Enterprise Manager Fusion Middleware Control at:
http://fusion/em
2. Navigate to FARM_IDMDomain – Weblogic Domain
3. Click IDMDomain.
4. When the summary screen is displayed, select Security – Credentials from the list.
5. Click the credential key oim and click Create Key. Create the following keys:
SSOAccessKey
Field Value
Map oim
Key SSOAccessKey
Type Password
User Name SSOAccessKey
Password Value of OAM11G_OIM_WEBGATE_PASSWD
Description OAMAccessGatePassword
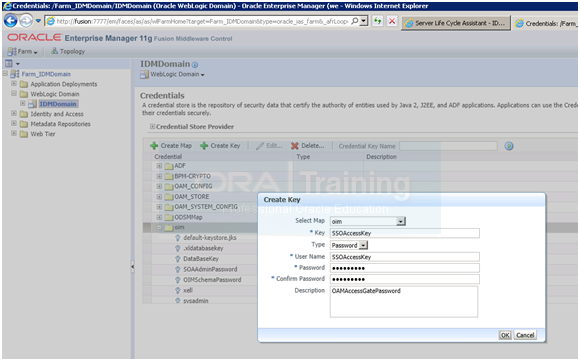
Before validating integration we must do the following.
Assigning IDM Administrators Group to Weblogic Administration Groups
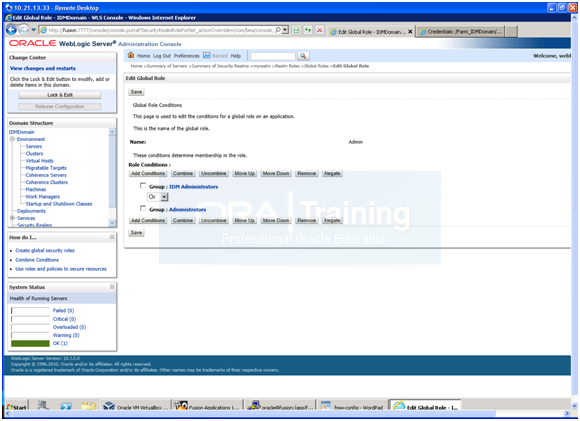
1. Log in to the WebLogic Administration Server Console.
2. In the left pane of the console, click Security Realms.
3. On the Summary of Security Realms page, click myrealm under the Realms table.
4. On the Settings page for myrealm, click the Roles & Policies tab.
5. On the Realm Roles page, expand the Global Roles entry under the Roles table.
This brings up the entry for Roles. Click the Roles link to go to the Global Roles page.
6. On the Global Roles page, click the Admin role to go to the Edit Global Role page:
a. On the Edit Global Roles page, under the Role Conditions table, click the Add Conditions button.
b. On the Choose a Predicate page, select Group from the drop down list for predicates and click Next.
c. On the Edit Arguments Page, Specify IDM Administrators in the Group Argument field and click Add.
7. Click Finish to return to the Edit Global Rule page.
8. The Role Conditions table now shows the IDM Administrators Group as an entry.
9. Click Save to finish adding the Admin role to the IDM Administrators Group.
10. Validate that the changes were successful by bringing up the WebLogic Administration Server Console using a web browser. Log in using the credentials for the weblogic_idm user.
Important Note: If you skip the above step then you may get following error while accessing fusion:7777/em with weblogic_idm user
“User is not authorized to login to WebLogic Domain. User should be part of one or more Administrative roles to be able to login.”

Install webgate
[oracle@fusion webgate]$ cd /mnt/fusion/installers/webgate
./Oracle_Access_Manager10_1_4_3_0_linux64_OHS11g_WebGate –gui
[Make sure you supply -gui argument]
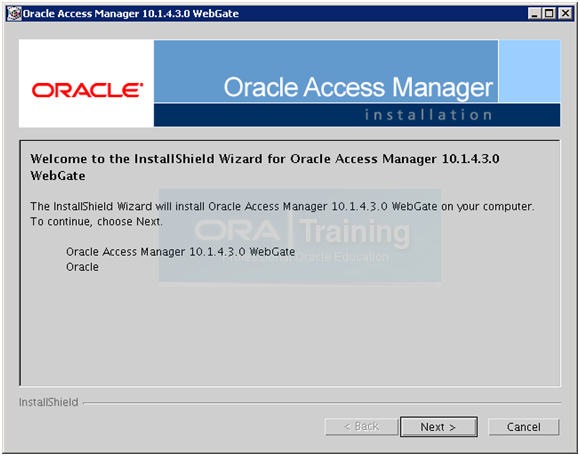
Welcome screen appears. Click Next
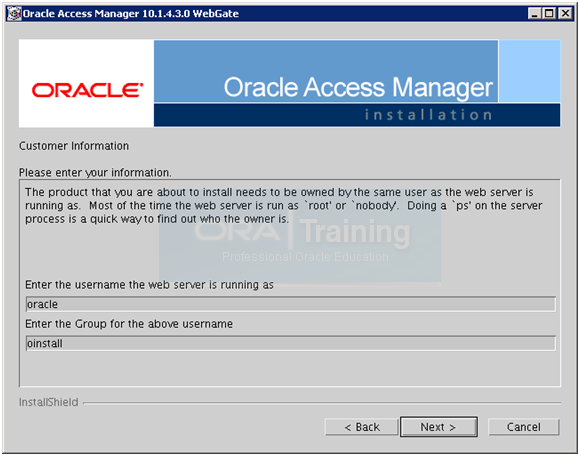
Enter Username as “oracle” and group “oinstall“. Click Next
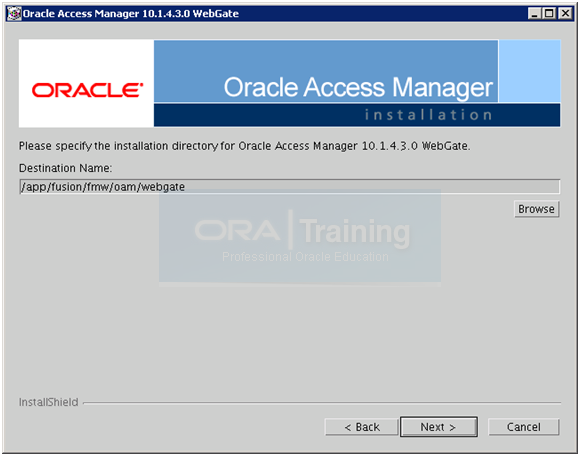
Enter the values as above and click Next
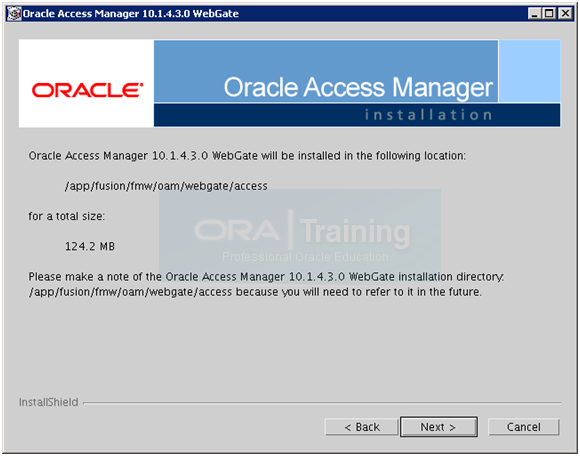
Review the above information and click Next
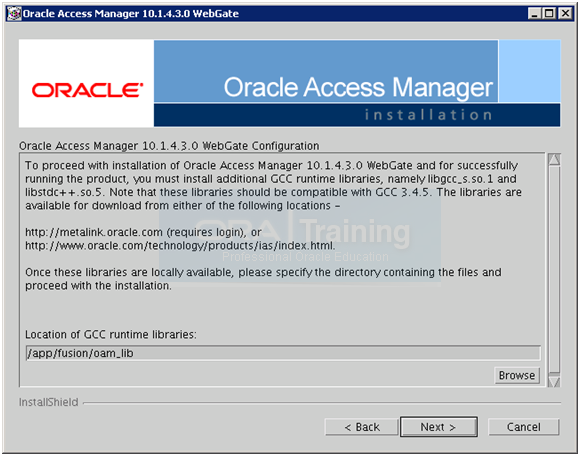
Supply the values as above but before clicking Next, open a new terminal window and execute following steps to create symbolic links in the desired directory.
[oracle@fusion oam_lib]$ mkdir /app/fusion/oam_lib
[oracle@fusion oam_lib]$ ln -s /usr/lib64/libstdc++.so.5 /app/fusion/oam_lib/libstdc++.so.5
[oracle@fusion oam_lib]$ ln -s /lib64/libgcc_s.so.1 /app/fusion/oam_lib/libgcc_s.so.1
Once done, click Next
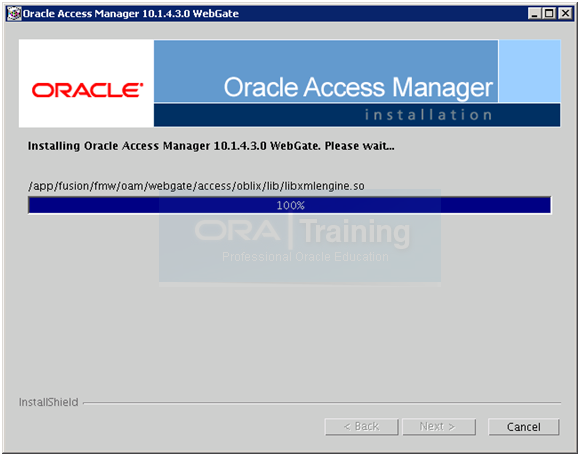
The installation will finish and will automatically take you to the next screen.
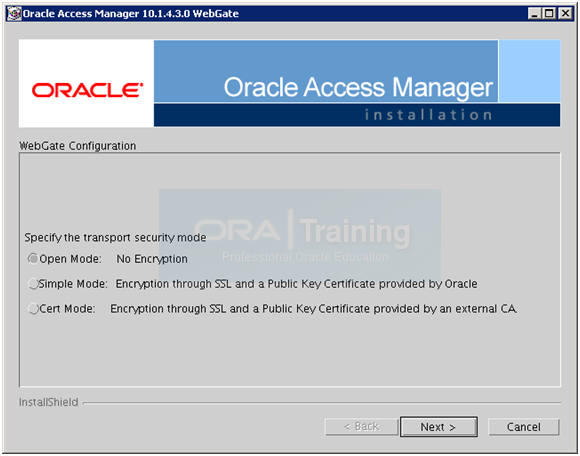
Select Open Mode and click Next
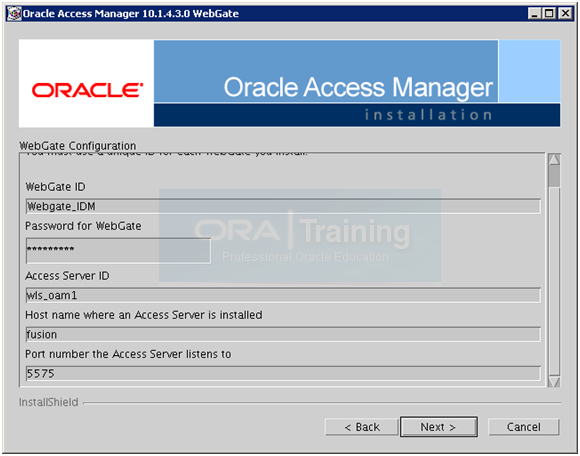
Enter the values as follows and click Next.
WebGate ID: Webgate_IDM
Password: Oracle123 (or any desired password)
Access Server ID: wls_oam1
Host name: fusion
Port number (proxy port): 5575
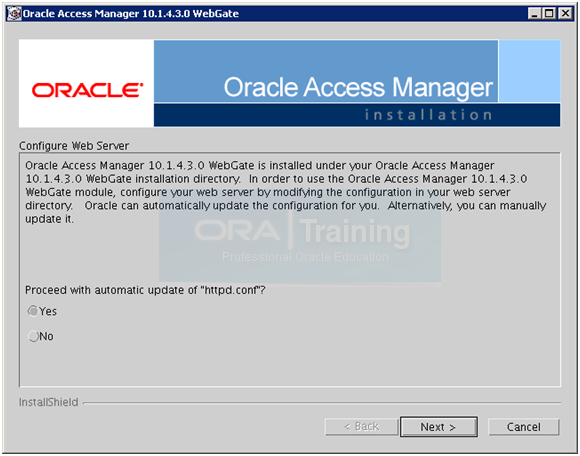
Select Yes to proceed with automatic update of httpd.conf with webgate parameters. Click Next
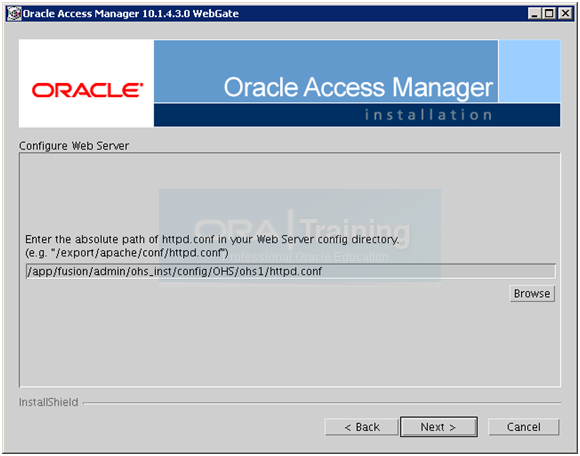
Specify the httpd.conf location from the OHS instance directory. You can take a backup of this file in another terminal window if you want. Click Next
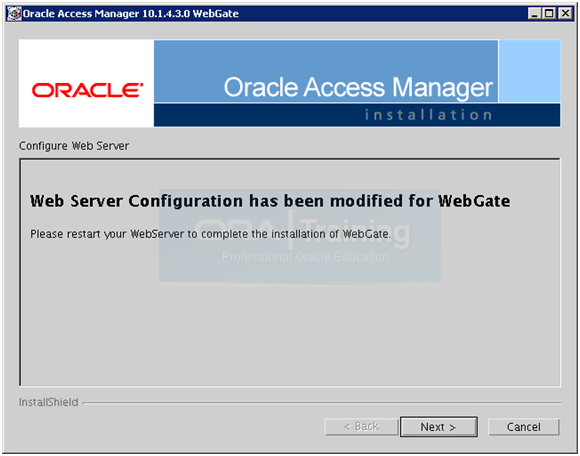
Click Next
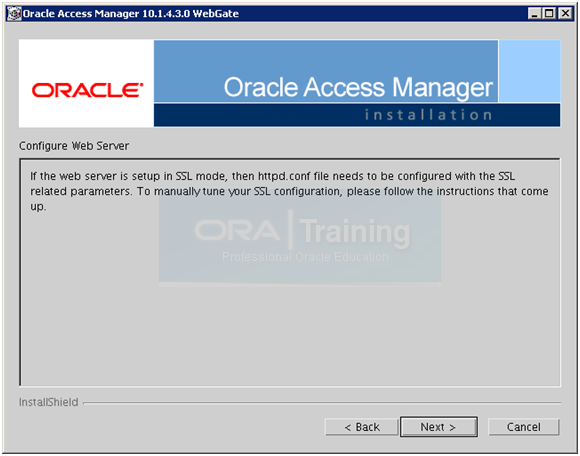
Click Next
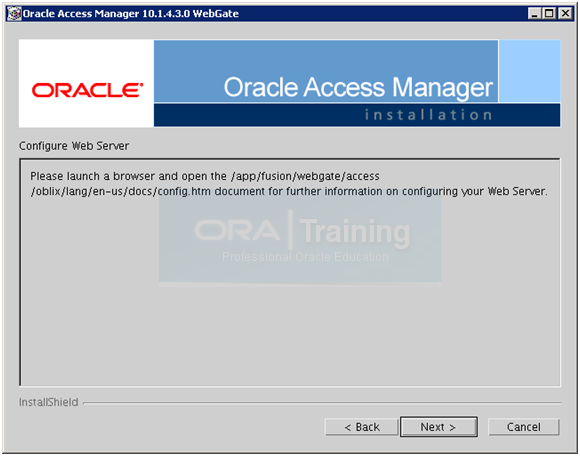
Click Next
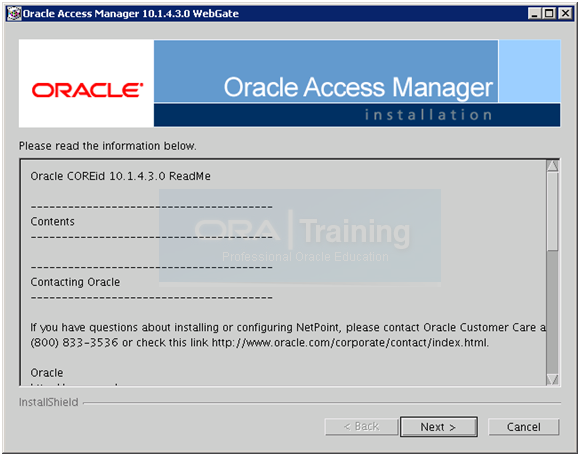
Click Next
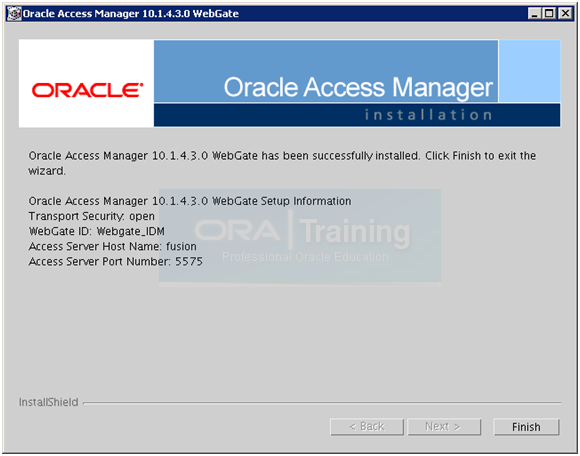
Click Finish to complete the installation.
Copy the following files to Webgate.
[oracle@fusion bin]$ cp -p /app/fusion/fmw/oam/webgate/access/oblix/lib/ObAccessClient.xml /app/fusion/fmw/oam/webgate/access/oblix/lib/ObAccessClient.xml.bak
[oracle@fusion bin]$ cp -p /app/fusion/admin/IDMDomain/aserver/IDMDomain/output/Webgate_IDM/ObAccessClient.xml /app/fusion/fmw/oam/webgate/access/oblix/lib/
[oracle@fusion Webgate_IDM]$ cd /app/fusion/admin/IDMDomain/aserver/IDMDomain/output/Webgate_IDM
[oracle@fusion Webgate_IDM]$ cp logout.html /app/fusion/fmw/oam/webgate/access/oamsso/
Comment out following lines from /app/fusion/admin/ohs_inst/config/OHS/ohs1/httpd.conf
#<LocationMatch “/oamsso/*”>
#Satisfy any
#</LocationMatch>
Restart HTTP server
This concludes the integration between OIM and OAM.
Next: Creating a New Provisioning Plan
Installing Oracle Fusion Applications – steps
- Installing Fusion Applications Provisioning Framework
- Installing Oracle 11g Database (Applications Transactional Database)
- Running Oracle Fusion Applications Repository Creation Utility (Applications RCU)
- Creating another database for Oracle Identity Management Infrastructure (optional)
- Running Repository Creation Utility (RCU) for Oracle Identity Management components
- Installing Oracle Identity and Access Management Components
- Configuring Oracle Identity and Access Management components
- Integrate Oracle Identity Manager (OIM) and Oracle Access Manager (OAM)
- Creating a New Provisioning Plan
- Provisioning an Applications Environment


Recent Comments