Running Repository Creation Utility for Oracle Identity Management components

Oracle Fusion Applications installation: Running Repository Creation Utility (RCU) for Oracle Identity Management Components

Previous: Running Oracle Fusion Applications Repository Creation Utility (Applications RCU)

Important Note: This is OLD guide for old version 11.1.1.5. Please follow instructions at http://www.oratraining.com/blog/2012/12/oracle-fusion-applications-installation-step-by-step-guide-11-1-5/ for latest guide for current version i.e. 11.1.5


Important Note: We are NOT creating a separate database to host Oracle Identity Management schemas. Instead we will create these schemas in our Fusion Database (fusiondb) itself since the schema names are distinct compared to Fusion Application schemas. We will save a lot of Memory for our Virtual Machine.

In order to run RCU for Identity Management on same database, we must set the open_cursors parameter to 800.

Open a new database session and set following values.

SQL> show parameter open_cursors

NAME TYPE VALUE

———————————— ———– ——————————

open_cursors integer 500

SQL> alter system set open_cursors=800 scope=both sid=’*’;

System altered.

Launch Repository Creation Utility for Oracle Identity Management from <Framework_location>/fmw_rcu/bin location

[oracle@fusion bin]$ /app/fusion/provisioning/fmw_rcu/bin/rcu &
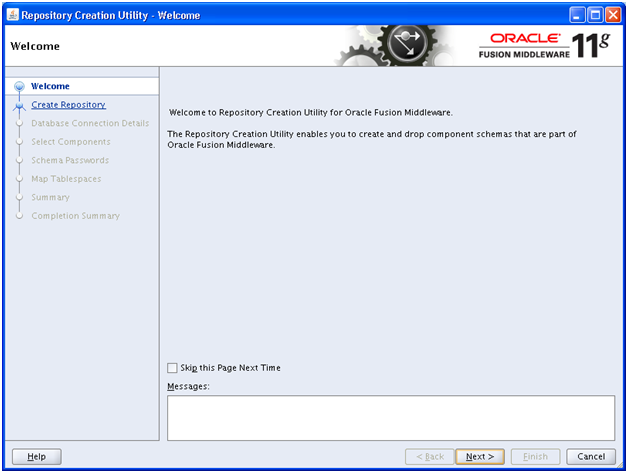
Click Next
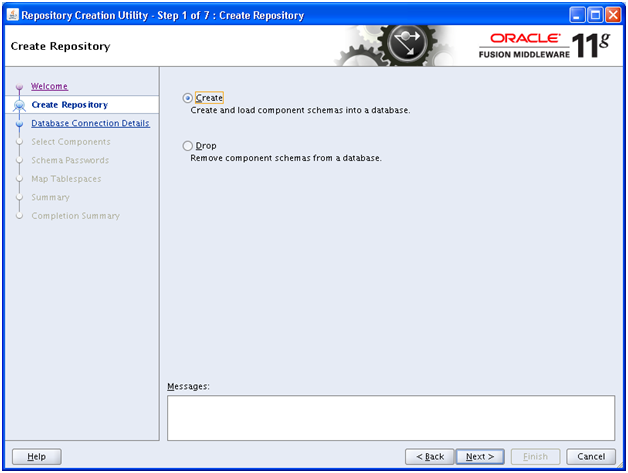
Select Create and click Next
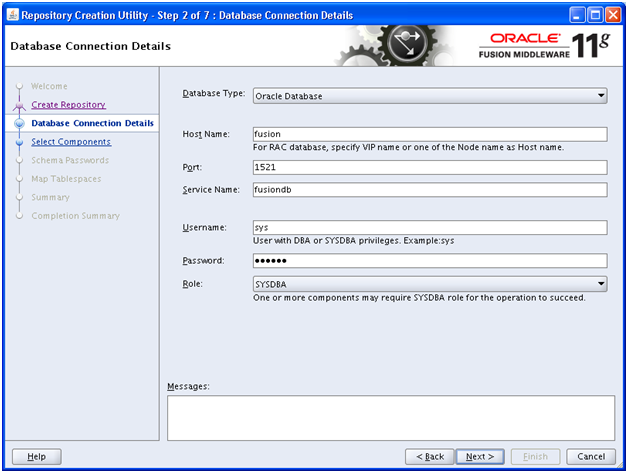
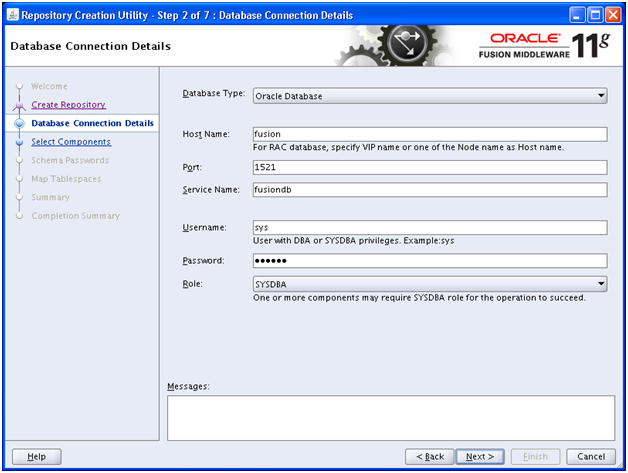
Enter the database information (for same fusiondb database as entered earlier. Click Next
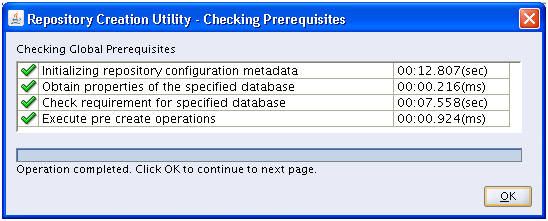
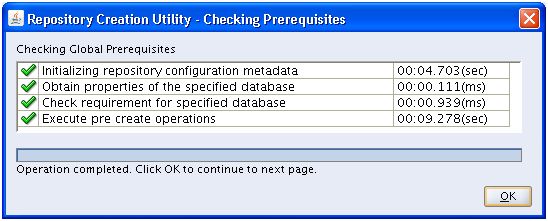
Next it will check for required prerequisites. Upon successful check click OK
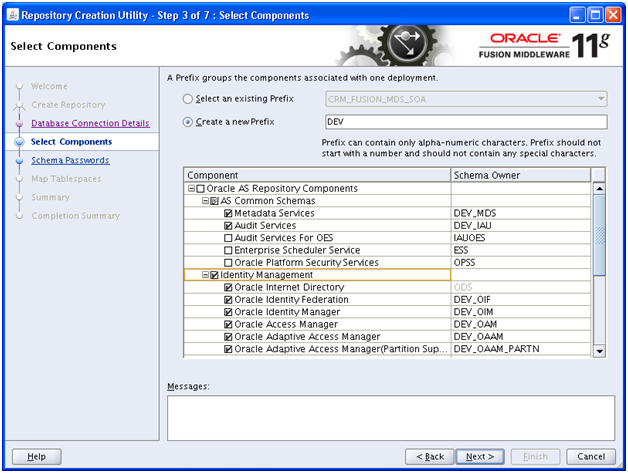
Click Idnentity Management. It will select few other required components also automatically. Click Next
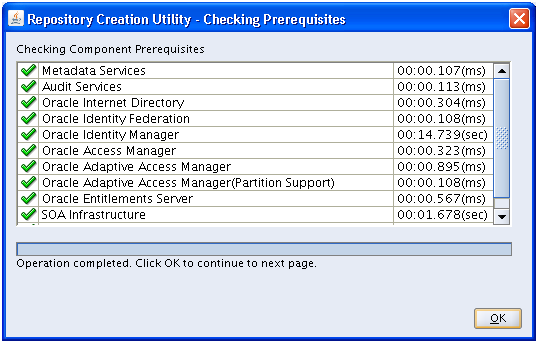
 

Again it will check prerequisites for the selected components. Upon successful check click OK
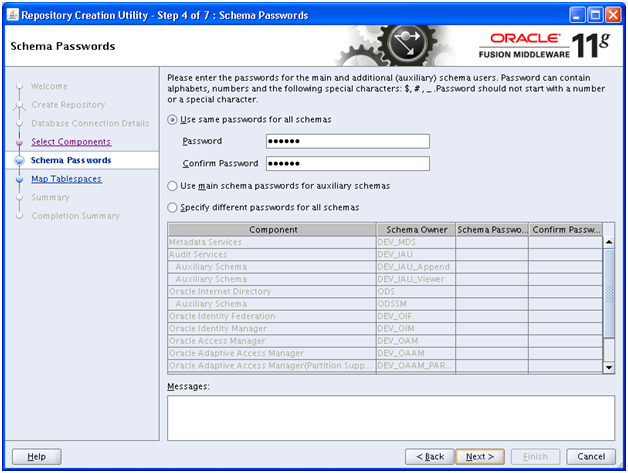
 

Enter same password Oracle123 for ease of remembering. Click Next
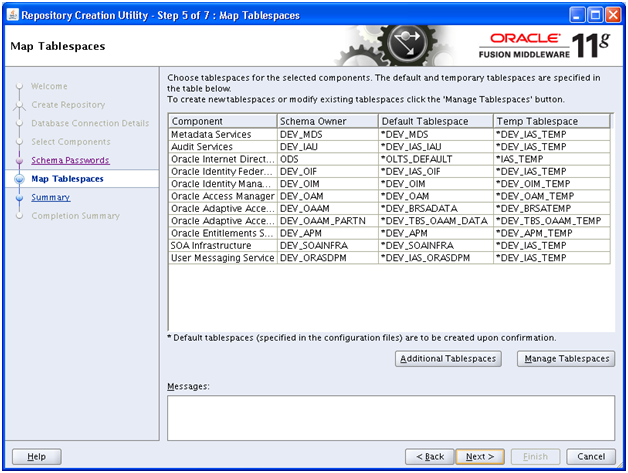
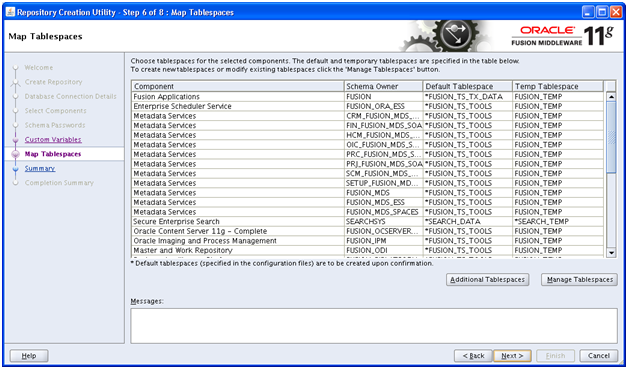
No need to change anything in this screen. Click Next
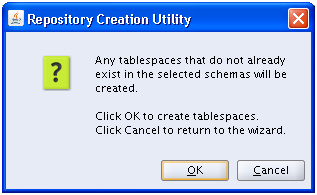
 

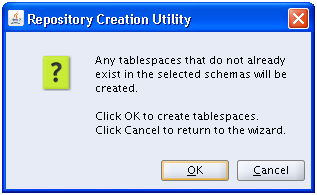
Click OK
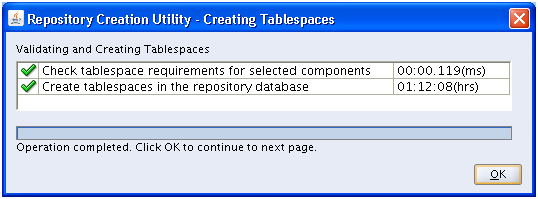
 

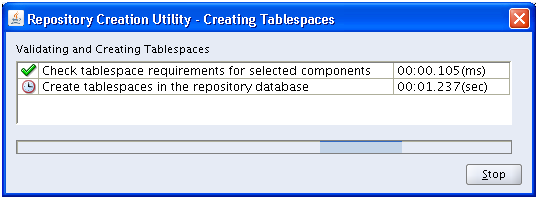
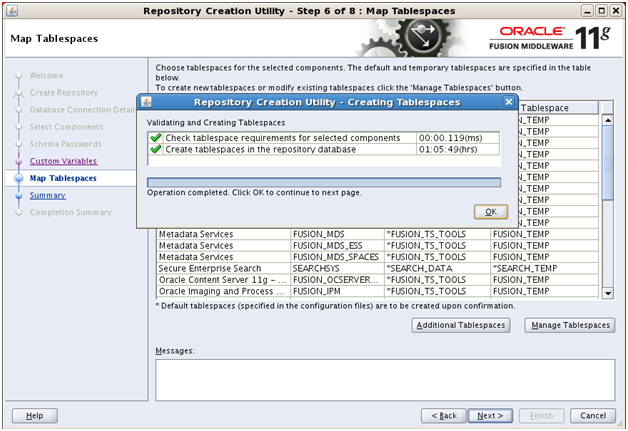
It will create the required tablespaces. Once finished click OK
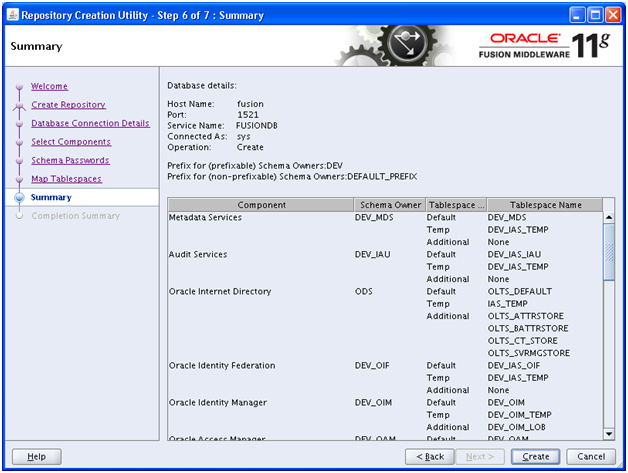
 

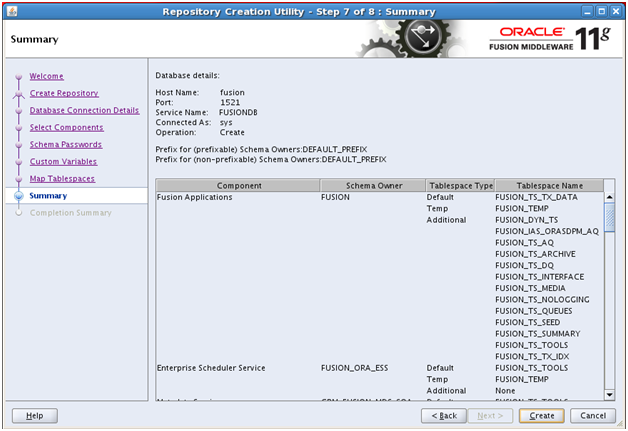
On this summary screen click Create to create required schemas and load data.
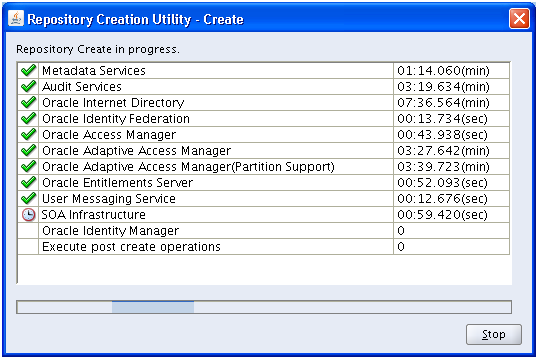
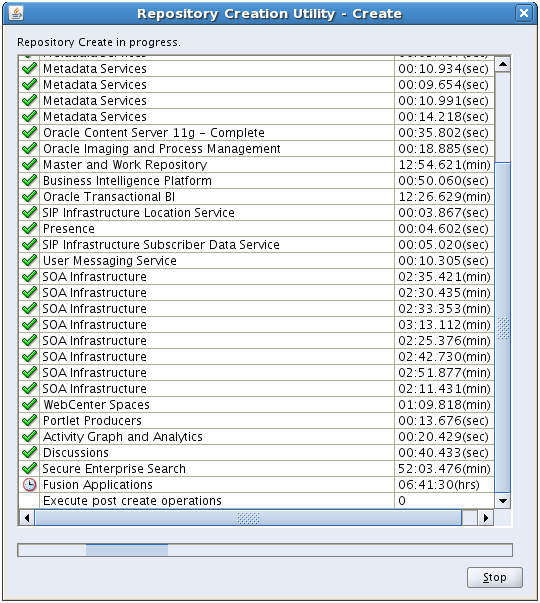
This will be quicker than earlier RCU. Once finished proceed to next screen.
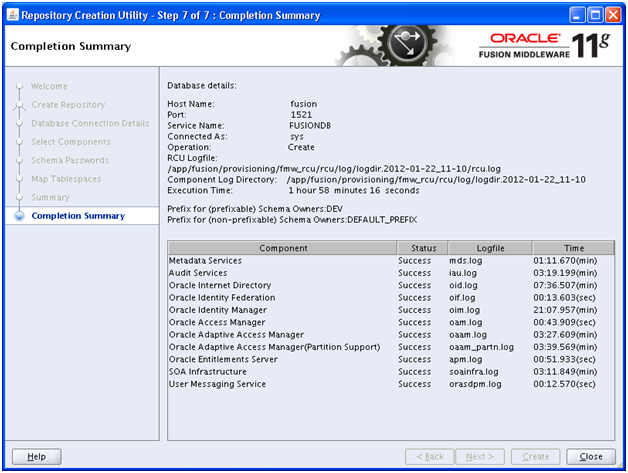
 

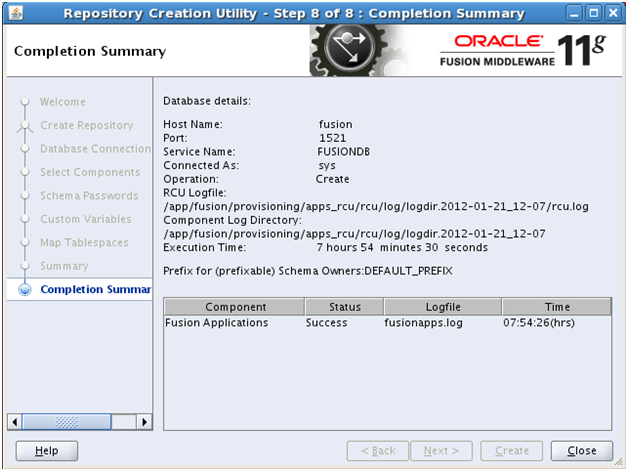
Finally it will display Completion Summary. Clock Close

Next: Installing Oracle Identity and Access Management Components

Installing Oracle Fusion Applications – steps

  1. Installing Fusion Applications Provisioning Framework
  2. Installing Oracle 11g Database (Applications Transactional Database)
  3. Running Oracle Fusion Applications Repository Creation Utility (Applications RCU)
  4. Creating another database for Oracle  Identity Management Infrastructure (optional)
  5. Running Repository Creation Utility (RCU) for Oracle Identity Management components
  6. Installing Oracle Identity and Access Management Components
  7. Configuring Oracle Identity and Access Management components
  8. Integrate Oracle Identity Manager (OIM) and Oracle Access Manager (OAM)
  9. Creating a New Provisioning Plan
  10. Provisioning an Applications Environment
Running Fusion Applications RCU

Oracle Fusion Applications Installation: Running Fusion Applications Repository Creation Utility (Apps RCU)

Previous: Installing Oracle 11g Database (Applications Transactional Database)

Important Note: This is OLD guide for old version 11.1.1.5. Please follow instructions at http://www.oratraining.com/blog/2012/12/oracle-fusion-applications-installation-step-by-step-guide-11-1-5/ for latest guide for current version i.e. 11.1.5


Create a directory on physical partition and call it APPS_RCU_HOME

[oracle@fusion linux]$ mkdir /app/fusion/provisioning/apps_rcu


Go to repository_location/installers/apps_rcu and locate the rcuHome_fusionapps_linux.zip file. This file was staged when you created the installer repository.


Extract the contents of rcuHome_fusionapps_linux.zip to a directory (APPS_RCU_HOME) on the database server. All dependent components that Applications RCU needs are included in this zipped file.


[oracle@fusion apps_rcu]$ cd /app/fusion/provisioning/apps_rcu

[oracle@fusion apps_rcu]$ unzip /mnt/fusion/installers/apps_rcu/linux/rcuHome_fusionapps_linux.zip


Create a temporary directory on the database server. Make a note of the location.

You will need to enter this location when you specify a value for FUSIONAPPS_DBINSTALL_DP_DIR


[oracle@fusion apps_rcu]$ mkdir /app/fusion/provisioning/apps_rcu/dp_dir


Locate and copy APPS_RCU_HOME/rcu/integration/fusionapps/export_

fusionapps_dbinstall.zip to the directory you specified for FUSIONAPPS_

DBINSTALL_DP_DIR.


Unzip export_fusionapps_dbinstall.zip to FUSIONAPPS_DBINSTALL_DP_DIR.


[oracle@fusion dp_dir]$ cd /app/fusion/provisioning/apps_rcu/dp_dir

[oracle@fusion dp_dir]$ unzip /app/fusion/provisioning/apps_rcu/rcu/integration/fusionapps/export_fusionapps_dbinstall.zip


Go to APPS_RCU_HOME/rcu/integration/biapps/schema and locate the

otbi.dmp file.

Copy otbi.dmp to FUSIONAPPS_DBINSTALL_DP_DIR (where you unzipped the

contents of export_fusionapps_dbinstall.zip).


[oracle@fusion dp_dir]$ cp -p ../rcu/integration/biapps/schema/otbi.dmp /app/fusion/provisioning/apps_rcu/dp_dir/


Launch Repository Creation Utility (RCU)


[oracle@fusion bin]$ cd /app/fusion/provisioning/apps_rcu/bin

[oracle@fusion bin]$ ./rcu

Click Next

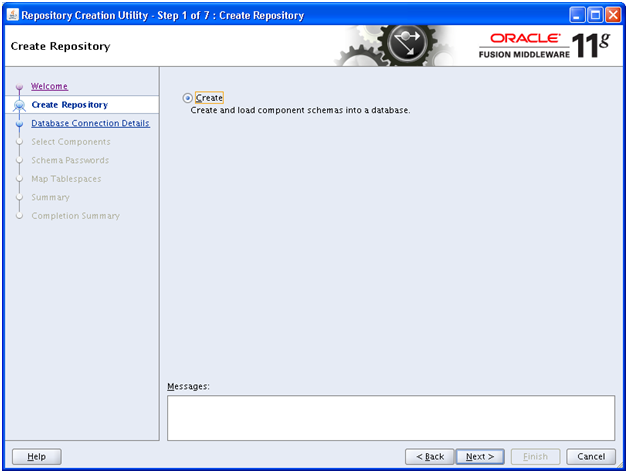
Click Next

Enter same details as entered while creating the database in previous step. Click Next

This screen will check pre-requisites. Click Ok once successful.

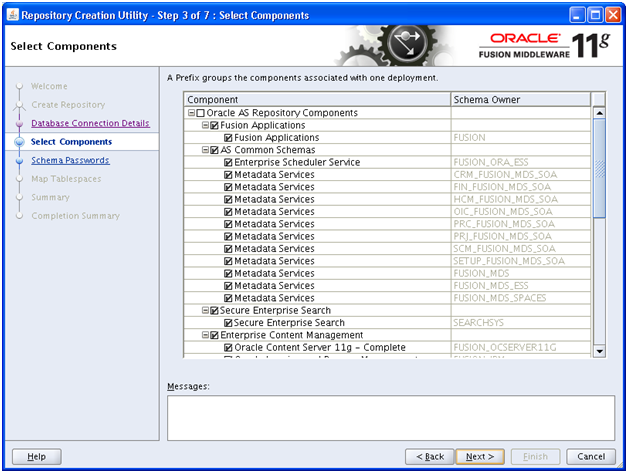
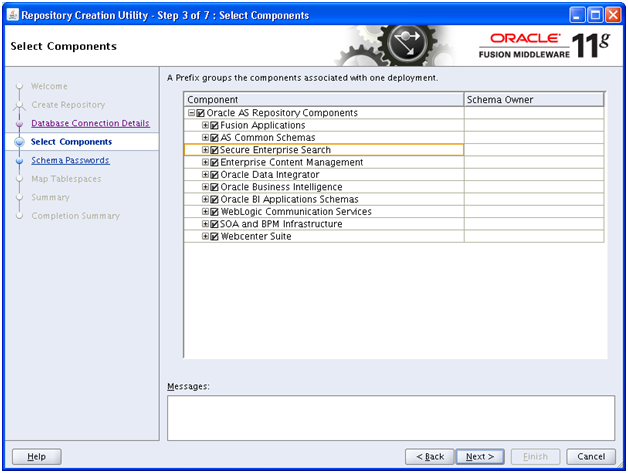
Select all components in this Window.

It will look as above when you collapse all parent values. Click Next


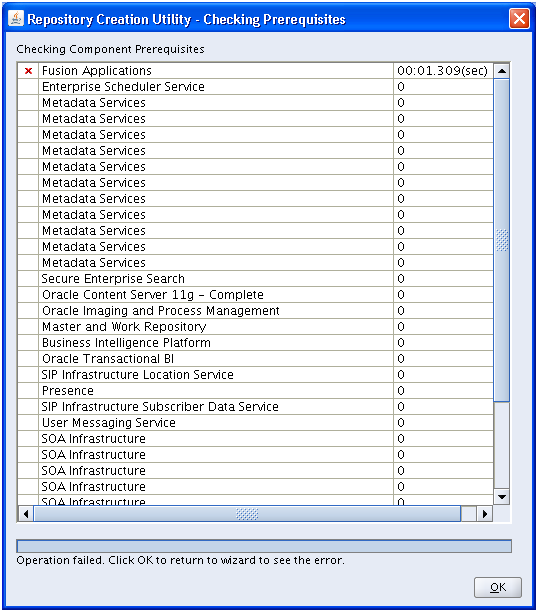
Important Note: If you had reduced SGA and PGA size after DB installation then this prerequisites check may fail with following error.

RCU-6083:Failed – Check prerequisites requirement for selected component:FUSIONAPPS

RCU-6107:DB Init Param Prerequisite failure for: pga_aggregate_target

Current Value is 2147483648. It should be greater than or equal to 4294967296.

RCU-6107:DB Init Param Prerequisite failure for: sga_target

Current Value is 2147483648. It should be greater than or equal to 9663676416.


To fix this issue, we need to modify the minimum requirement of SGA and PGA in installer pre-requisite config file located at /app/fusion/provisioning/apps_rcu/rcu/integration/fusionapps/fusionapps.xml


Change these values as follows.

<DBPrerequisite COMPARE_OPERATOR=”GE” DATA_TYPE=”NUMBER” PREREQ_TYPE=”InitParameter”>

<ValidIf DBTYPE=”ORACLE”/>

<PrereqIdentifier>sga_target</PrereqIdentifier>

<PrereqValue>2147483648</PrereqValue>

</DBPrerequisite>


<DBPrerequisite COMPARE_OPERATOR=”GE” DATA_TYPE=”NUMBER” PREREQ_TYPE=”InitParameter”>

<ValidIf DBTYPE=”ORACLE”/>

<PrereqIdentifier>pga_aggregate_target</PrereqIdentifier>

<PrereqValue>2147483648</PrereqValue>

</DBPrerequisite>


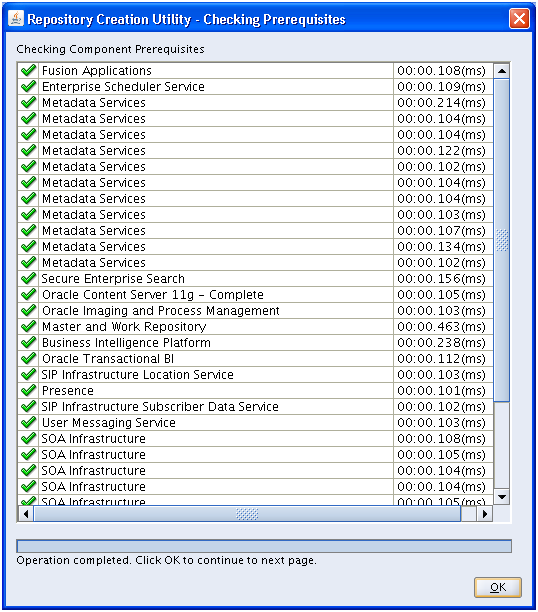
The prerequisites check should finish successfully. Click Ok


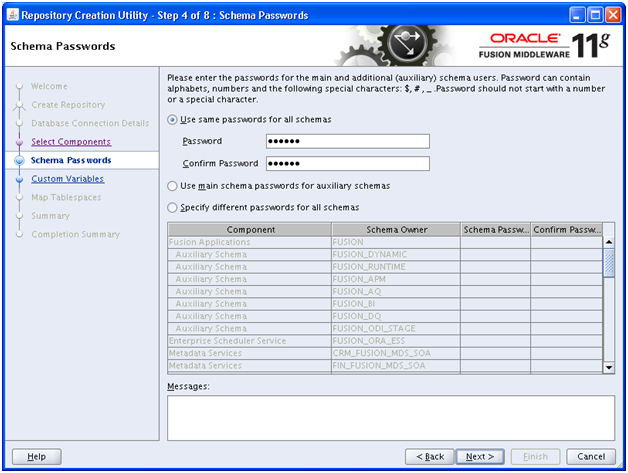
Enter same password Oracle123 for keeping it simplefor now. Click Next


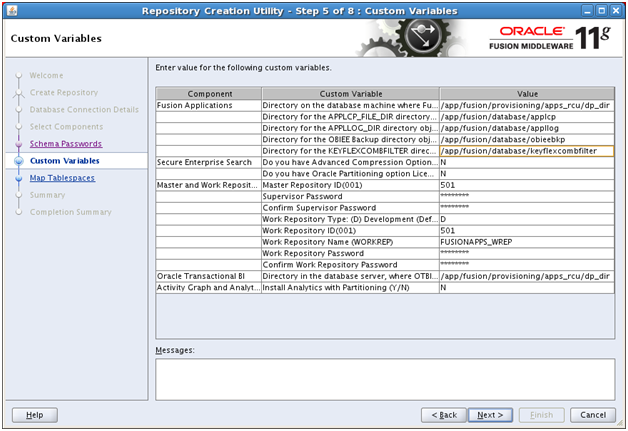
Open another terminal window. Create following directories for custom environment variables.

[oracle@fusion database]$ mkdir /app/fusion/database/applcp

[oracle@fusion database]$ mkdir /app/fusion/database/appllog

[oracle@fusion database]$ mkdir /app/fusion/database/keyflexcombfilter

[oracle@fusion database]$ mkdir /app/fusion/database/obieebkp


Specify these following values in the same screen under Fusion Applications Component (expect first value which is the temporary DP directory created before /app/fusion/provisioning/apps_rcu/dp_dir)


Supervisor Password: You must enter the same password you set up as ODI SUPERVISOR in Applications RCU. Since we kept all passwords as Oracle123, nothing much to remember. Enter the same password.

Work Repository Password: Default = None. You must enter the same password set up as ODI SUPERVISOR in Applications RCU.

Oracle Transactional BI

Directory on the database server where Oracle Transactional Business Intelligence import and export files are stored. Enter /app/fusion/provisioning/apps_rcu/dp_dir again.


Change nothing in this page. Click Next


Click OK


Now it will create the required tablespaces. Click OK


Once Tablespaces are created, next Summary screen will appear for creating the required Schemas. Click Create


It may take a couple of hours or even more based on the available memory and CPU for the VM and host machine.


Once finished, a completion summary screen will appear. It will show details for each components and completion states. Click Close

Next: Running Repository Creation Utility (RCU) for Oracle Identity Management components

Installing Oracle Fusion Applications – steps

  1. Installing Fusion Applications Provisioning Framework
  2. Installing Oracle 11g Database (Applications Transactional Database)
  3. Running Oracle Fusion Applications Repository Creation Utility (Applications RCU)
  4. Creating another database for Oracle  Identity Management Infrastructure (optional)
  5. Running Repository Creation Utility (RCU) for Oracle Identity Management components
  6. Installing Oracle Identity and Access Management Components
  7. Configuring Oracle Identity and Access Management components
  8. Integrate Oracle Identity Manager (OIM) and Oracle Access Manager (OAM)
  9. Creating a New Provisioning Plan
  10. Provisioning an Applications Environment
Installing Transactional Database

Oracle Fusion Applications Installation: Installing Transactional Database

Previous: Installing Fusion Applications Provisioning Framework

Important Note: This is OLD guide for old version 11.1.1.5. Please follow instructions at http://www.oratraining.com/blog/2012/12/oracle-fusion-applications-installation-step-by-step-guide-11-1-5/ for latest guide for current version i.e. 11.1.5


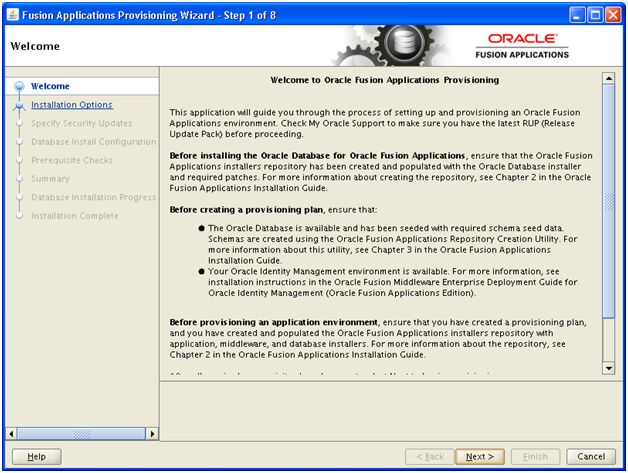
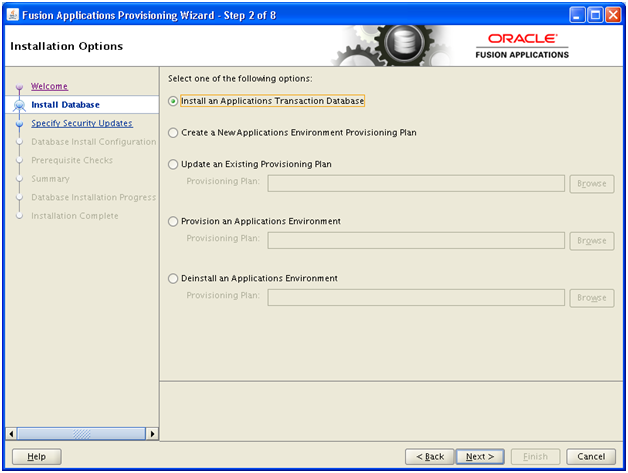
To install Applications Transactional Database we need to run Oracle Fusion Applications Provisioning Wizard from <framework_location>/provisioning/bin

<framework_location> is same what we mentioned in previous post. i.e. /app/fusion

[oracle@fusion $ cd /app/fusion/provisioning/bin

We need to temporarily set JAVA_HOME to jdk6 directory shipped with the installation media

[oracle@fusion bin]$ export JAVA_HOME=/mnt/fusion/jdk6

[oracle@fusion bin]$ ./provisioningWizard.sh

Click Next

Click Next

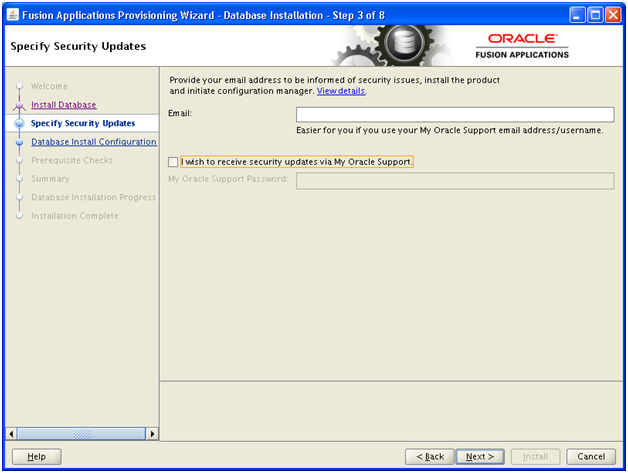
Deselect security updates notification. Click Next

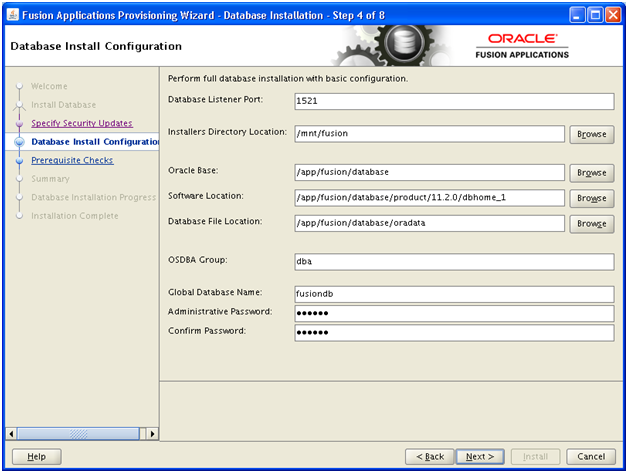
Provide database listener port (default is 1521, if you change this port please note to enter the new port in future screens where we have mentioned 1521)

Installer directory location will be the same as you created the stage setup or provisioning repository.

Provide a location for Oracle Base. Press TAB, next values should automatically be populated, if not, go back and click next again.

Enter dba as OSDBA group.

We have specified “fusiondb” as our database name. please note that if you are using any other name then don’t forget to change it in further screens whenever we have mentioned fusiondb.

Try to keep something like “Oracle123” for all passwords so that it will follow requirements for all further passwords and it will be easier for you to remember all passwords in further installations.

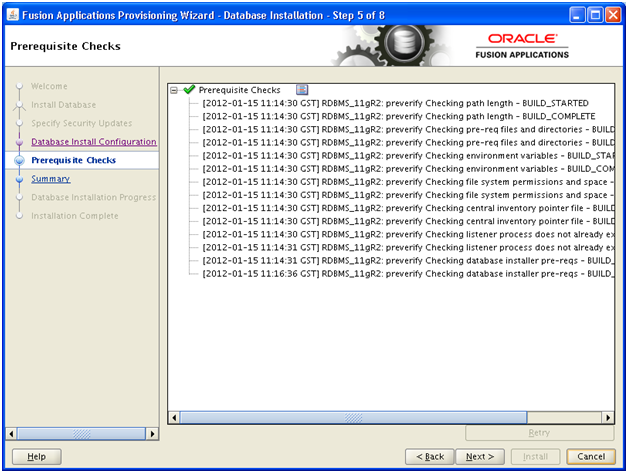
Next it will finish the pre-requisite checks. Click Next

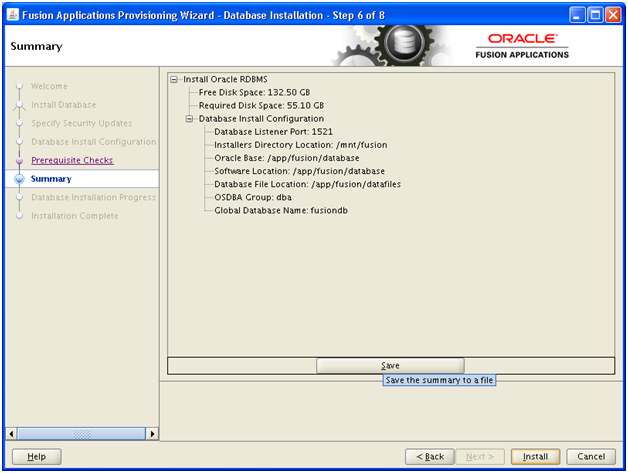
On next page, you can Save the summary. Click Install to start the installation.

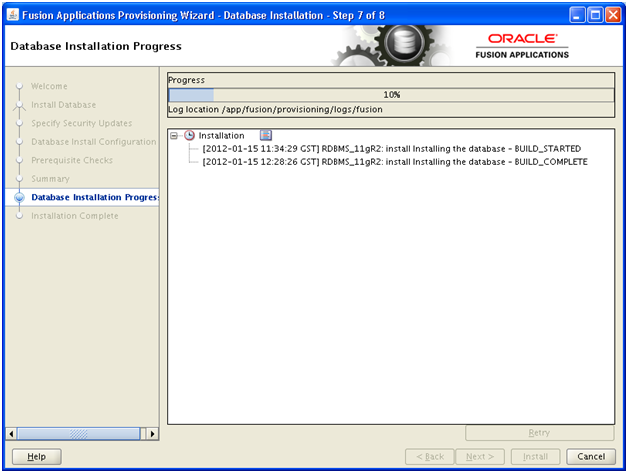
Note: This will install the software as well as create a database named “fusiondb” which we provided earlier.

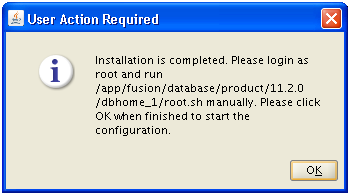
At this point it will prompt for running root.sh as root user.


Do not press Ok until run the following as root user in separate terminal window. Once following is executed, press Ok to continue.


[root@fusion ~]# /app/fusion/database/product/11.2.0/dbhome_1/root.sh

Check /app/fusion/database/product/11.2.0/dbhome_1/install/root_fusion_2012-01-1 5_12-29-28.log for the output of root script

[root@fusion ~]# tail -f /app/fusion/database/product/11.2.0/dbhome_1/install/root_fusion_2012-01-15_12-29-28.log

The following environment variables are set as:

ORACLE_OWNER= oracle

ORACLE_HOME= /app/fusion/database/product/11.2.0/dbhome_1


Creating /etc/oratab file…

Entries will be added to the /etc/oratab file as needed by

Database Configuration Assistant when a database is created

Finished running generic part of root script.

Now product-specific root actions will be performed.

Finished product-specific root actions.


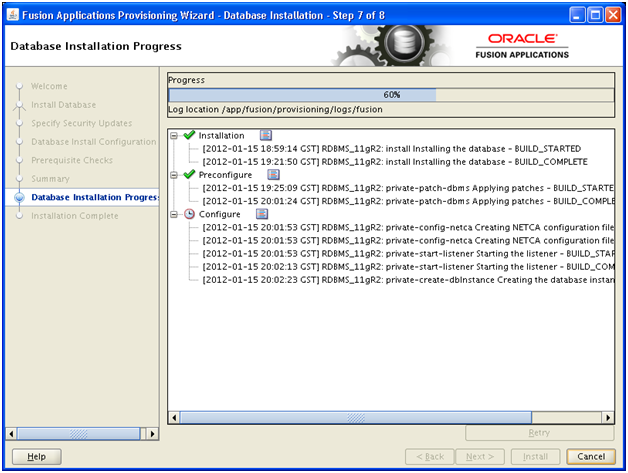
It may take a few hours (at least on a non-high end host machine) and then installation will finish.

Important Note: After installation is finished we reduced the SGA and PGA (from 10GB to 2GB). We are doing this since we are running on a VM and have allocated total 2.5 or 3 GB RAM only. This is not recommended for production installation but since this is only a demo/development installation, you can safely do this. If you wish to keep it 10GB you can do it but this will increase the swap usage exponentially.

Since we are reducing the size of SGA and PGA, next step (RCU) may fail in pre-requisite check. So we will need to change the pre-req check xml file to look for lower value. We will explain this in next post.

Next:  Running Oracle Fusion Applications Repository Creation Utility (Applications RCU)

Installing Oracle Fusion Applications – steps

  1. Installing Fusion Applications Provisioning Framework
  2. Installing Oracle 11g Database (Applications Transactional Database)
  3. Running Oracle Fusion Applications Repository Creation Utility (Applications RCU)
  4. Creating another database for Oracle  Identity Management Infrastructure (optional)
  5. Running Repository Creation Utility (RCU) for Oracle Identity Management components
  6. Installing Oracle Identity and Access Management Components
  7. Configuring Oracle Identity and Access Management components
  8. Integrate Oracle Identity Manager (OIM) and Oracle Access Manager (OAM)
  9. Creating a New Provisioning Plan
  10. Provisioning an Applications Environment