Recommended Browsers for Oracle E-Business Suite Release 12

Recommended Browsers for Oracle E-Business Suite Release 12

Note: This post is updated as on 24 December 2013. For latest list please refer to Oracle Support note 389422.1

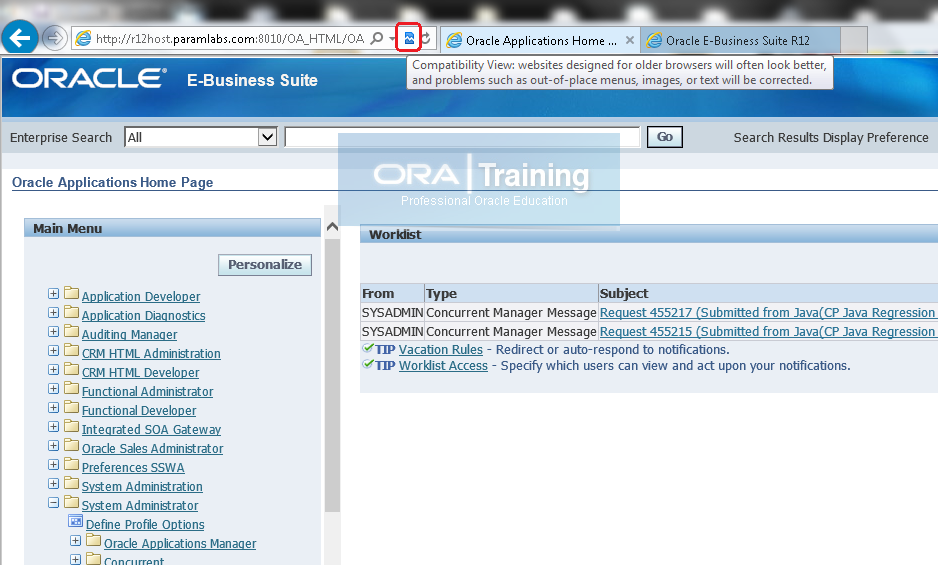
Please note that at the moment you may need to enable “Compatibility View” in Internet Explorer 10 for eBusiness suite R12.2 to display properly.

IE10-compatibility-view

Also for Firefox you might need to manually install and enable the Java Add-on since latest Firefox might block the plug-in.

Certification Matrix for Internet Explorer (64-bit) Browsers

Browser
Version

Windows 8 (Desktop Mode)
(64-bit)

Windows 7
(64-bit)

IE 10 (64-bit)

JRE 1.6.0_37 (64-bit) and higher
JRE 1.7.0_10 (64-bit) and higher

JRE 1.6.0_32 (64-bit) and higher
JRE 1.7.0_10 (64-bit) and higher

IE 9 (64-bit)

Not Certified

JRE 1.6.0_32 (64-bit) and higher
JRE 1.7.0_10 (64-bit) and higher

IE 8 (64-bit)

Not Certified

JRE 1.6.0_32 (64-bit) and higher
JRE 1.7.0_10 (64-bit) and higher

Certification Matrix for Internet Explorer (32-bit) Browsers

Browser
Version

Windows 8 (Desktop Mode)
(32-bit & 64-bit)

Windows 7
(32-bit & 64-bit)

Windows Vista
(32-bit)

Windows XP
(32-bit)

IE 10

JRE 1.6.0_37 and higher
JRE 1.7.0_10 and higher

JRE 1.6.0_03 and higher
JRE 1.7.0_10 and higher

Not Certified

Not Certified

IE 9

Not Certified

JRE 1.6.0_03 and higher
JRE 1.7.0_10 and higher

JRE 1.6.0_03 and higher
JRE 1.7.0_10 and higher

Not Certified

IE 8

Not Certified

JRE 1.6.0_03 and higher
JRE 1.7.0_10 and higher

JRE 1.6.0_03 and higher
JRE 1.7.0_10 and higher

JRE 1.6.0_03 and higher
JRE 1.7.0_10 and higher

IE 7

Not Certified

Not Certified

JRE 1.6.0_03 and higher
JRE 1.7.0_10 and higher

JRE 1.6.0_03 and higher
JRE 1.7.0_10 and higher

IE 6

Not Certified

Not Certified

Not Certified

JRE 1.6.0_03 and higher
JRE 1.7.0_10 and higher

Certification Matrix for Firefox (32-bit) browsers

Browser Version

Windows 8 (Desktop Mode)
(32-bit & 64-bit)

Windows 7
(32-bit & 64-bit 1)

Windows Vista
(32-bit)

Windows XP
(32-bit)

Firefox ESR 24.x

JRE 1.6.0_37 and higher
JRE 1.7.0_10 and higher

JRE 1.6.0_10 and higher
JRE 1.7.0_10 and higher

JRE 1.6.0_10 and higher
JRE 1.7.0_10 and higher

JRE 1.6.0_10 and higher
JRE 1.7.0_10 and higher

Firefox ESR 17.x

JRE 1.6.0_37 and higher
JRE 1.7.0_10 and higher

JRE 1.6.0_10 and higher
JRE 1.7.0_10 and higher

JRE 1.6.0_10 and higher
JRE 1.7.0_10 and higher

JRE 1.6.0_10 and higher
JRE 1.7.0_10 and higher

Firefox ESR 10.x

Not Certified

JRE 1.6.0_10 and higher
JRE 1.7.0_10 and higher

JRE 1.6.0_10 and higher
JRE 1.7.0_10 and higher

JRE 1.6.0_10 and higher
JRE 1.7.0_10 and higher

Firefox 3.6.x

Not Certified

JRE 1.6.0_10 and higher

JRE 1.6.0_10 and higher

JRE 1.6.0_10 and higher

Firefox 3.5.x

Not Certified

JRE1.6.0_03 and higher (Win 7 32-bit)
Not Certified (Win 7 64-bit)

JRE1.6.0_03 and higher

JRE1.6.0_03 and higher

Firefox 3.0.x

Not Certified

Not Certified

JRE1.6.0_03 and higher

JRE1.6.0_03 and higher

Dec 24th, 2013 | Posted by Tushar Thakker | Filed under Uncategorized

Oracle E-Business suite 12.2.3 RUP available now

Oracle has announced availability of E-Business suite 12.2.3 today. It can be downloaded from here or here

Please note that the edelivery site is still having the previous version of startCD (12.2.0.46) instead of 12.2.0.47 as mentioned in 12.2.3 RUP. If you want to download 12.2.0.47 startCD then you can download as Patch 17445880: RAPID INSTALL STARTCD 12.2.0.47

As per Oracle following are the features of the latest release.

User Experience Modernization: With 12.2.3, the Oracle E-Business Suite incorporates current UI design trends and improves user productivity by including:

New look and feel: appears lighter and fresher, with flat rather than dimensional elements, reduced gradients, and white or light colors with splashes of darker color.

Rich table interaction: allows an end user to scroll through a table if its width exceeds the browser’s width, detach a table and work with it as a separate component with a wider width, and re-size and reorder table columns that an end user can then save as a user personalization.

Worklist header icon: displays by default in all HTML-based pages, the worklist header icon is an alternative to including a worklist region in the Oracle E-Business Suite home page. Users can select the icon to view a summarized list of recent notifications, then click to view and respond to notification details.

Dec 17th, 2013 | Posted by Tushar Thakker | Filed under Uncategorized

Create Fusion Applications Response File

Installing Oracle Fusion Applications > Setting up Fusion Applications Node > Create Fusion Applications Response File

Previous: Run Oracle Fusion Applications Repository Creation Utility (Applications RCU)

Pro Oracle Fusion Applications – Installation and Administration

Now you can buy the first and only comprehensive book on Oracle Fusion Applications Installation and Administration which covers end to end information on introduction, planning, installation and troubleshooting guides for implementing Fusion Applications on premise. Buy it now from any of the following stores.

http://www.amazon.com/Pro-Oracle-Fusion-Applications-Administration/dp/1484209842

http://www.barnesandnoble.com/w/pro-oracle-fusion-applications-tushar-thakker/1121094340

http://www.apress.com/9781484209844

http://www.springer.com/us/book/9781484209844

In order to create a new fusion applications Response File we should launch the provisioning wizard again from <framework_location>/bin

<framework_location> is same what we mentioned in previous post. i.e. /app/fusion/provisioning


Note: The step which was earlier called “Provisioning Plan” is now called “Response File” since last few releases.


[fusion@fahost ~]$ export JAVA_HOME=/app/fusion/jdk6

[fusion@fahost ~]$ cd /app/fusion/provisioning/bin

[fusion@fahost bin]$ ./provisioningWizard.sh &


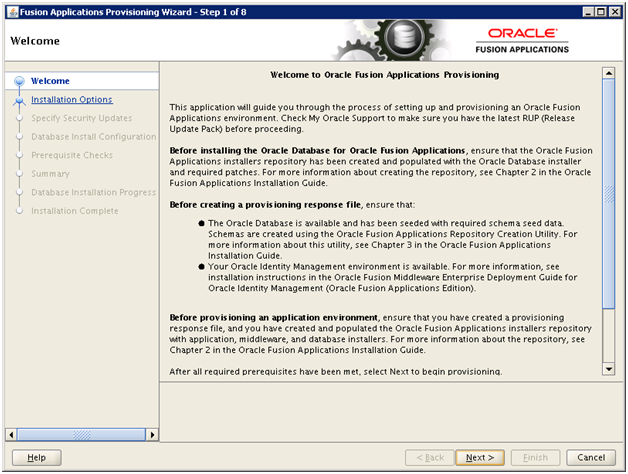
Click Next

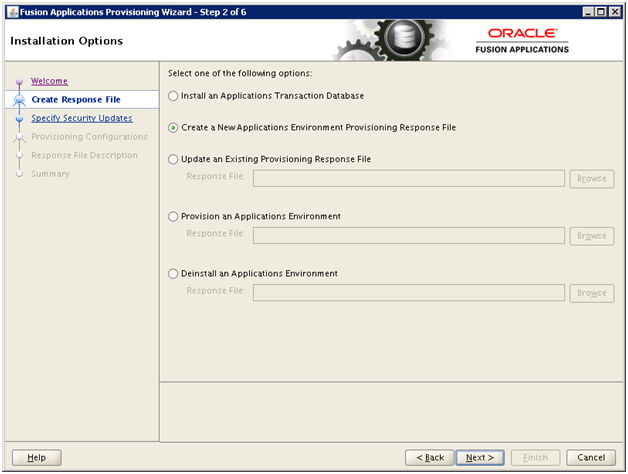
Select “Create a New Applications Environment Provisioning Response File” and click Next


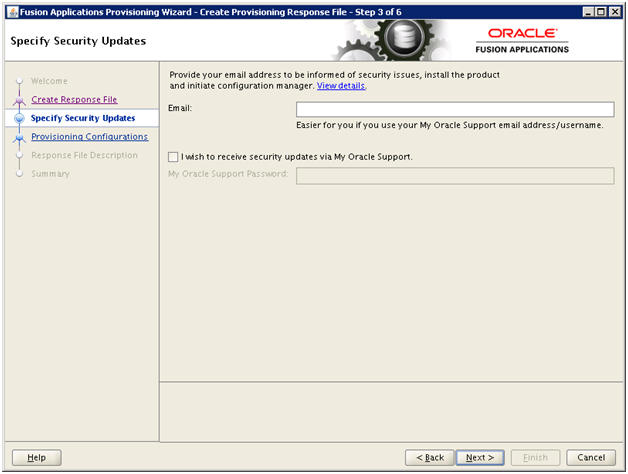
Select email preference and click Next


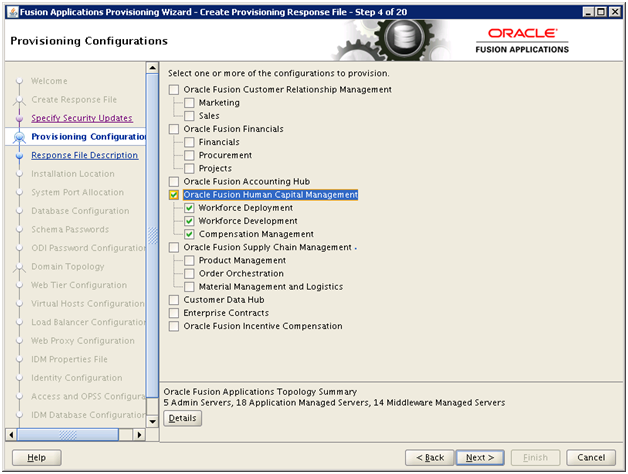
Select the required product to be provisioned. Please note that as on today, you cannot add any new product family after provisioning due to architecture limitation of Fusion Apps.

For more details on this, please look at our following earlier post.

http://www.oratraining.com/blog/2013/01/addingprovisioning-new-moduleoffering-in-already-provisioned-fusion-applications-environment/


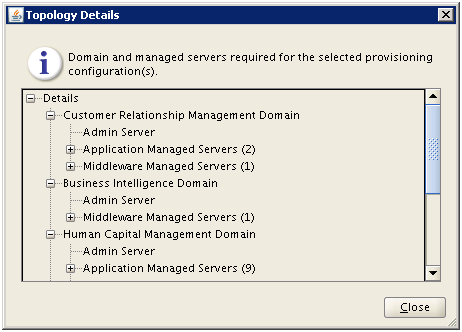
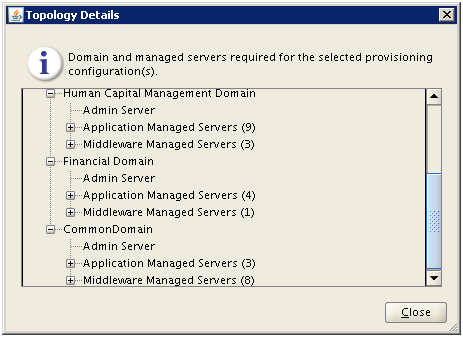
You can also click Details to see how many managed servers are being configured as part of this offering.

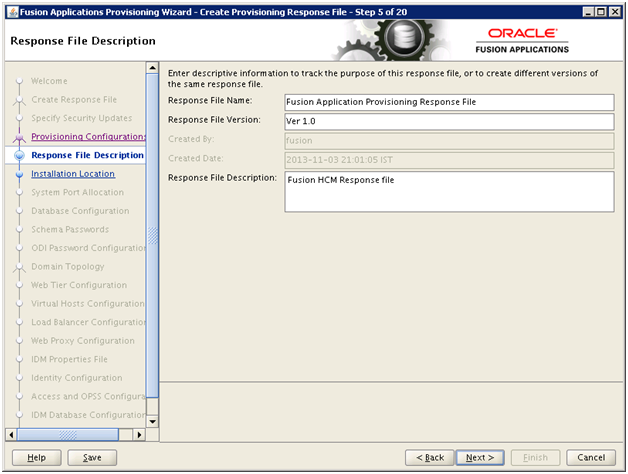
Enter response file name and description and click Next

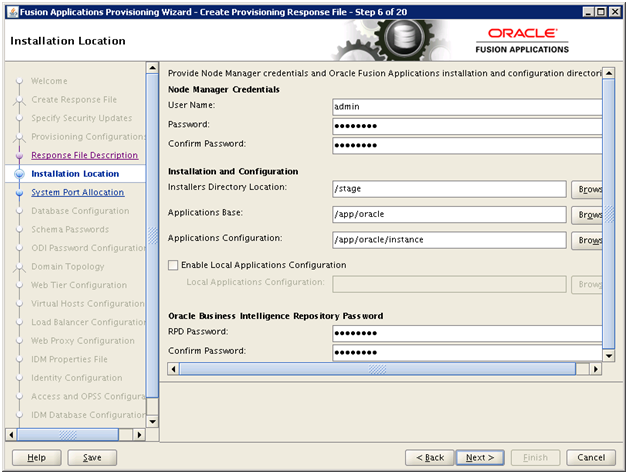
Select a username and password for Node Manager.

Enter the repository source location in Installers directory.

Select Application Base as /app/oracle and let other field be populated automatically.


Select a password for BI repository. We entered Oracle123.

Click Next

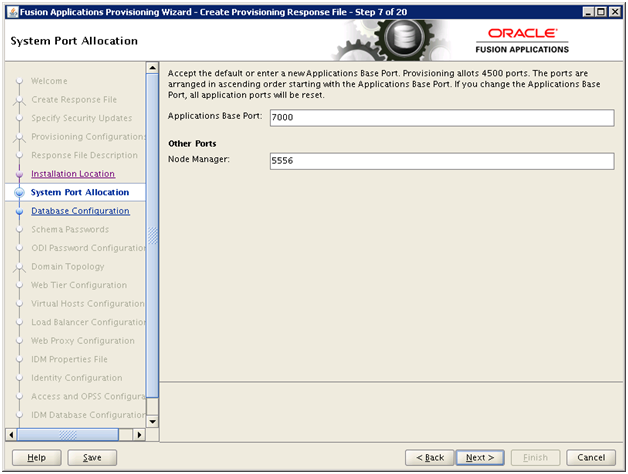
Review the ports and click Next

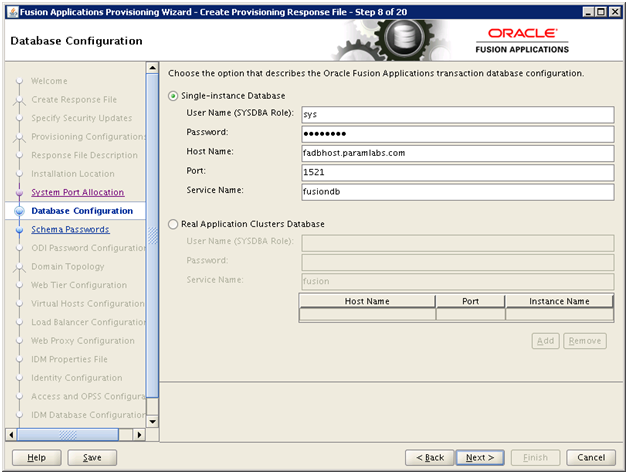
Enter details of “Fusion” database (installed in previous steps) here. Click Next

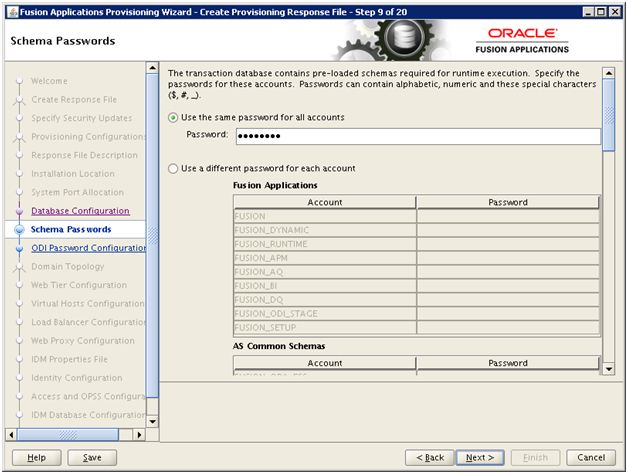
Enter same password for all accounts. e.g. Oracle123 and click Next

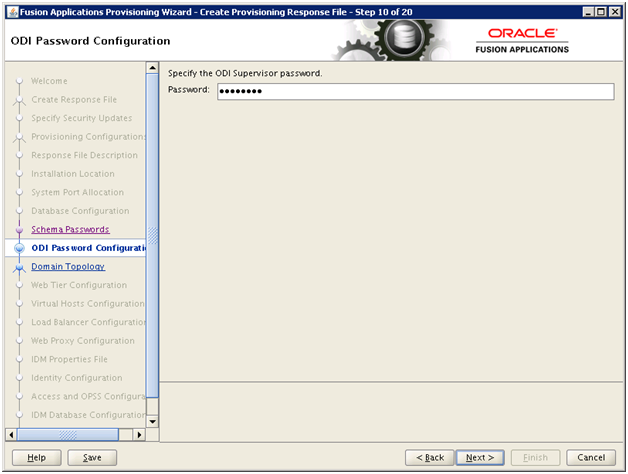
Enter ODI Supervisor account password. Click Next

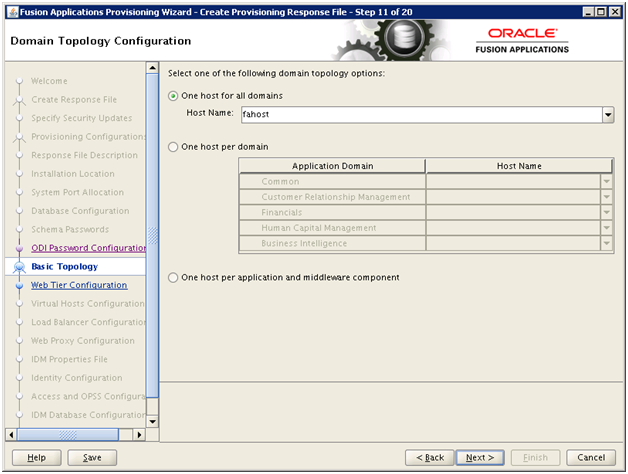
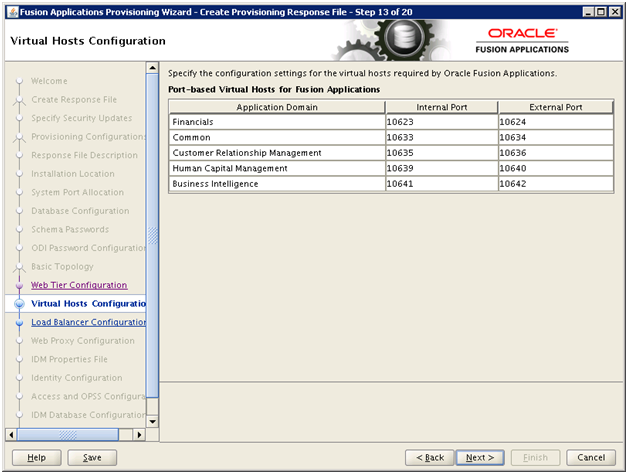
Let’s keep single node “fahost” for our installation. Click Next

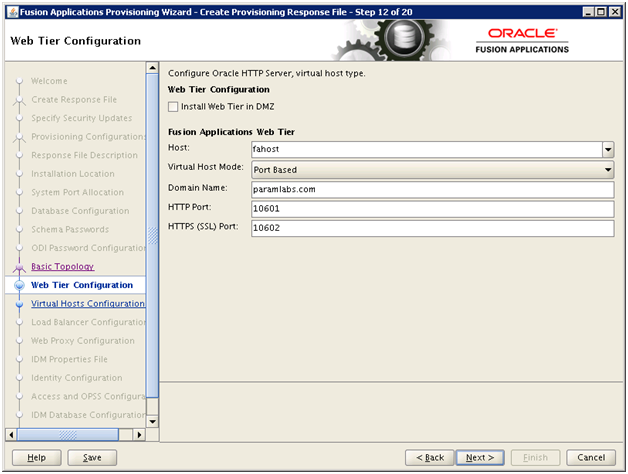
Enter hostname as “fahost” and appropriate domain name.

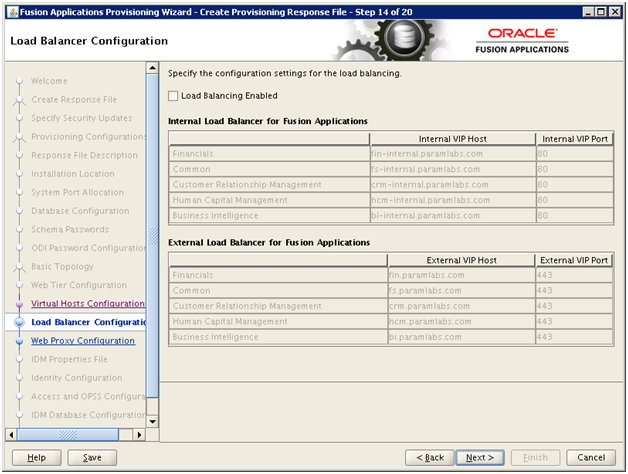
Since we are not using any load balancer names, we will keep the virtual host mode only port based.

Click Next

Review the screen and click Next

Click Next

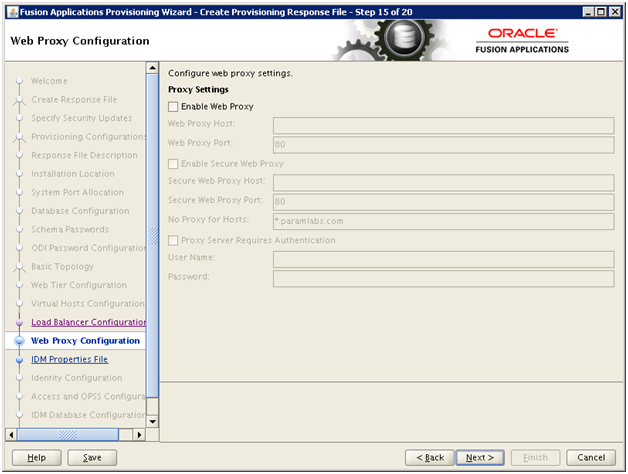
Click Next

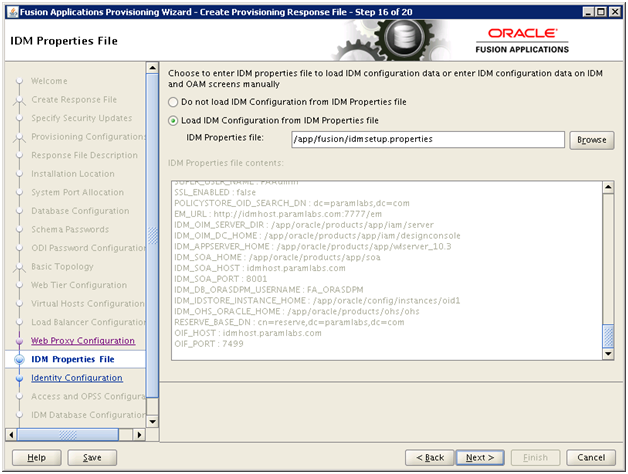
We need to copy the idmsetup.properties file from IDM node to FA node in order to automatically populate next screens.


[fusion@fahost bin]$ cd /app/fusion/

[fusion@fahost fusion]$ scp fusion@idmhost:/app/oracle/config/fa/idmsetup.properties .


Browse for this file once transfer is complete and click Next

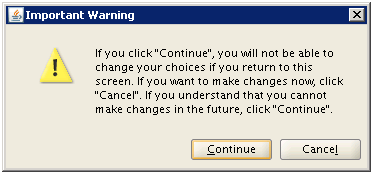
Click Continue

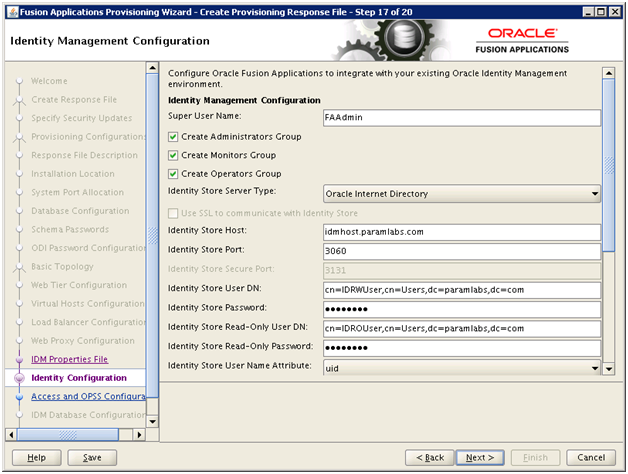
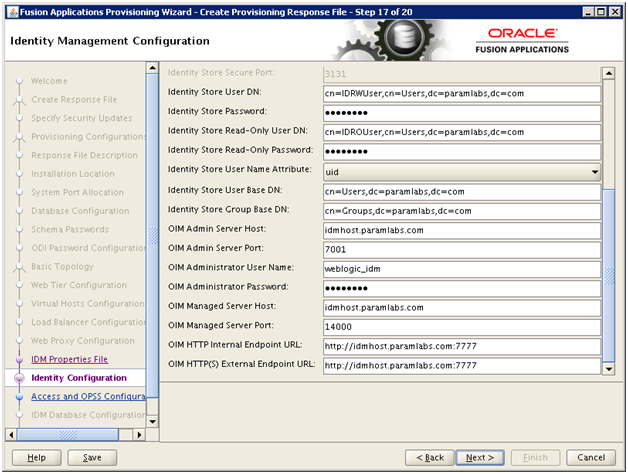
Most of the values will be populated here.

Select the 3 checkboxes and enter required passwords.

Enter required passwords and external endpoint URL if different, otherwise enter same. Click Next

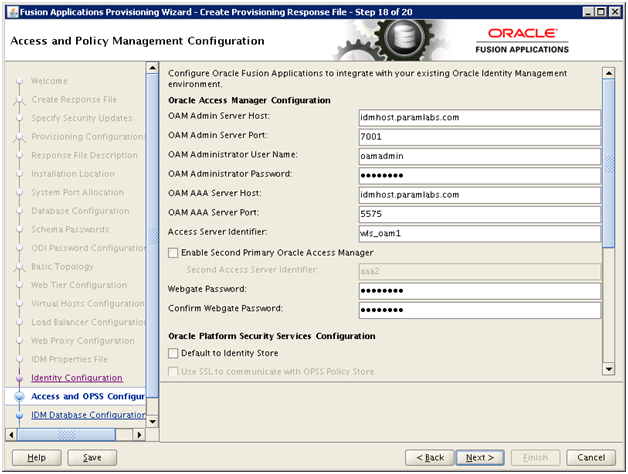
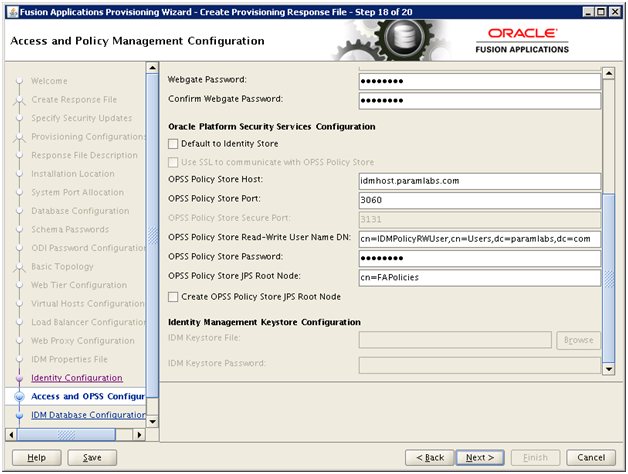
Enter the passwords and verify the details which are automatically populated from the parameter file. Click Next

Make sure NOT to check the “Create OPSS Policy Store JPS Root Node” as we were doing in previous releases since here it is already created. Click Next

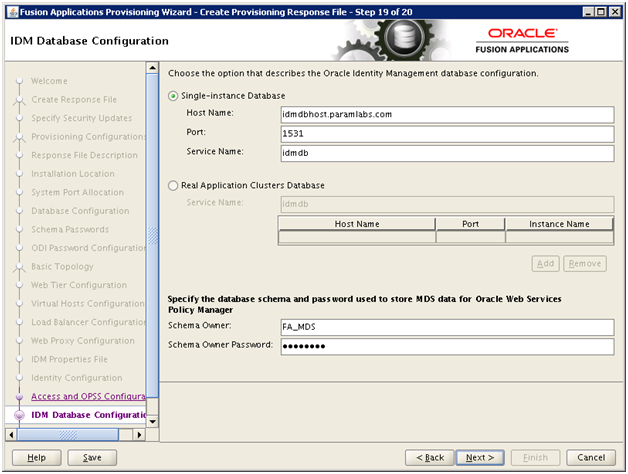
Enter details of IDM database here. Make sure to change the schema owner name to FA_MDS.


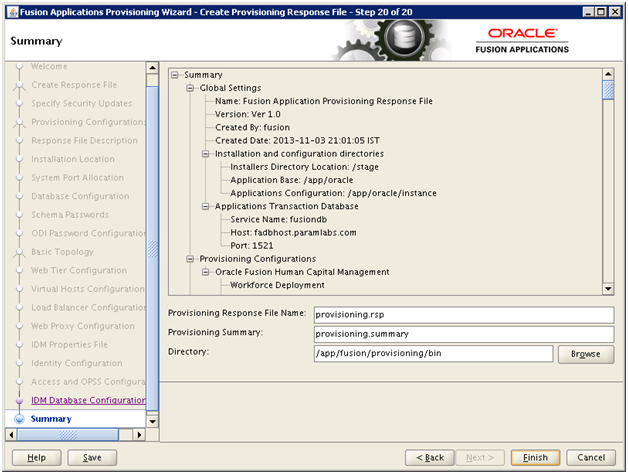
Review the summary and click Finish.


Make a backup of the response file and the summary file if needed.


[fusion@fahost fusion]$ cd /app/fusion/provisioning/bin/

[fusion@fahost bin]$ cp -pr provisioning.rsp provisioning.rsp.bak

[fusion@fahost bin]$ cp -pr provisioning.summary provisioning.summary.bak


Next: Provision an Applications Environment


Installing Oracle Fusion Applications – steps

A. Setting up Identity and Access Management Node

1. Install Fusion Applications Provisioning Framework

2. Install Oracle 11g Database (Identity management database)

3. Run Repository Creation Utility (RCU) for Oracle Identity Management components

4. Install Identity Management Provisioning Wizard

5. Create IDM provisioning Response File

6. Provision Identity Management

7. Perform Post-Provisioning Configuration

B. Setting up Fusion Applications Node

1. Install Fusion Applications Provisioning Framework

2. Install Oracle 11g Database (Fusion Apps Database)

3. Run Oracle Fusion Applications Repository Creation Utility (Applications RCU)

4. Create new Applications Provisioning Response File

5. Provision an Applications Environment

Nov 3rd, 2013 | Posted by Tushar Thakker | Filed under Uncategorized