Provision an Applications Environment
Installing Oracle Fusion Applications > Setting up Fusion Applications Node > Provision an Applications Environment
Previous: Create new Applications Provisioning Response File
Pro Oracle Fusion Applications – Installation and Administration
Now you can buy the first and only comprehensive book on Oracle Fusion Applications Installation and Administration which covers end to end information on introduction, planning, installation and troubleshooting guides for implementing Fusion Applications on premise. Buy it now from any of the following stores.
http://www.amazon.com/Pro-Oracle-Fusion-Applications-Administration/dp/1484209842
http://www.barnesandnoble.com/w/pro-oracle-fusion-applications-tushar-thakker/1121094340
Preparing for Provisioning
We will need following libraries in the repository installers webgate directory. Let’s make sure if we have the required libraries. The output of all these should be more than 0.
[fusion@fahost bin]$ strings -a /lib64/libgcc_s.so.1 | grep -v .GCC_3.3.1. | grep -c “GCC_3.3”
2
[fusion@fahost bin]$ strings -a /lib64/libgcc_s.so.1 | grep -c “GCC_3.0”
1
[fusion@fahost bin]$ strings -a /lib64/libgcc_s.so.1 | grep -c “GCC_4.2.0”
1
[fusion@fahost bin]$ strings -a /lib64/libgcc_s.so.1 | grep -v “GCC_3.3.1” | grep -c “GCC_3.3”
1
[fusion@fahost bin]$ file -L /lib64/libgcc_s.so.1 | grep “64-bit” | grep -c “x86-64”
1
[fusion@fahost bin]$ file -L /usr/lib64/libstdc++.so.6 | grep “64-bit” | grep -c “x86-64”
1
Keep local copy of the libraries as well (optional)
[fusion@fahost bin]$ mkdir /app/fusion/oam_lib
[fusion@fahost bin]$ cp -p /lib64/libgcc_s.so.1 /app/fusion/oam_lib/
[fusion@fahost bin]$ cp -p /usr/lib64/libstdc++.so.6 /app/fusion/oam_lib/
[fusion@fahost bin]$ cp -p /usr/lib64/libstdc++.so.5 /app/fusion/oam_lib/
Copy the files in repository installers/webgate directory.
[fusion@fahost bin]$ cp -pr /app/fusion/oam_lib/* /stage/installers/webgate/
[fusion@fahost bin]$ ls -ltr /stage/installers/webgate/
total 1820
-rwxrwxrwx 1 root root 2480 Mar 3 2013 Labels.txt
drwxrwxrwx 1 root root 0 Oct 24 03:01 Disk1
drwxrwxrwx 1 root root 0 Oct 24 03:01 patch
-rwxrwxrwx 1 root root 58400 Oct 27 14:51 libgcc_s.so.1
-rwxrwxrwx 1 root root 825400 Oct 27 14:51 libstdc++.so.5
-rwxrwxrwx 1 root root 976312 Oct 27 14:51 libstdc++.so.6
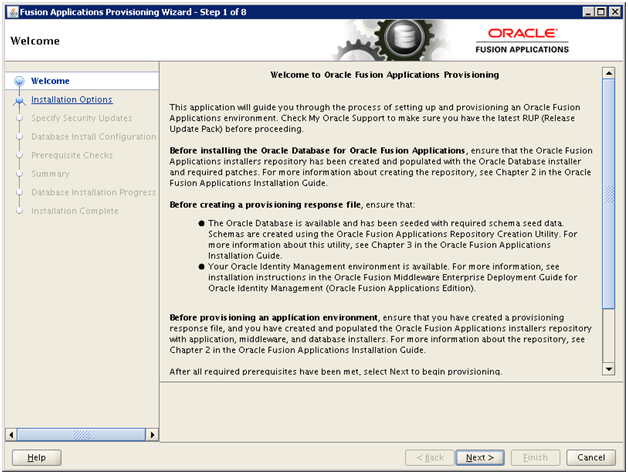
Start Fusion Applications Provisioning
Launch the installer from <provisioning_repository>/bin
It is important to start it with “-ignoreSysPrereqs true” switch
[fusion@fahost bin]$ cd /app/fusion/provisioning/bin/
[fusion@fahost bin]$ ./provisioningWizard.sh -ignoreSysPrereqs true &
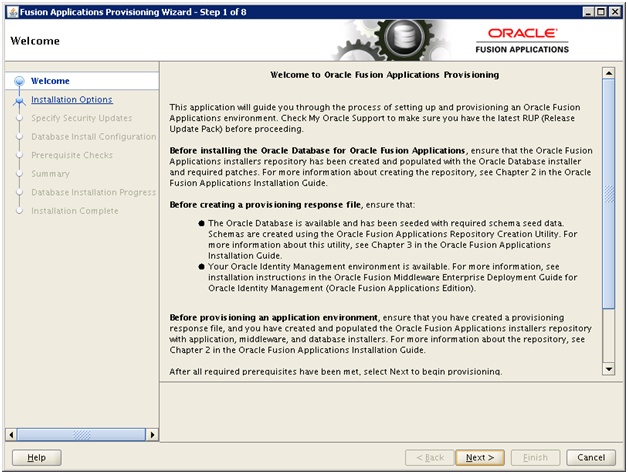
Click Next
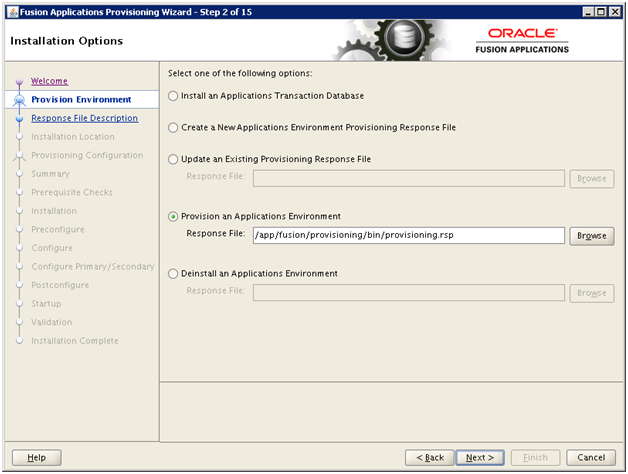
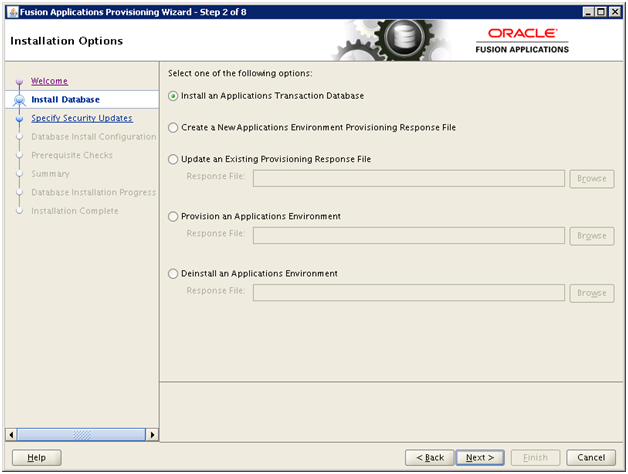
Select “Provision an Applications Environment” and browse for the response file created in last step. Click Next

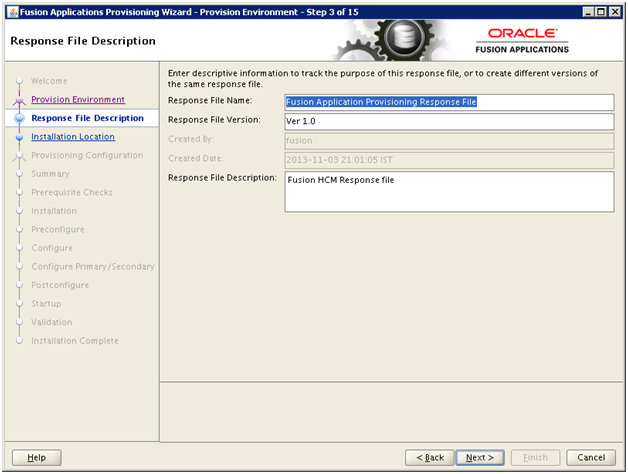
Review and click Next
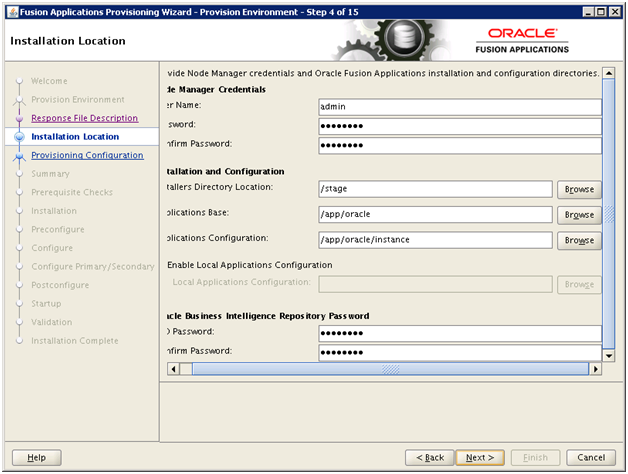
Validate the information and click Next
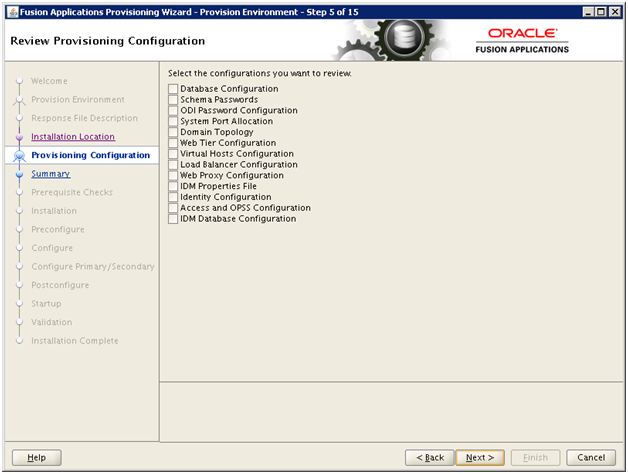
In case if you want to revisit some of the section in the Response File then you can do so here. Click Next
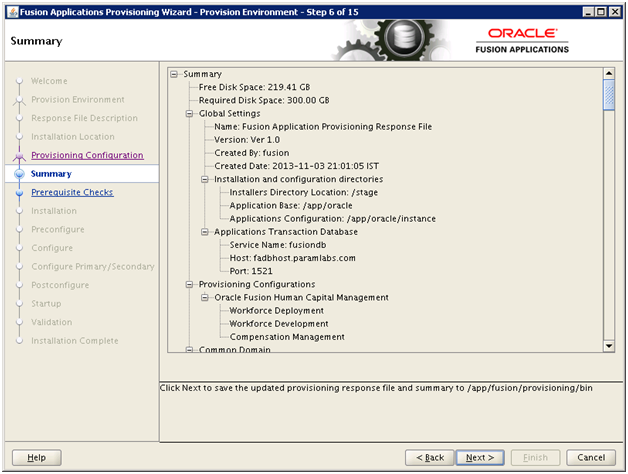
Review the summary and click Next to begin. Good luck J
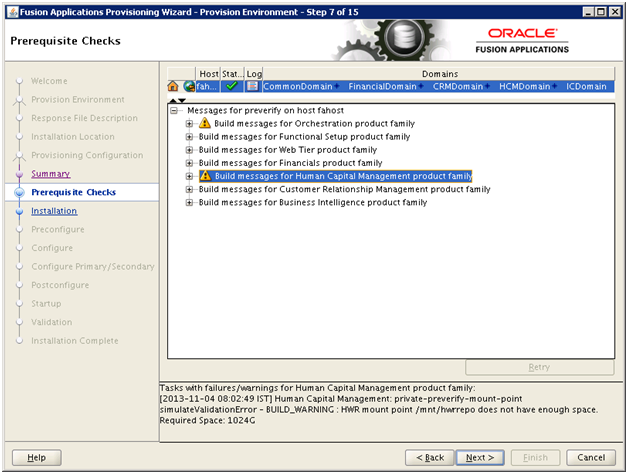
You can ignore the warning about HWR mount point size (1024GB). Click Next
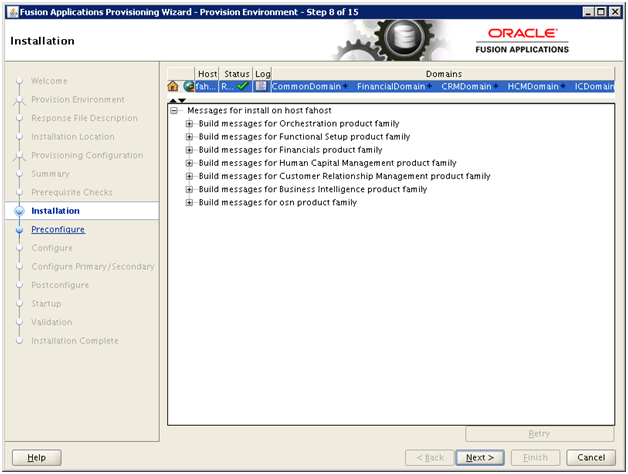
Installation takes a few hours on entry level systems. Click Next once finished
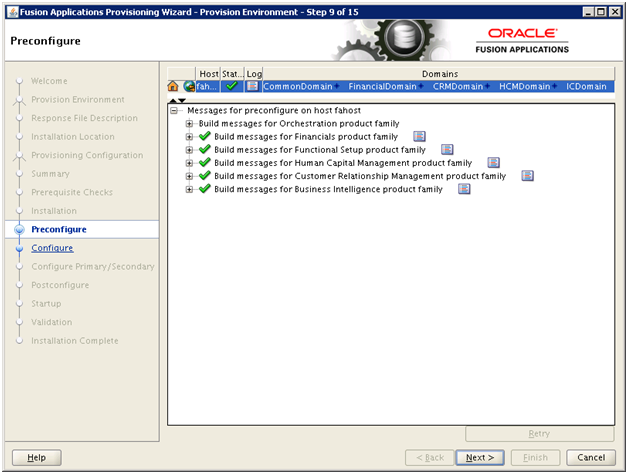
Preconfigure shall finish maximum within an hour. Click Next once finished
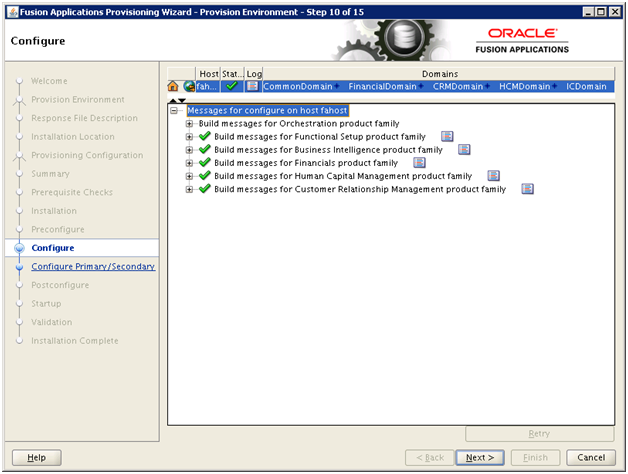
Configure takes a few hours. Click Next once finished
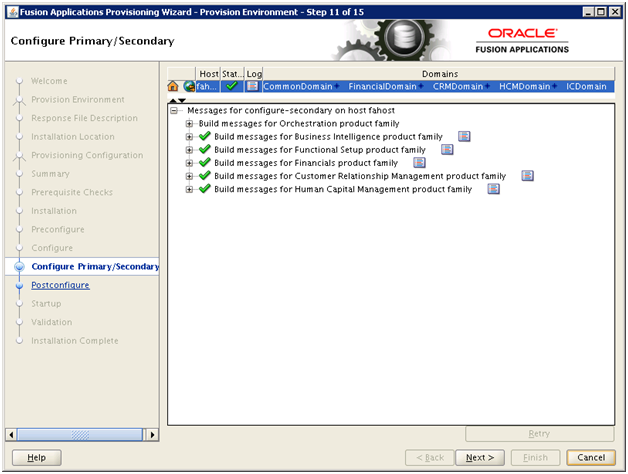
Configure Primary/Secondary may take a few minutes. Click Next
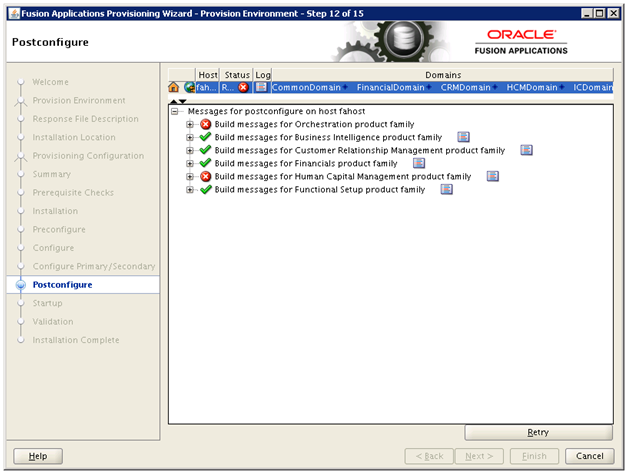
Postconfigure phase takes very long time. Do not panic if you see errors during this phase since most of the errors are transient and can be fixed upon rerunning based on the error. You can see that HCM postconfigure failed and the error was related to timeout during high CPU activity.
We can rerun the phase by clicking on Retry and it will do cleanup/resotre to previous step (only for the failed product domains).
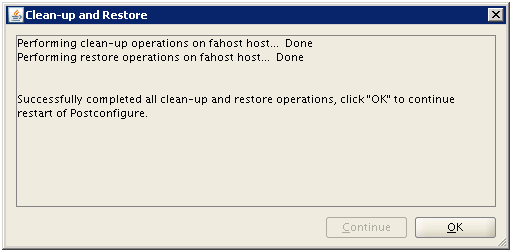
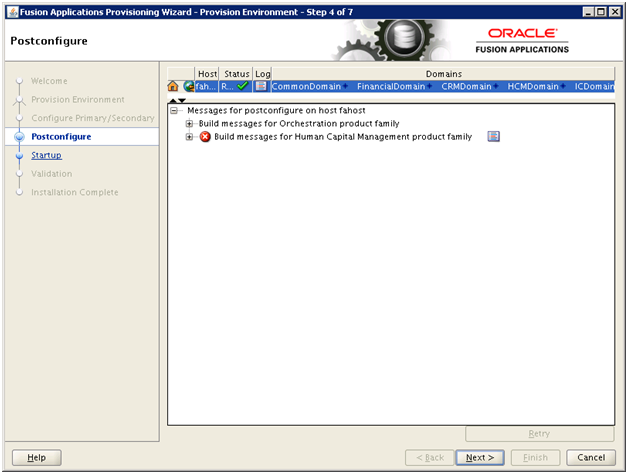
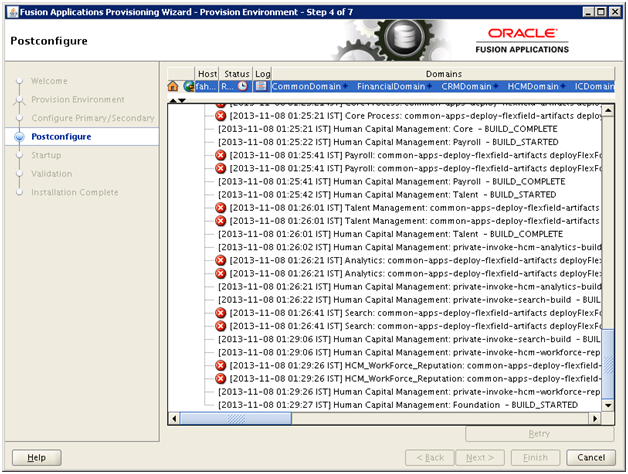
Here you can see the despite you see a red corss mark against HCM and still it is successful. This is due to following flexfield related errors which are not actually “errors” but the provisioning wizard incorrectly shows them as red mark. This does not affect the phase at all and installation continues.
Here is an example of the same. This may or may not occur during your installation.
Let’s go back to our postconfigure screen.
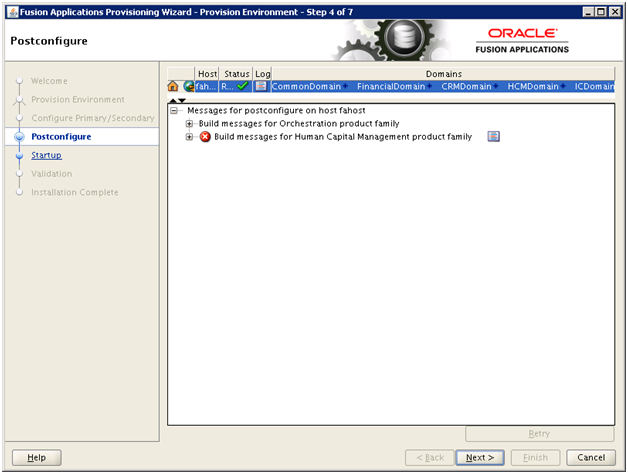
Click Next to start the “Startup” phase.
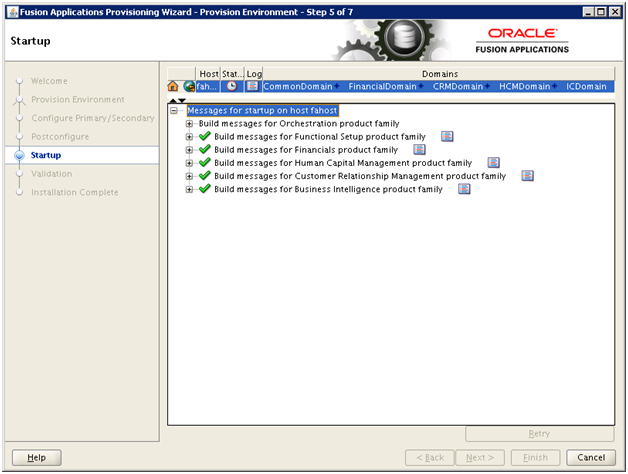
Here is the current memory utilization at this stage. (Apprpx 60GB used buffers)
[fusion@fahost fahost]$ free -m
total used free shared buffers cached
Mem: 90819 87601 3218 0 797 25526
-/+ buffers/cache: 61277 29542
Swap: 0 0 0
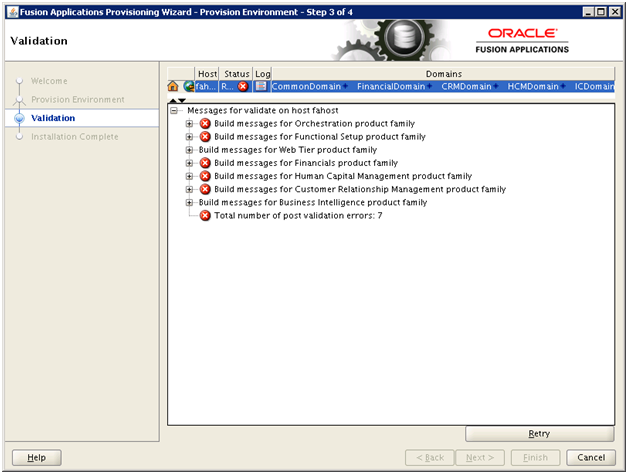
Validate phase might encounter some known errors as follows.
MESSAGE=Failed connecting to http://fahost:7010/integration/worklistapp/faces/login.jspx, Server redirected too many times (20)!DETAIL=Failed connecting to http://fahost:7010/integration/worklistapp/faces/login.jspx, Server redirected too many times (20)
The web page http://fahost:7001/em/faces/fa-faLogin;jsessionid=UUk-ZidyFeG2FHkJupePpadc6Jwez7Iy9yk5uqIxxteJK7VQDv_d!-1008637013?target=Farm_CommonDomain&type=oracle_ias_farm&FromContextInitFilter=true does not contain the text, html
These and few more expected error messages are documented in Oracle Support Document ID 1487115.1 and 1404577.1
If there are any other validation errors you must resolve them before proceeding to the Summary phase. After resolving all validation errors, if the Next button on the Provisioning Wizard is not enabled, perform these steps from the command line to enable it:
cd <APPLICATIONS_CONFIG>/phaseguards (for example /app/oracle/provisioning/phaseguards)
rm validate-<host>-FAILED.grd.
touch validate-<host>-COMPLETED.grd.
touch validate-<host>-ENDED.grd (this last part is not mentioned in Oracle documents but this is required for Next button to be enabled). Since there is no direct way to ignore this. We can skip this as follows.
WARNING:
Deleting and creating files in the phase guard directory should be used as a workaround to resolve validation phase issues ONLY if none of the other options work. In any other case, you should never modify or make changes to the phase guard files.
[fusion@fahost ~]$ cd /app/oracle/provisioning/phaseguards/
[fusion@fahost phaseguards]$ ls -ltr validate-fahost-*
-rwx—— 1 fusion dba 0 Nov 10 13:02 validate-fahost-STARTED.grd
-rwx—— 1 fusion dba 0 Nov 10 14:23 validate-fahost-FAILED.grd
[fusion@fahost phaseguards]$ rm validate-fahost-FAILED.grd
[fusion@fahost phaseguards]$ touch validate-fahost-COMPLETED.grd
[fusion@fahost phaseguards]$ touch validate-fahost-ENDED.grd
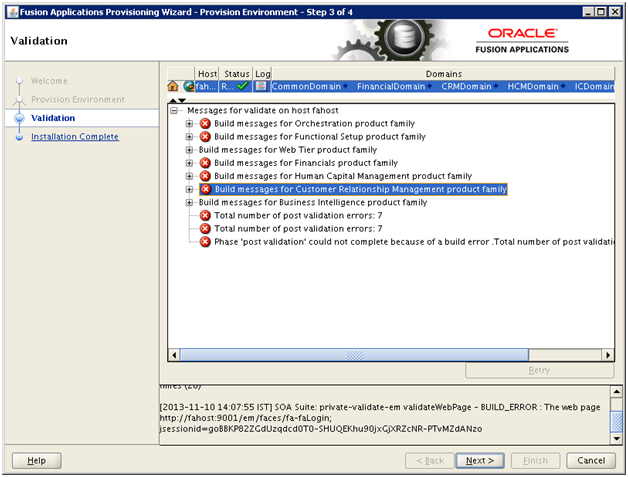
Now you can see the Next button enabled. Click Next to go to post-installation summary.
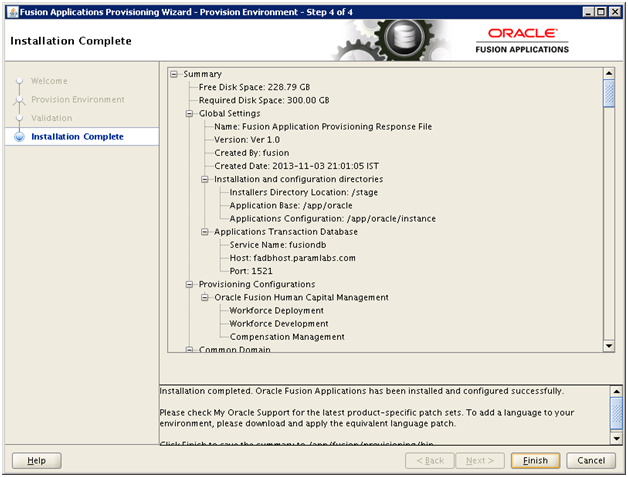
No need to manually copy the content since once you click Finish, it will create a provisioning summary file which contains all above information.
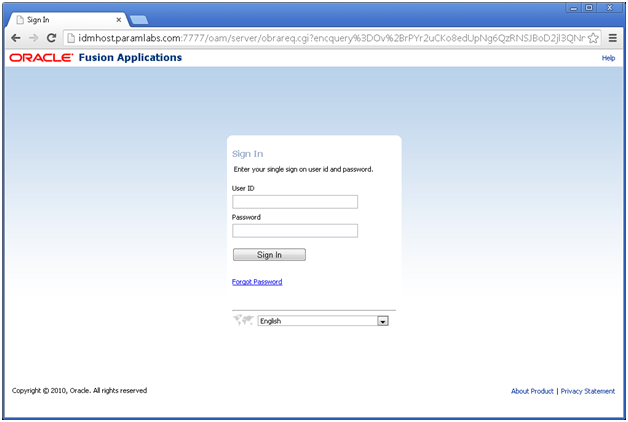
Login to Fusion Applications homepage URL https://fahost:10634/homePage with FAADMIN user. This would first redirect you to Single Sign-on screen and then redirect you back to Fusion Applications.
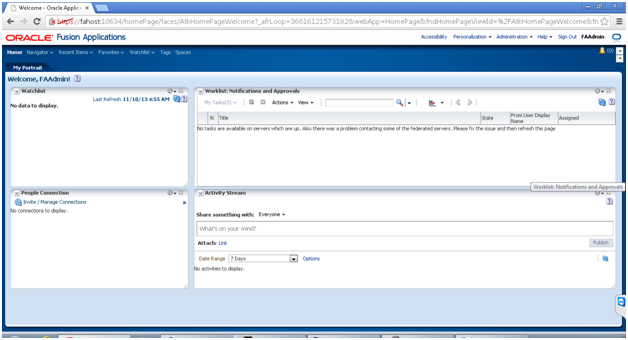
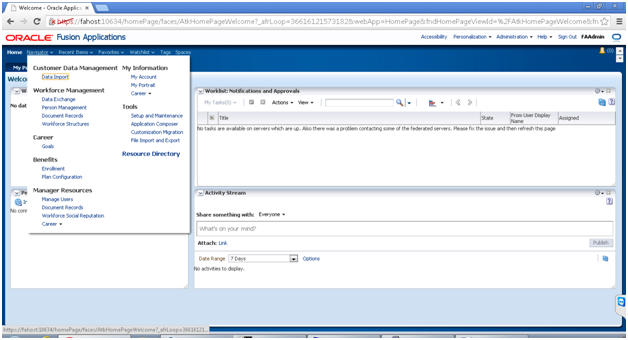
Click on Navigator to see list of functions.
Click on Setup and Maintenance to see the functional setup screen.
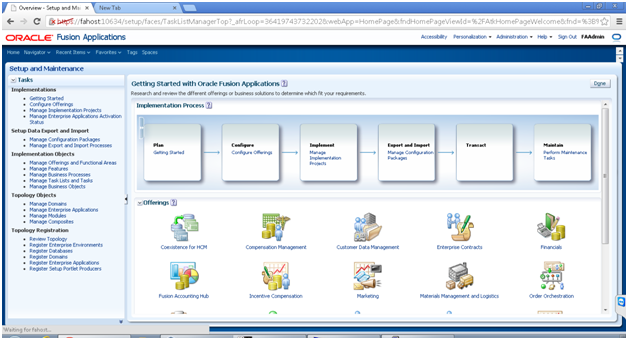
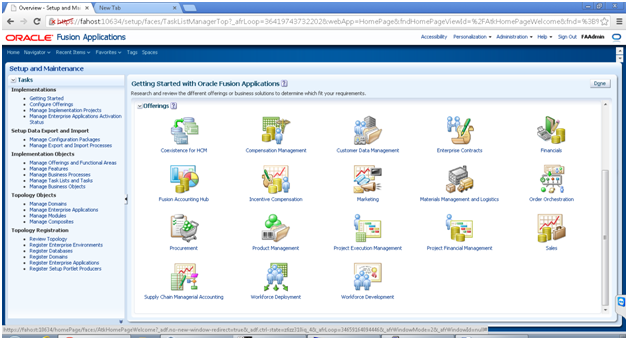
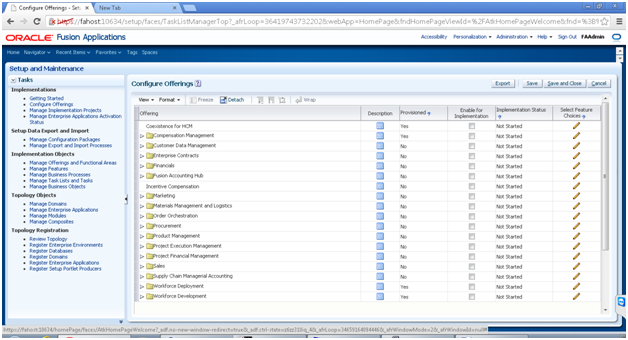
You can see that the products are “provisioned” but not “Implemented”. You can refer to individual product implementation guide to further implement the products.
This concludes our Fusion Applications 11.1.8 Installation..
Happy Learning !
Tushar Thakker
ORA Training
(A Division of Param Labs)
Installing Oracle Fusion Applications – steps
A. Setting up Identity and Access Management Node
1. Install Fusion Applications Provisioning Framework
2. Install Oracle 11g Database (Identity management database)
3. Run Repository Creation Utility (RCU) for Oracle Identity Management components
4. Install Identity Management Provisioning Wizard
5. Create IDM provisioning Response File
6. Provision Identity Management
7. Perform Post-Provisioning Configuration
B. Setting up Fusion Applications Node
1. Install Fusion Applications Provisioning Framework
2. Install Oracle 11g Database (Fusion Apps Database)
3. Run Oracle Fusion Applications Repository Creation Utility (Applications RCU)
4. Create new Applications Provisioning Response File
5. Provision an Applications Environment
Recent Comments